Please note: This website contains affiliate links. As an Amazon Associate, we earn from qualifying purchases at no additional cost to you.
.
If you’ve ever Googled “Why does my candle smell like burned crayons?” or “Can candles be non-toxic and actually smell good?”—you’re in the right place.
The good news: You can make your own natural, clean-burning, delicious-smelling candles at home.
The better news: It’s easier than assembling an IKEA drawer.
Well… slightly easier.
Non-toxic DIY candles don’t require fancy chemistry skills or overpriced kits. You just need the right wax, safe fragrance choices, a decent wick, and a few insider tricks. Think of this as your candle-making cheat sheet—minus the toxic fumes and the headaches.
Let’s pour (pun intended) into the good stuff.
Choose the Right Wax (Some Burn Clean, Some Burn… Questionably)
Not all wax is created equal. Some burn clean and natural, and some produce soot and chemicals you’d rather not inhale.
✔ Best Non-Toxic Options
Soy Wax
- Clean-burning
- Long-lasting
- Holds scent beautifully
- Budget-friendly
- Our top picks for soy wax flakes >
Beeswax
- Completely natural
- Purifies the air as it burns
- Subtle honey scent (pairs well with warm fragrances)
- Burns longer than almost any other wax
- Shop Beeswax Pellets >
- Ultra clean
- Very creamy and luxe
- Amazing hot throw (aka the smell while burning)
- Often blended with soy

American Soy Organics Freedom Coconut Soy Wax Beads for Candle Making - Natural Candle Making Supplies - Paraffin-Free,Beeswax-Free Coconut Candle Wax for Container Candles,Tealights, Wax Melts 5 lbs
Shop on Amazon
$23.95
Great for Natural Candle Making - Paraffin-Free,Beeswax-Free Coconut Candle Wax for Container Candles,Tealights, 5 lbs
We earn a commission if you make a purchase, at no additional cost to you.
07/20/2026 06:02 pm GMT
✖ What to Avoid
- Paraffin wax — it’s petroleum-based and releases more soot/chemicals
- Gel wax — contains mineral oil and synthetic polymers
- Cheap premade wax blends with mystery ingredients
Pick Safe, High-Quality Fragrances (The Big Non-Toxic Secret)
Fragrance is where many “natural” candles turn… not so natural.
✔ Best Choices
Clean Fragrance Oils (Phthalate-Free)
Look for:
- “Phthalate-free”
- “Skin-safe”
- “Pet-safe”
- “IFRA certified”
These are formulated to burn safely and smell incredible. Shop clean fragrance oils on Amazon.
Essential Oils
Yes, you can use them—but use the right ones and don’t expect a Bath & Body Works-level scent throw. Best essential oils for candles:
- Lavender
- Eucalyptus
- Peppermint
- Lemongrass
- Sweet orange
- Rosemary
- Cinnamon leaf (NOT bark)

✖ What to Avoid
- Synthetic oils labeled “for diffusers only”
- Oils with dyes or added alcohol
- Cheap “fragrance oils” that don’t list ingredients
- Cinnamon bark oil (can irritate lungs when burned)
Use the Right Wick (It Matters More Than Anything Else)
If your wick is wrong, nothing else matters—BTUs, soot, tunneling, weird mushroom tops… it all goes back to the wick.
✔ Non-Toxic Wick Options
Cotton Wicks (Undyed, Lead-Free)
Great for all natural waxes. Here are some good, affordable options.
Wooden Wicks
- Non-toxic
- Cozy crackling
- Boutique candle vibe
Personally, I haven’t had the best luck with wooden wicks, but many people wouldn’t use anything else. Here are a few options to try.
✖ What to Avoid
- Metal-core wicks
- Mystery bargain wicks
- Colored or glitter wicks (yes, people sell these… no, don’t burn them)
Boost Scent Naturally (Without Toxic Additives)
You do not need synthetic boosters to get a strong smell.
Here are clean hacks that work:
1. Add Your Fragrance at the Right Temperature
- Soy: 150–165°F
- Coconut: 180°F
- Beeswax: 160–170°F
Too hot? The fragrance burns off.
Too cool? It won’t bind to the wax.
2. Cure Your Candles
Let candles sit for 2–3 days (soy) or 5–7 days (coconut/beeswax) before burning.
This dramatically increases scent strength.
3. Mix Oils for Stronger Throw
Lavender + vanilla
Rosemary + lemon
Coffee + vanilla
Orange + clove (winter perfection)
4. Use Heavier Base Notes
Want a stronger scent? Choose oils with heavier molecules:
- Vanilla
- Sandalwood
- Amber
- Patchouli
- Coffee
- Cedar
These anchor lighter scents and help them float through the room.
5. Add a Wax Warmer Finish
Add a tiny bit of grated wax with extra fragrance on top after pouring and setting.
This creates a powerful initial “hot throw” when you first light it.
Avoid These Candle Mistakes (Especially With Non-Toxic Waxes)
🚫 Overloading Fragrance
More doesn’t mean better.
Stick to 6–10% fragrance load depending on the wax.
🚫 Using the Wrong Containers
Safe containers should be:
- Heat-safe
- Thick glass
- Glazed ceramic
- Metal tins
Avoid mason jars with thin glass—they can crack under heat.
🚫 Letting the Wick Wander Off-Center
This leads to tunneling, uneven burn, and soot.
Use wick holders or popsicle sticks to keep it centered.
If you are new to making DIY candles at home, be sure to check out our DIY Candle Troubleshooting Guide. It will help answer all of your questions and show you how to fix candles that aren’t burning correctly, have a lower-than-expected scent, and so much more.
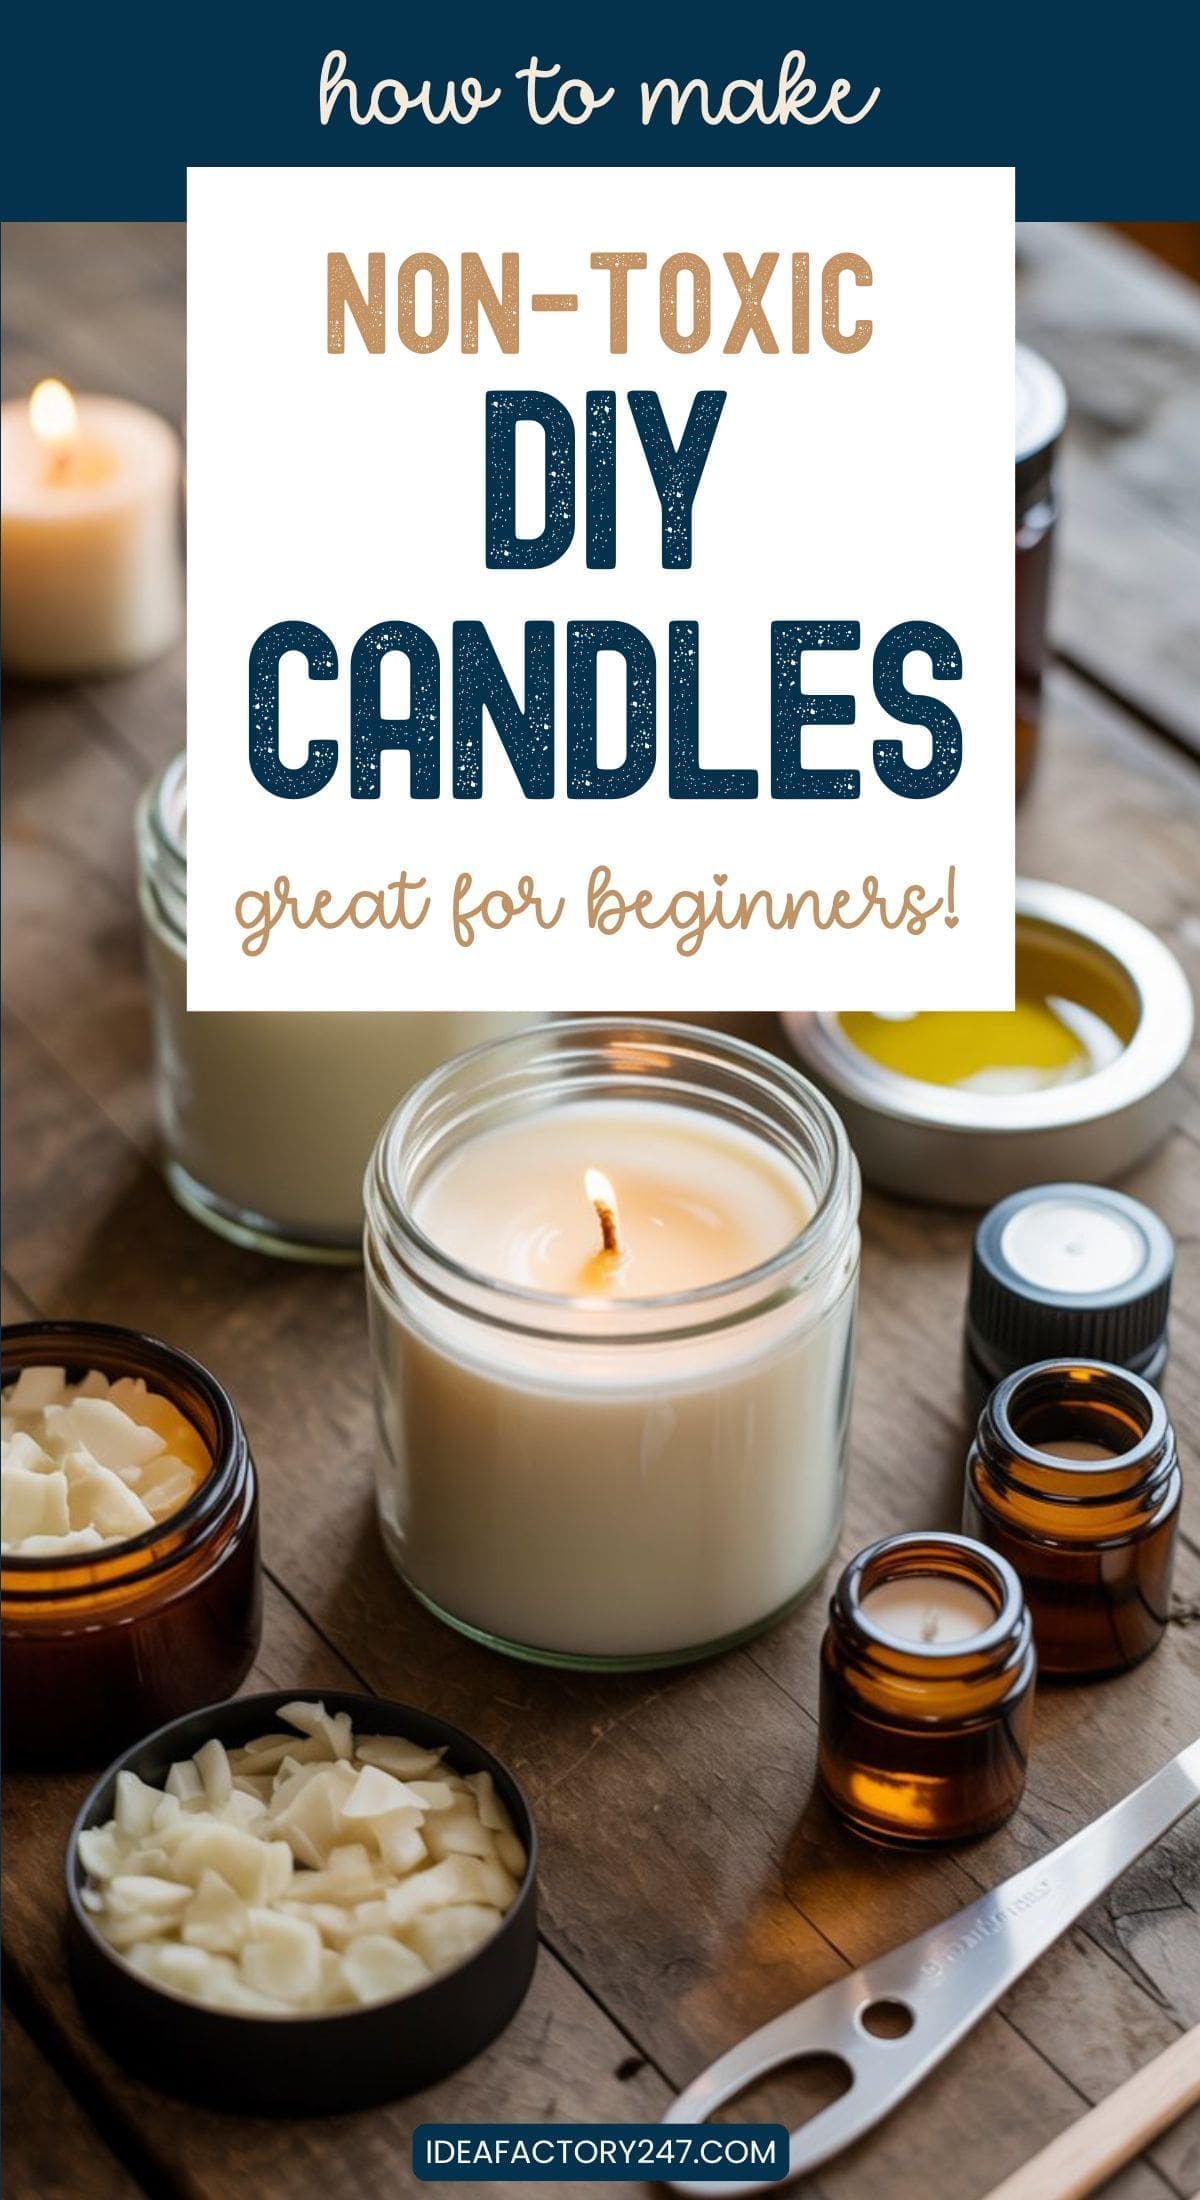
How to Make the Your Non-Toxic DIY Candles
We’re sharing three quick “recipes” that are easy to make and require limited (non-toxic) ingredients.
JUMP TO:
Recipe #1: Basic Clean Burning DIY Soy Candles
Recipe #2: Eucalyptus Spa Candle
Recipe #3: Organic Beeswax Coffee Candle
Recipe #1 | Basic Clean-Burning Soy Candle Recipe
Perfect for beginners — no weird chemicals, no complicated tools, no stress.
What You’ll Need
Ingredients
- 8 oz (by weight) soy wax flakes
- 0.5–1 oz clean, phthalate-free fragrance oil (6–10% fragrance load, depending on your wax)
- 1 cotton or hemp wick (size depends on jar diameter — CD 12 works for most 8 oz jars)
- Optional: A tiny pinch of natural mica powder for color
Tools
- Heat-safe pouring pitcher (metal or glass)
- Small saucepan (for double-boiler setup)
- Kitchen thermometer (digital or candy thermometer)
- Wick stickers or hot glue
- Wick holder or clothespin
- 8 oz heat-safe candle jar
- Stirring spoon or silicone spatula
- Scale for measuring wax & fragrance
- Paper towels (things will get drippy)
Step-by-Step Instructions
1. Measure Your Wax
Weigh out 8 ounces of soy wax flakes using a kitchen scale.
(This will fill one standard 8 oz candle jar.)
2. Melt the Wax
Create a simple double boiler:
- Fill a saucepan with a couple inches of water.
- Place your pouring pitcher inside.
Heat over medium until the wax melts completely, stirring occasionally.
Target temp: 170–185°F.
3. Prep Your Candle Jar while the wax melts:
- Apply a wick sticker to the bottom of your cotton wick.
- Press it firmly into the center of your jar.
- Use a wick holder or clothespin across the top to keep it perfectly upright.
(Centering your wick = the difference between “wow” and “why is this tunneling?”)
4. Add Your Fragrance
Once wax reaches 160–170°F, remove from heat.
Add 0.5–1 oz fragrance oil (depending on how strong you like your scent).
Stir gently but consistently for 2 minutes to fully bind the fragrance to the wax.
5. Cool Before Pouring
Let the wax cool to 150–160°F — this prevents sinkholes and uneven tops.
6. Pour Into Your Jar
Slowly pour the wax into your prepared container.
Leave about ½ inch at the top.
Don’t jiggle the jar afterward — it disrupts the smooth top.
7. Let It Cure
Allow the candle to sit undisturbed until fully solid.
Then cure for 1–3 days (longer cures = stronger scent throw).
8. Trim and Enjoy
Trim the wick to ¼ inch before burning.
Burn 2–3 hours on the first burn to avoid tunneling.
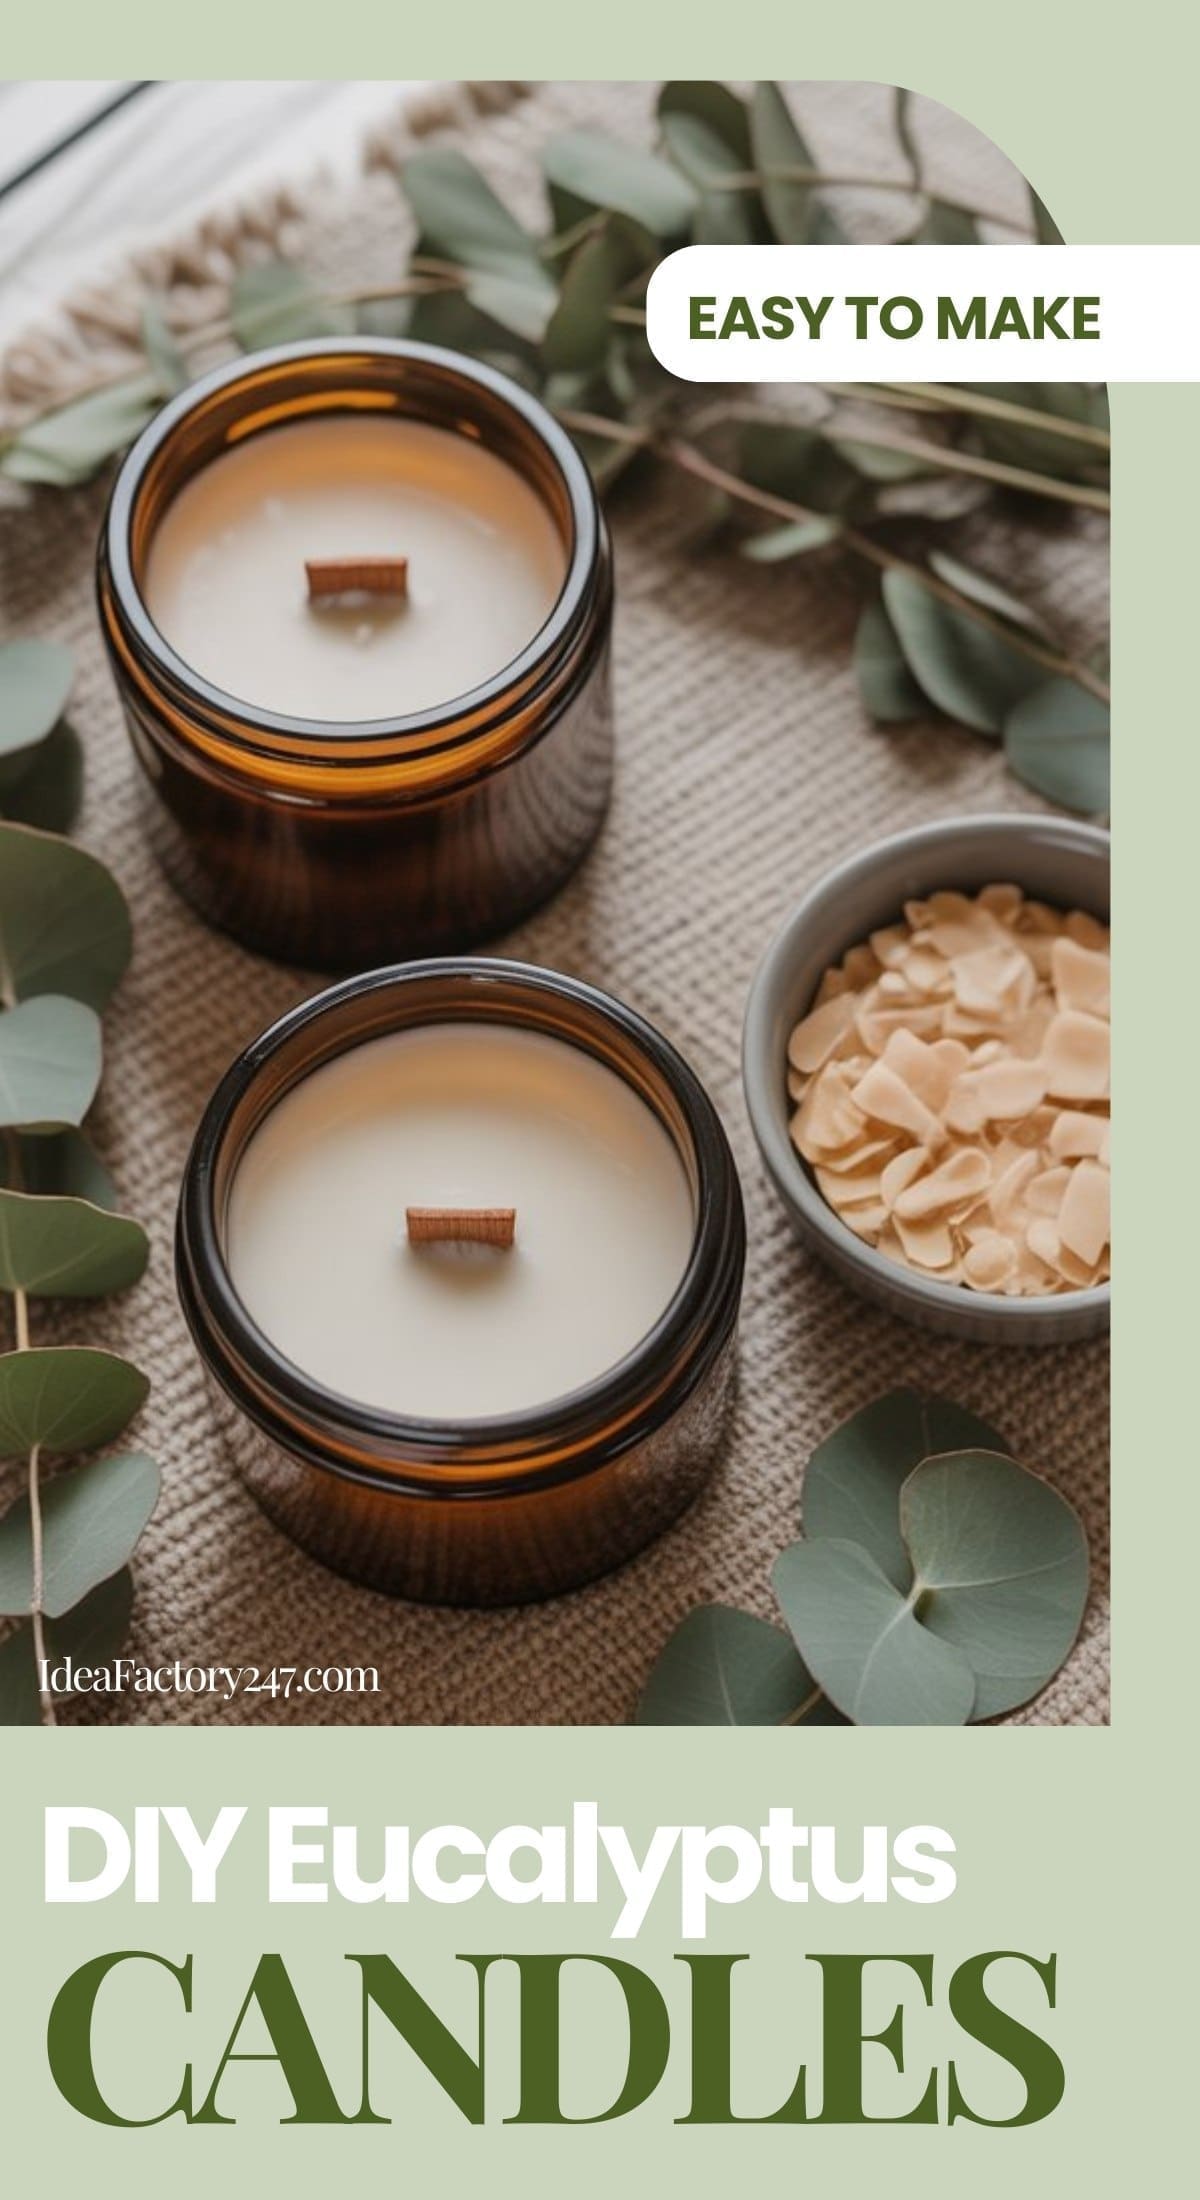
Recipe #2 | Eucalyptus Spa Candle
This dreamy candle only uses a few simple ingredients:
- 8 oz (by weight) soy wax flakes
- 0.5–1 oz eucalyptus essential oil
(OR a clean eucalyptus-mint fragrance oil for a stronger cold/hot throw) - 1 cotton wick
And the best part? It only takes about 15 to 20 minutes to make (other than the curing time)! See the full “recipe” for this DIY candle.
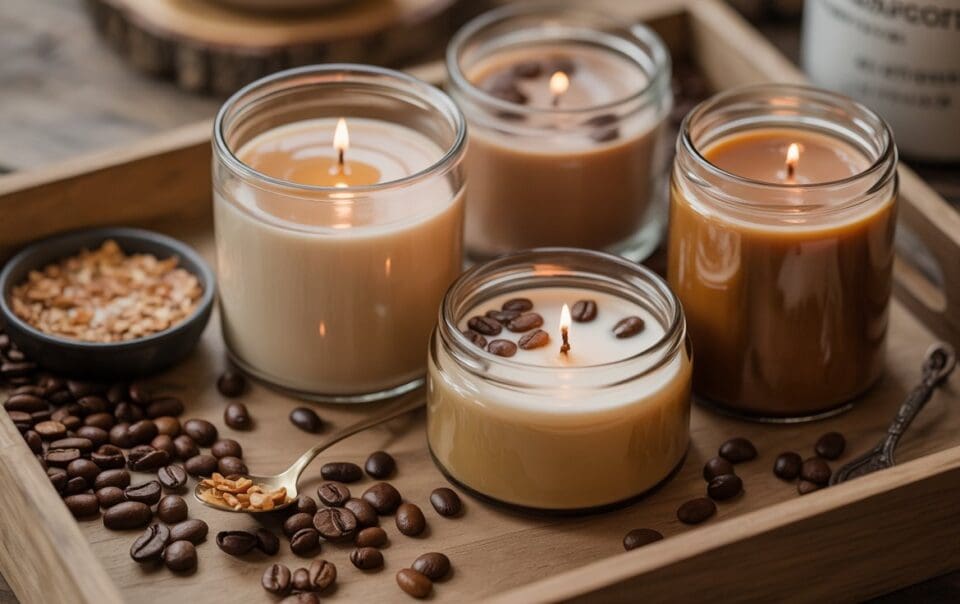
Recipe #3 | Beeswax Coffee Candle Recipe
Cozy, warm, and naturally scented — with zero toxins.
What You’ll Need
Ingredients
- 8 oz (by weight) pure beeswax pellets or blocks
- 1–2 oz coconut oil (helps soften the beeswax so it burns evenly)
- 1 oz coffee-scented clean fragrance oil
OR ½ oz espresso essential oil blend - 1 cotton or wood wick
(wood wicks work beautifully with beeswax + coffee fragrances) - Optional:
- 1 tsp finely ground coffee (for a speckled look)
- 5–8 whole coffee beans (for decoration — keep away from the wick)
Tools
- Heat-safe pouring pitcher or glass measuring cup
- Small saucepan (for double boiler)
- Digital thermometer
- Wick stickers or hot glue
- Wick holder (clothespin, popsicle stick, etc.)
- 8 oz heat-safe candle jar (amber looks especially gorgeous)
- Scale for measuring ingredients
- Silicone spatula
- Paper towels
Step-by-Step Instructions
1. Measure Your Wax & Oil
Using a kitchen scale, measure:
- 8 oz beeswax
- 1–2 oz coconut oil
(The coconut oil keeps your candle from burning too hot or too fast.)
2. Melt the Beeswax
Beeswax takes longer to melt than soy, so be patient!
Use a double-boiler:
- Add a few inches of water to your saucepan.
- Place your pouring pitcher inside.
- Melt over medium until everything is fully liquid.
Target temp: 170–185°F.
3. Prep the Jar
While the wax melts:
- Attach your wick to the bottom center of the jar using a wick sticker.
- Secure the wick at the top with a wick holder.
Tip: If using a wood wick, also insert the wick into its metal clip before sticking it down.
4. Add Your Coffee Scent
Remove the wax from heat once fully melted.
Let it cool for a moment to 160–165°F, then add:
- 1 oz coffee fragrance oil, or
- ½ oz espresso essential oil blend
Stir for 2 minutes to ensure proper fragrance binding.
Optional Step: Add the Aesthetic
If you want a rustic, speckled look, stir in 1 teaspoon of fine coffee grounds.
(Beeswax can get grainy if you add too much — stick to 1 tsp.)
5. Pour Your Candle
Let the mixture cool to 150–160°F, then pour slowly into your jar.
If using whole coffee beans for decoration:
- Drop 3–5 beans gently on top after pouring.
- Keep them at least ½ inch away from the wick to avoid burning hazards.
6. Cool & Cure
Let the candle sit undisturbed until fully hardened.
Beeswax looks cloudy at first — it clears as it cools.
Cure for 3–5 days for the best scent throw.
7. Trim the Wick
Trim to ¼ inch before lighting.
Burning Tips for Beeswax Candles
- Beeswax burns hotter than soy — keep wicks trimmed short.
- The first burn should last 2–3 hours to prevent tunneling.
- If the flame flickers or smokes, trim the wick slightly.
Please note: This website contains affiliate links. As an Amazon Associate, we earn from qualifying purchases at no additional cost to you.
.