Please note: This website contains affiliate links. As an Amazon Associate, we earn from qualifying purchases at no additional cost to you.
.
Store-bought dish soap is one of those things most people never think twice about — you grab the bottle, squirt some on the sponge, and get on with your life. But flip that bottle over and read the ingredients sometime. Synthetic surfactants, artificial fragrances, preservatives, and dyes that have no business being on the dishes your family eats off of every single day.
The good news is that homemade dish soap is one of the easiest natural cleaning swaps you can make. It takes about ten minutes, costs a fraction of what you’d spend at the store, and works just as well — sometimes better — than the conventional stuff. And when it’s sitting in a pretty glass bottle on your kitchen counter, it looks a thousand times better too.
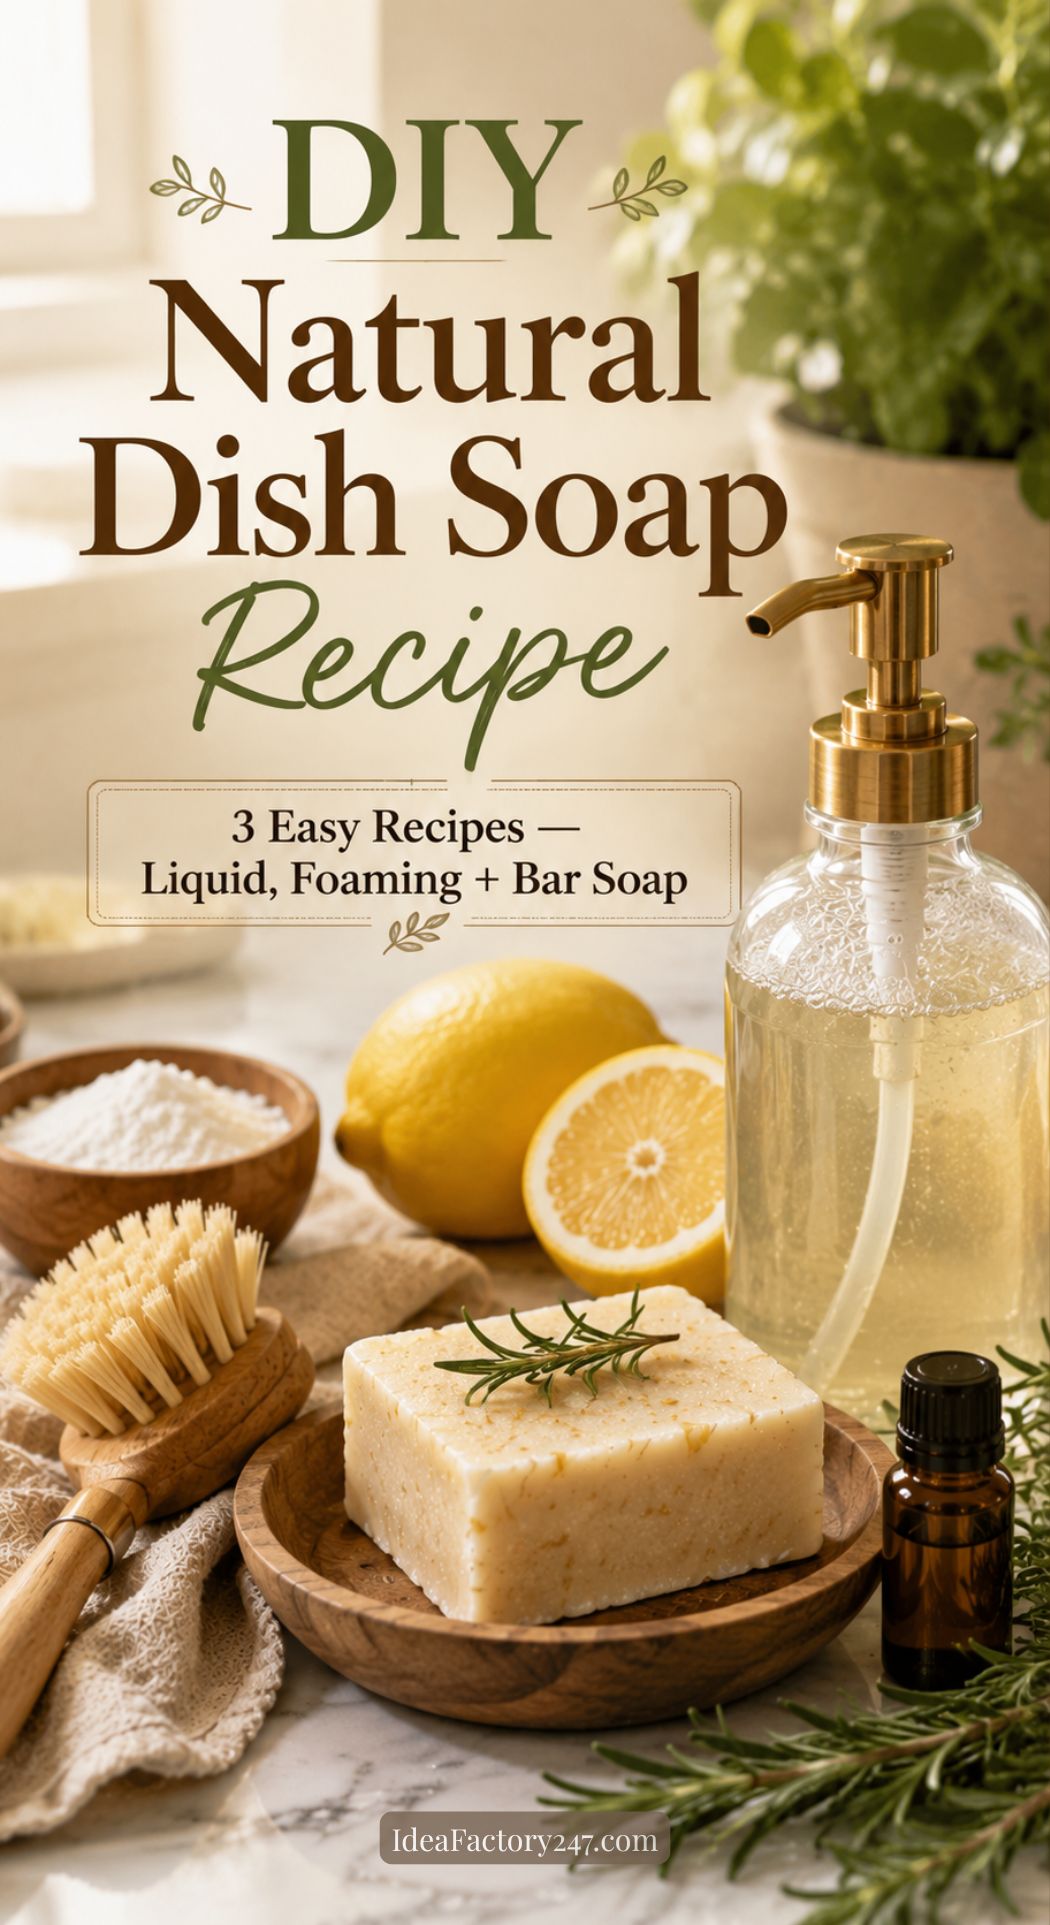
We’ll be sharing three DIY dish soap recipes:
- Classic liquid dish soap
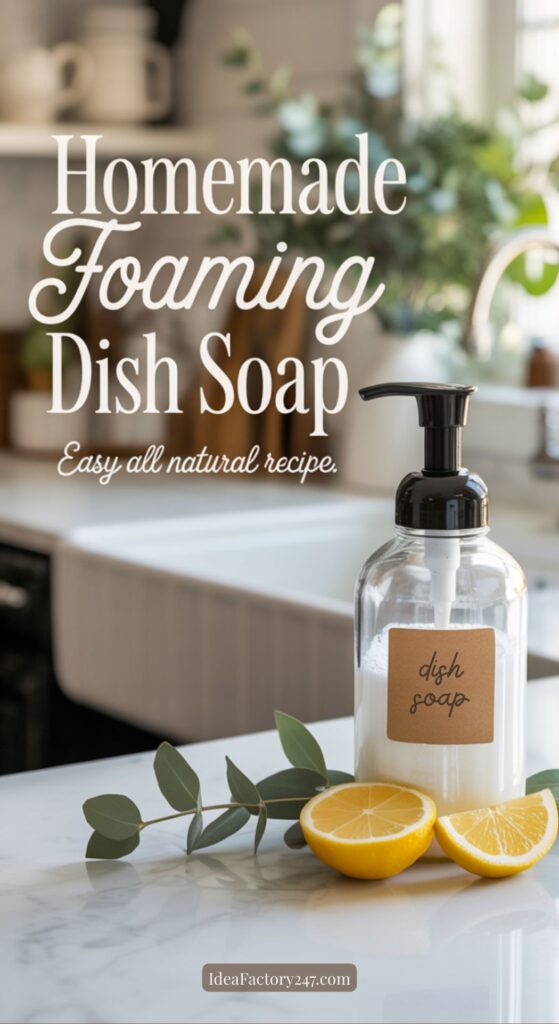
- Foaming dish soap for pump dispensers
- Solid dish soap bar bar that lasts for months and produces zero plastic waste
Pick the one that fits your kitchen, or make all three!
Why Make Your Own Homemade Dish Soap?
It’s genuinely effective. Castile soap is a powerful plant-based cleaner that cuts through grease, lifts food residue, and rinses clean without leaving a film on your dishes.
It’s non-toxic. No synthetic surfactants, no artificial fragrances, no parabens or sulfates. Just simple plant-based ingredients that are safe for your family and the environment.
It’s cheap. A bottle of castile soap concentrate makes multiple batches of dish soap at a cost of cents per use. The solid bar recipe costs even less over time.
It produces less plastic waste. Especially with the solid bar recipe — zero plastic packaging, ever. For more ideas on cutting plastic out of your home, the Plastic Free Made Easy post is a great place to start.
It smells incredible. Lemon, lavender, eucalyptus, peppermint — you choose the scent, and your kitchen sink area will smell like a dream.
The Key Ingredients in a Natural DIY Dish Soap Recipe
Understanding what each ingredient does makes it easy to customize these recipes to your preferences:
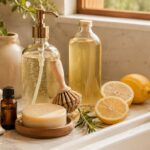
Castile soap — The foundation of the liquid and foaming recipes. A concentrated, plant-based soap made from olive oil or a blend of vegetable oils. Dr. Bronner’s is the most widely available brand, but any pure castile soap works. Use unscented if you want to control the fragrance with essential oils, or lemon-scented for an instant fresh-kitchen smell.
Distilled water — Important for extending the shelf life of liquid soap. Tap water introduces minerals and bacteria that can shorten how long your soap stays fresh.
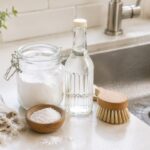
Washing soda or baking soda — Boosts cleaning power and helps cut through grease, especially on pots and pans.
Vegetable glycerin — Optional but highly recommended. Keeps the soap from drying out your hands with repeated use and gives the liquid a slightly thicker consistency.
White vinegar — A small amount helps cut grease and acts as a natural preservative. Use sparingly — too much and you’ll neutralize the castile soap.
Essential oils — Lemon and orange are the classic dish soap scents for a reason — citrus essential oils have natural degreasing properties on top of smelling amazing. Tea tree adds antibacterial power. Lavender is great if you prefer something softer.
Coconut oil — The base of the solid dish soap bar, along with lye. Coconut oil produces a hard bar with excellent lather and serious grease-cutting ability.
Quick Reference: DIY Dish Soap Recipes at a Glance
Liquid Dish Soap
| Ingredient | Amount |
|---|---|
| Liquid castile soap | 1 cup |
| Distilled water | ¼ cup |
| Vegetable glycerin | 1 tablespoon |
| Washing soda | 1 teaspoon |
| Essential oils | 30 drops total |
Foaming Dish Soap
| Ingredient | Amount |
|---|---|
| Liquid castile soap | 2 tablespoons |
| Distilled water | 1 cup |
| Vegetable glycerin | 1 teaspoon |
| Essential oils | 15 drops total |
Solid Dish Soap Bar (Cold Process)
| Ingredient | Amount |
|---|---|
| Refined coconut oil | 500g |
| Sodium hydroxide (lye) | 69g |
| Distilled water | 165g |
| Essential oils | 50 drops total |
Recipe 1: DIY Liquid Dish Soap
The everyday workhorse. This comes together in about five minutes, fills a standard dish soap bottle, and lasts a few weeks with regular use. The consistency is thinner than commercial dish soap — that’s normal and doesn’t affect how well it cleans.
Ingredients
- 1 cup liquid castile soap (unscented or lemon)
- ¼ cup distilled water
- 1 tablespoon vegetable glycerin
- 1 teaspoon washing soda
- 15 drops lemon essential oil
- 10 drops tea tree essential oil
- 5 drops orange essential oil
Instructions
- Combine the distilled water and washing soda in a small bowl and stir until the washing soda is fully dissolved. This step matters — undissolved washing soda can clog your dispenser.
- Pour the castile soap into your dish soap bottle or a glass squeeze bottle.
- Add the dissolved washing soda mixture and the vegetable glycerin.
- Add your essential oils.
- Gently swirl to combine — don’t shake vigorously or you’ll end up with a bottle full of bubbles.
- Label and store at room temperature.
To use: Squirt a small amount directly onto your sponge or dish brush. A little goes a long way — start with less than you think you need and add more if necessary. For greasy pots and pans, add a squirt directly to the pan with a little hot water and let it sit for a minute before scrubbing.
Yield & Storage
Makes approximately 10–12 oz. Store in a glass bottle away from direct sunlight. Shake gently before each use. Use within 4–6 weeks. If the mixture separates between uses, that’s normal — just swirl to recombine.
Recipe 2: DIY Foaming Dish Soap
If you love a foaming soap dispenser — and honestly, who doesn’t — this is the recipe for you. Foaming dish soap uses far less soap per wash than liquid, which makes it incredibly economical. The trick is the ratio: foaming dispensers need a much more diluted soap mixture to work properly.
Ingredients
- 2 tablespoons liquid castile soap
- 1 teaspoon vegetable glycerin
- 1 cup distilled water
- 10 drops lemon essential oil
- 5 drops tea tree essential oil
Instructions
- Pour the distilled water into your foaming soap dispenser first — always add water before soap to prevent excess bubbling.
- Add the castile soap and vegetable glycerin.
- Add your essential oils.
- Screw on the foaming pump top and gently tip the bottle back and forth a few times to combine. Don’t shake.
- Label and you’re done.
Important: This recipe only works in a foaming pump dispenser — the kind with the special mesh pump top that aerates the soap as it dispenses. A regular pump or squeeze bottle won’t give you the foam. You can find foaming dispensers in glass or stainless steel for a plastic-free option.
To use: Pump a small amount onto a wet sponge or dish brush and wash as normal. Because it’s already diluted, you’ll need a pump or two more than you would with concentrated liquid soap — but you’re still using far less total product per wash.
Yield & Storage
Makes approximately 10 oz of foaming dish soap. Use within 3–4 weeks. Because this recipe has a higher water content, it has a shorter shelf life than the concentrated liquid version.
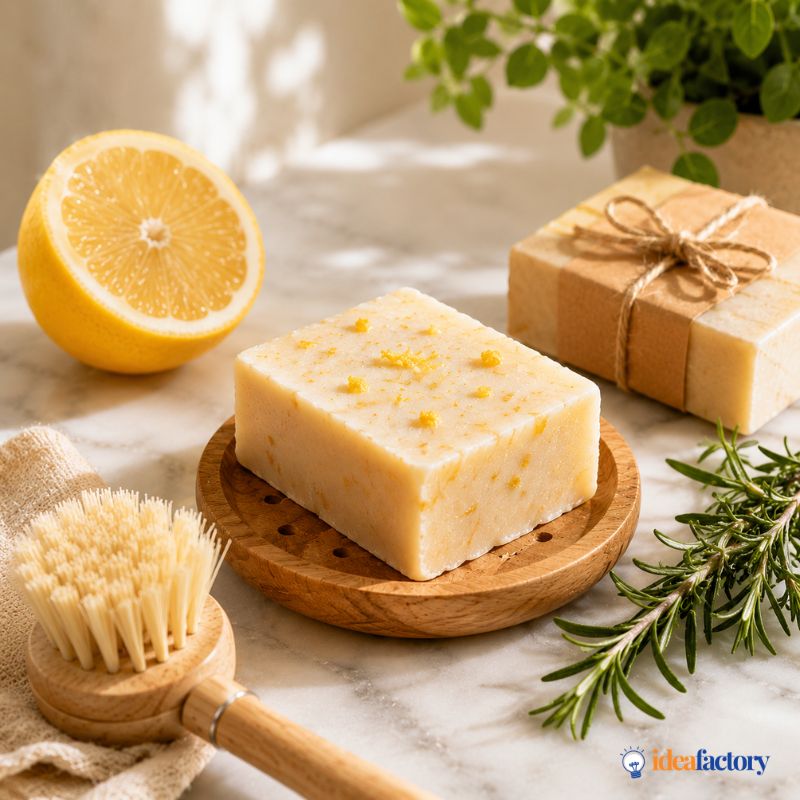
Recipe 3: DIY Solid Dish Soap Bar
This is the zero-waste star of the lineup. A solid dish soap bar lasts for months, produces zero plastic packaging, and is incredibly effective on greasy dishes. It does require lye (sodium hydroxide) to make from scratch — but don’t let that intimidate you. Lye is completely safe when handled correctly, and once the saponification process is complete, there is no lye remaining in the finished bar. The result is pure, hard soap.
If you’re not ready to work with lye yet, there’s a beginner-friendly shortcut at the end of this section using a melt-and-pour soap base.
Ingredients (Lye Method)
- 500g refined coconut oil (the primary oil for dish soap bars — produces hard, cleansing lather)
- 69g sodium hydroxide / lye (measured by weight — precision matters here)
- 165g distilled water
- 30 drops lemon essential oil
- 20 drops tea tree essential oil
- Optional: 1 tablespoon sodium lactate (helps the bar harden faster and unmold more easily)
Equipment
- Digital kitchen scale (essential — do not estimate lye measurements)
- Stick blender
- Two heat-safe containers (stainless steel or glass — no aluminum, which reacts with lye)
- Silicone soap mold or a lined loaf pan
- Rubber gloves and safety glasses
Safety First
Lye is caustic and must be handled carefully. Always add lye TO water — never water to lye. Work in a well-ventilated area. Wear gloves and eye protection. Keep children and pets out of the kitchen while you work. The lye solution will get very hot immediately — this is normal.
Instructions
- Put on your gloves and safety glasses before touching the lye.
- Weigh your distilled water into a heat-safe container. Slowly and carefully pour the lye into the water, stirring as you go. Never reverse this — always lye into water. The mixture will heat up rapidly and may steam slightly. Set aside to cool to around 100°F (38°C).
- Gently melt your coconut oil if it’s solid. Allow it to cool to around 100°F as well. You want the lye solution and the oil to be similar temperatures before combining.
- Slowly pour the cooled lye solution into the coconut oil, stirring as you pour.
- Use your stick blender to blend in short bursts, alternating with hand stirring, until the mixture reaches “trace” — a pudding-like consistency where a drizzle of soap on the surface leaves a faint trail before sinking in.
- Add your essential oils and sodium lactate if using, and blend briefly to incorporate.
- Pour into your mold and smooth the top. Tap the mold gently on the counter to release air bubbles.
- Cover with a piece of cardboard or a towel and leave undisturbed for 24–48 hours.
- Unmold and slice into bars. Allow to cure in a cool, dry place with good airflow for 4–6 weeks. Curing hardens the bar and makes it last significantly longer.
To use: Wet your dish brush or sponge, rub it against the bar to load it with soap, and wash as normal. Keep the bar on a well-draining soap dish between uses — this is the single most important thing you can do to make it last. A soggy bar dissolves much faster.
Yield & Storage
Makes approximately 4–6 bars depending on mold size. Cured bars keep for up to 12 months stored in a cool, dry place.
No-Lye Shortcut: Melt and Pour Dish Soap Bar
Not ready for lye? Use a coconut oil melt-and-pour soap base instead. You get most of the benefits of a solid dish soap bar without the lye handling.
Ingredients:
- 8 oz coconut oil melt-and-pour soap base
- 1 teaspoon washing soda
- 20 drops lemon essential oil
- 10 drops tea tree essential oil
Instructions: Melt the soap base in a double boiler or microwave in 30-second intervals. Stir in the washing soda and essential oils. Pour into molds and allow to set completely (about 2 hours). Use immediately — melt-and-pour bars don’t need a cure time, but they also don’t last quite as long as cold process bars.
Tips for Getting the Best Results from Homemade Dish Soap
Use hot water. Natural dish soaps perform best with hot water — it helps activate the cleaning ingredients and cuts through grease more effectively.
Don’t over-soap. One of the most common mistakes with homemade liquid dish soap is using too much. Because it’s thinner than commercial soap, people assume they need more. Start with less than you think, and add more only if needed.
Boost it for tough jobs. For really greasy pots and pans, sprinkle a little baking soda directly on the pan before adding soap. The baking soda acts as a gentle abrasive and boosts the degreasing power significantly.
Pair it with a good dish brush. A natural bristle dish brush loads up with soap more effectively than a synthetic sponge, and it’s much more hygienic — sponges are a breeding ground for bacteria in a way that wooden dish brushes simply aren’t.
Hard water tip: If you have hard water, add ½ teaspoon of white vinegar to your dish rinse water. It prevents water spots and helps your dishes rinse cleaner. Don’t add it directly to the soap recipe though — remember, vinegar and castile soap don’t mix well together.
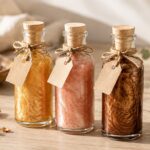
Essential Oil Blends for DIY Dish Soap
The right essential oil combination can make your kitchen sink area smell incredible. Here are some blends that work beautifully in dish soap:
- Classic citrus kitchen: 20 drops lemon + 10 drops orange + 5 drops grapefruit
- Fresh and clean: 15 drops lemon + 10 drops tea tree + 10 drops eucalyptus
- Herb garden: 15 drops lemon + 10 drops rosemary + 5 drops peppermint
- Minty fresh: 20 drops peppermint + 10 drops tea tree
- Lavender lemon: 15 drops lemon + 15 drops lavender (gorgeous for hand washing)
Avoid essential oils that are photosensitive (bergamot, lime) in rinse-off products — they’re better suited for products that stay on the skin.
More Natural Cleaning Recipes to Complete Your Kitchen
Once your dish soap is sorted, here are the other natural kitchen cleaning recipes worth having in your rotation:
- DIY All-Purpose Cleaner — for counters, surfaces, and spills
- DIY Natural Kitchen Degreaser — for stovetops, range hoods, and greasy messes
- DIY Dishwasher Pods — natural pods for your dishwasher to match your new dish soap
- How to Clean a Garbage Disposal Naturally — quick and easy with ingredients you already have
- Natural Cleaning Starter Kit — the full overview of building a non-toxic cleaning cabinet
- Vinegar Cleaning Solutions — more ways to put white vinegar to work in the kitchen
- Under Kitchen Sink Organization in 8 Easy Steps — where to store all of these beautiful natural cleaning supplies
Switching to a homemade dish soap is one of those changes that starts small and ends up meaning a lot. Less plastic, fewer chemicals, a kitchen that smells like a lemon grove — and the quiet satisfaction of knowing exactly what’s on your dishes every single night.
Please note: This website contains affiliate links. As an Amazon Associate, we earn from qualifying purchases at no additional cost to you.
.