

Please note: This website contains affiliate links. As an Amazon Associate, we earn from qualifying purchases at no additional cost to you.
.
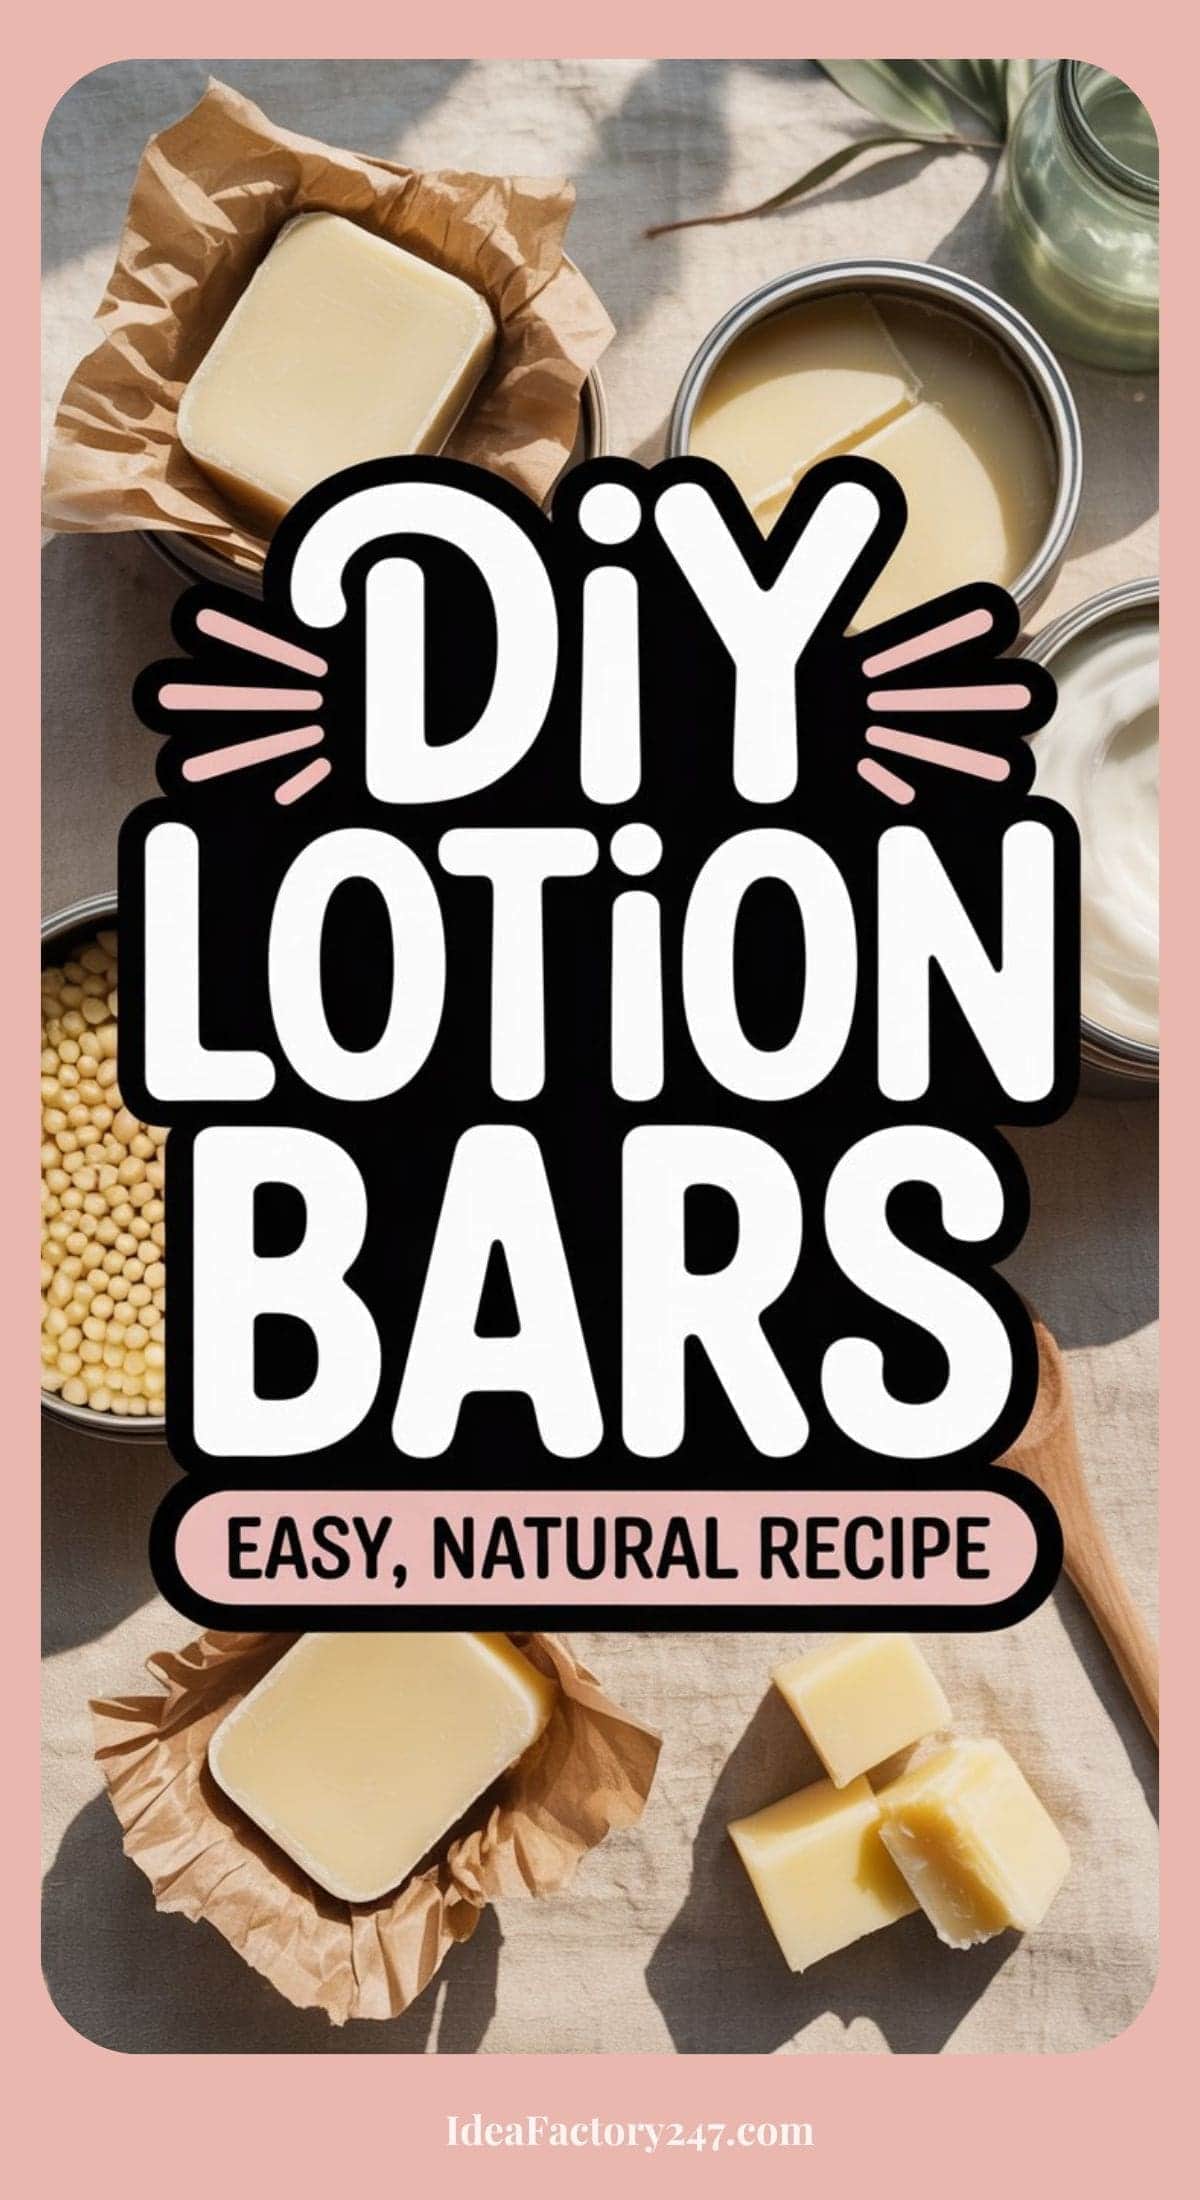
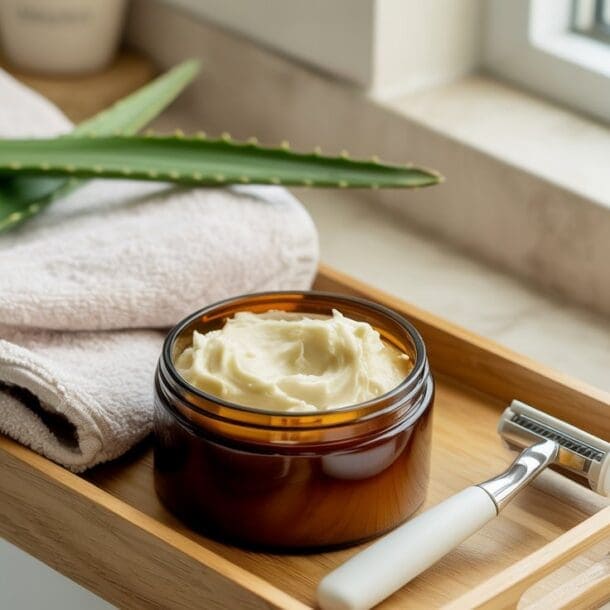
If you love body butter but hate dealing with jars, spills, or TSA limits… lotion bars are about to become your new favorite thing.
These DIY lotion bars are solid at room temperature, melt on contact with warm skin, and deliver deep hydration without feeling messy. They’re compact, travel-friendly, plastic-free, and surprisingly luxurious.
Once you try a solid moisturizer bar, you may never go back to traditional lotion.
Ready to jump in and make some yummy bars?
First… if you are still wondering: What are lotion bars?
Lotion bars are solid moisturizer bars made from:
- Butters (like shea or cocoa butter)
- Oils
- Beeswax (or plant-based wax)
They stay firm at room temperature but soften when rubbed onto skin. The warmth of your body melts just enough product to glide on smoothly.
They’re perfect for:
- After shower moisture
- Dry elbows and knees
- Cuticles
- Travel
- Handbags
- Gifting
Why DIY Lotion Bars?
Because they’re:
- Zero-waste friendly
- Long lasting
- Easy to customize
- Great for dry skin
- Mess-free
They also pair perfectly with your shower body care routine and body butter recipes.
(Internal link suggestion: DIY Body Butter + Shower Body Care Routine)
Simple DIY Lotion Bars Recipe
This is your classic natural lotion bar recipe.
Ingredients
- 1/2 cup shea butter
- 1/2 cup beeswax pellets
- 1/2 cup sweet almond oil (or coconut oil)
- 10–15 drops essential oil (optional)

Instructions
- Add shea butter, beeswax, and oil to a heat-safe bowl.
- Melt gently using a double boiler.
- Stir until fully combined.
- Remove from heat and add essential oils if using.
- Pour into silicone molds.
- Let cool completely (about 1–2 hours).
- Pop out of molds and store in a tin or jar.
That’s it! No whipping. No refrigeration tricks. Just melt and pour.

Sakolla 2 Pack 6 Cavity Silicone Soap Molds Rectangle Oval Silicone Molds Loaf Handmade Molds for Soap Making Supplies DIY Pudding Cake Chocolate Cornbread Biscuit Jelly
Shop on Amazon
$9.99
Sakolla 2 Pack of Silicone Soap Molds. Also perfect for DIY Lotion Bars.
We earn a commission if you make a purchase, at no additional cost to you.
07/21/2026 12:02 am GMT
How to Use Solid Moisturizer Bars
After shower:
- Pat skin mostly dry.
- Rub the lotion bar between hands or directly onto skin.
- Massage in.
It melts beautifully on warm skin and leaves a soft protective layer. Make sure you add to your feet and elbows too – really makes such a difference!
Want to Make Them Less Greasy?
If you prefer a lighter finish, try:
- Reduce oil slightly
- Add 1 teaspoon arrowroot powder
- Use jojoba oil instead of coconut oil
This creates a smoother, less shiny feel.
Vegan Lotion Bar Option
Instead of beeswax, use:
- Candelilla wax (use about 1/3 less than beeswax)
Candelilla wax is plant-based and keeps bars firm.

Candelilla Wax Pellets 4 oz. 100% Pure Natual Food Grade Vegan Wax For DYI Lip Balm, Soap and Candle Making, Creams and Lotions. Great For Skin, Face, and Hair applications. Beeswax Alternative
Shop on Amazon
$11.99
100% Pure Natual Food Grade Vegan Wax For DYI Lip Balm, Soap and Candle Making, Creams and Lotions. Great For Skin, Face, and Hair applications. Beeswax Alternative
We earn a commission if you make a purchase, at no additional cost to you.
07/21/2026 12:02 am GMT
Best Essential Oil Blends
Summer Fresh:
- Sweet orange + vanilla
Relaxing Night Routine:
- Lavender
Energizing:
- Peppermint + eucalyptus
Always patch test first.
How Long Do Homemade Lotion Bars Last?
Stored in a cool, dry place:
- 6–12 months
Avoid leaving in direct sunlight or hot cars — they will soften.
Why These DIY Lotion Bars Are Perfect for Travel
If you travel a lot or have some fun summer vacation plans lined up, these bars are fabulous! Here are just a few (of the many!) reasons why…
- Don’t spill and won’t implode in your suitcase!
- TSA doesn’t count these as liquid
- Take up less space
- Lasts longer than bottled lotion
They’re the ultimate travel-friendly moisturizer.
Lotion Bars vs Body Butter – What’s the difference?
Body Butter:
- Whipped or creamy
- Softer texture
- More “spa-like”
Lotion Bars:
- Solid
- Portable
- Less messy
- Great for targeted moisture
Both deserve a spot in your body care routine.
FAQ + Troubleshooting: DIY Lotion Bars
Why are my lotion bars too hard?
If your solid moisturizer bars feel overly firm and difficult to glide onto skin, you likely used too much beeswax. To fix this next time:
- Reduce beeswax slightly
- Increase liquid oil by 1–2 tablespoons
Beeswax controls firmness. Even small adjustments make a big difference.
Why are my lotion bars too soft or melting easily?
If your homemade lotion bars are too soft at room temperature, your oil-to-wax ratio may be too high. To firm them up:
- Add 1–2 extra tablespoons of beeswax
- Store in a cooler location
If you live in a warm climate, you may need a slightly higher wax ratio than someone in a cooler environment.
Why do my lotion bars feel greasy?
A common concern — especially in warmer months. To reduce greasiness:
- Add 1 teaspoon arrowroot powder
- Swap coconut oil for jojoba oil
- Apply to slightly damp skin instead of fully dry skin
Arrowroot helps absorb excess oil and gives a smoother, velvety finish.
Why do my lotion bars look grainy?
Graininess usually comes from shea butter cooling too slowly. To prevent this:
- Cool the mixture faster (refrigerate briefly after pouring)
- Stir occasionally while it cools before pouring into molds
It’s harmless — just a texture issue.
Can I use lotion bars on my face?
Generally, no. These bars are designed for body use. They are rich and occlusive, which can clog pores for many skin types. Stick to:
- Hands
- Legs
- Arms
- Elbows
- Feet
For facial care, use products formulated specifically for face skin.
How do I store DIY lotion bars?
You can easily store in a small tin, a glass jar or wrap them in parchment paper inside a container.
Remember to keep your bars away from direct sunlight, hot cars, steamy bathrooms because they can soften in the heat.
How long do homemade lotion bars last?
When stored properly: 6–12 months
Because this natural lotion bar recipe contains no water, it doesn’t require preservatives. Just keep moisture out of the container.
Can I make these without beeswax?
Yes. For a vegan lotion bar:
- Use candelilla wax
- Use about 1/3 less than the beeswax amount listed
Candelilla wax is firmer, so you’ll need slightly less.
Why isn’t my lotion bar melting easily on my skin?
This can happen if:
- The bar contains too much wax
- The room is very cold
Warm it briefly between your hands before applying. Body heat will activate it.
Can I add shimmer to my DIY lotion bars?
Yes — but use cosmetic-grade mica only.
Start small (1/2 teaspoon) and mix thoroughly. Lotion bars work well for subtle shimmer, but keep it minimal to avoid transfer onto clothing.
Final Thoughts
DIY lotion bars are one of those simple swaps that feel small but make your routine feel elevated.
They’re minimal, sustainable, and incredibly effective — especially for dry skin or on-the-go moisture.
Once you start keeping one in your bag, one by your bed, and one near your shower… you’ll wonder why you didn’t make them sooner.
DIY lotion bars are simple once you understand the balance of wax, butter, and oil. Small tweaks let you customize firmness, texture, and finish until they’re exactly how you like them.
And once you dial in your perfect formula? They become one of the easiest, most practical upgrades in your body care routine.
Please note: This website contains affiliate links. As an Amazon Associate, we earn from qualifying purchases at no additional cost to you.
.