
Please note: This website contains affiliate links. As an Amazon Associate, we earn from qualifying purchases at no additional cost to you.
.
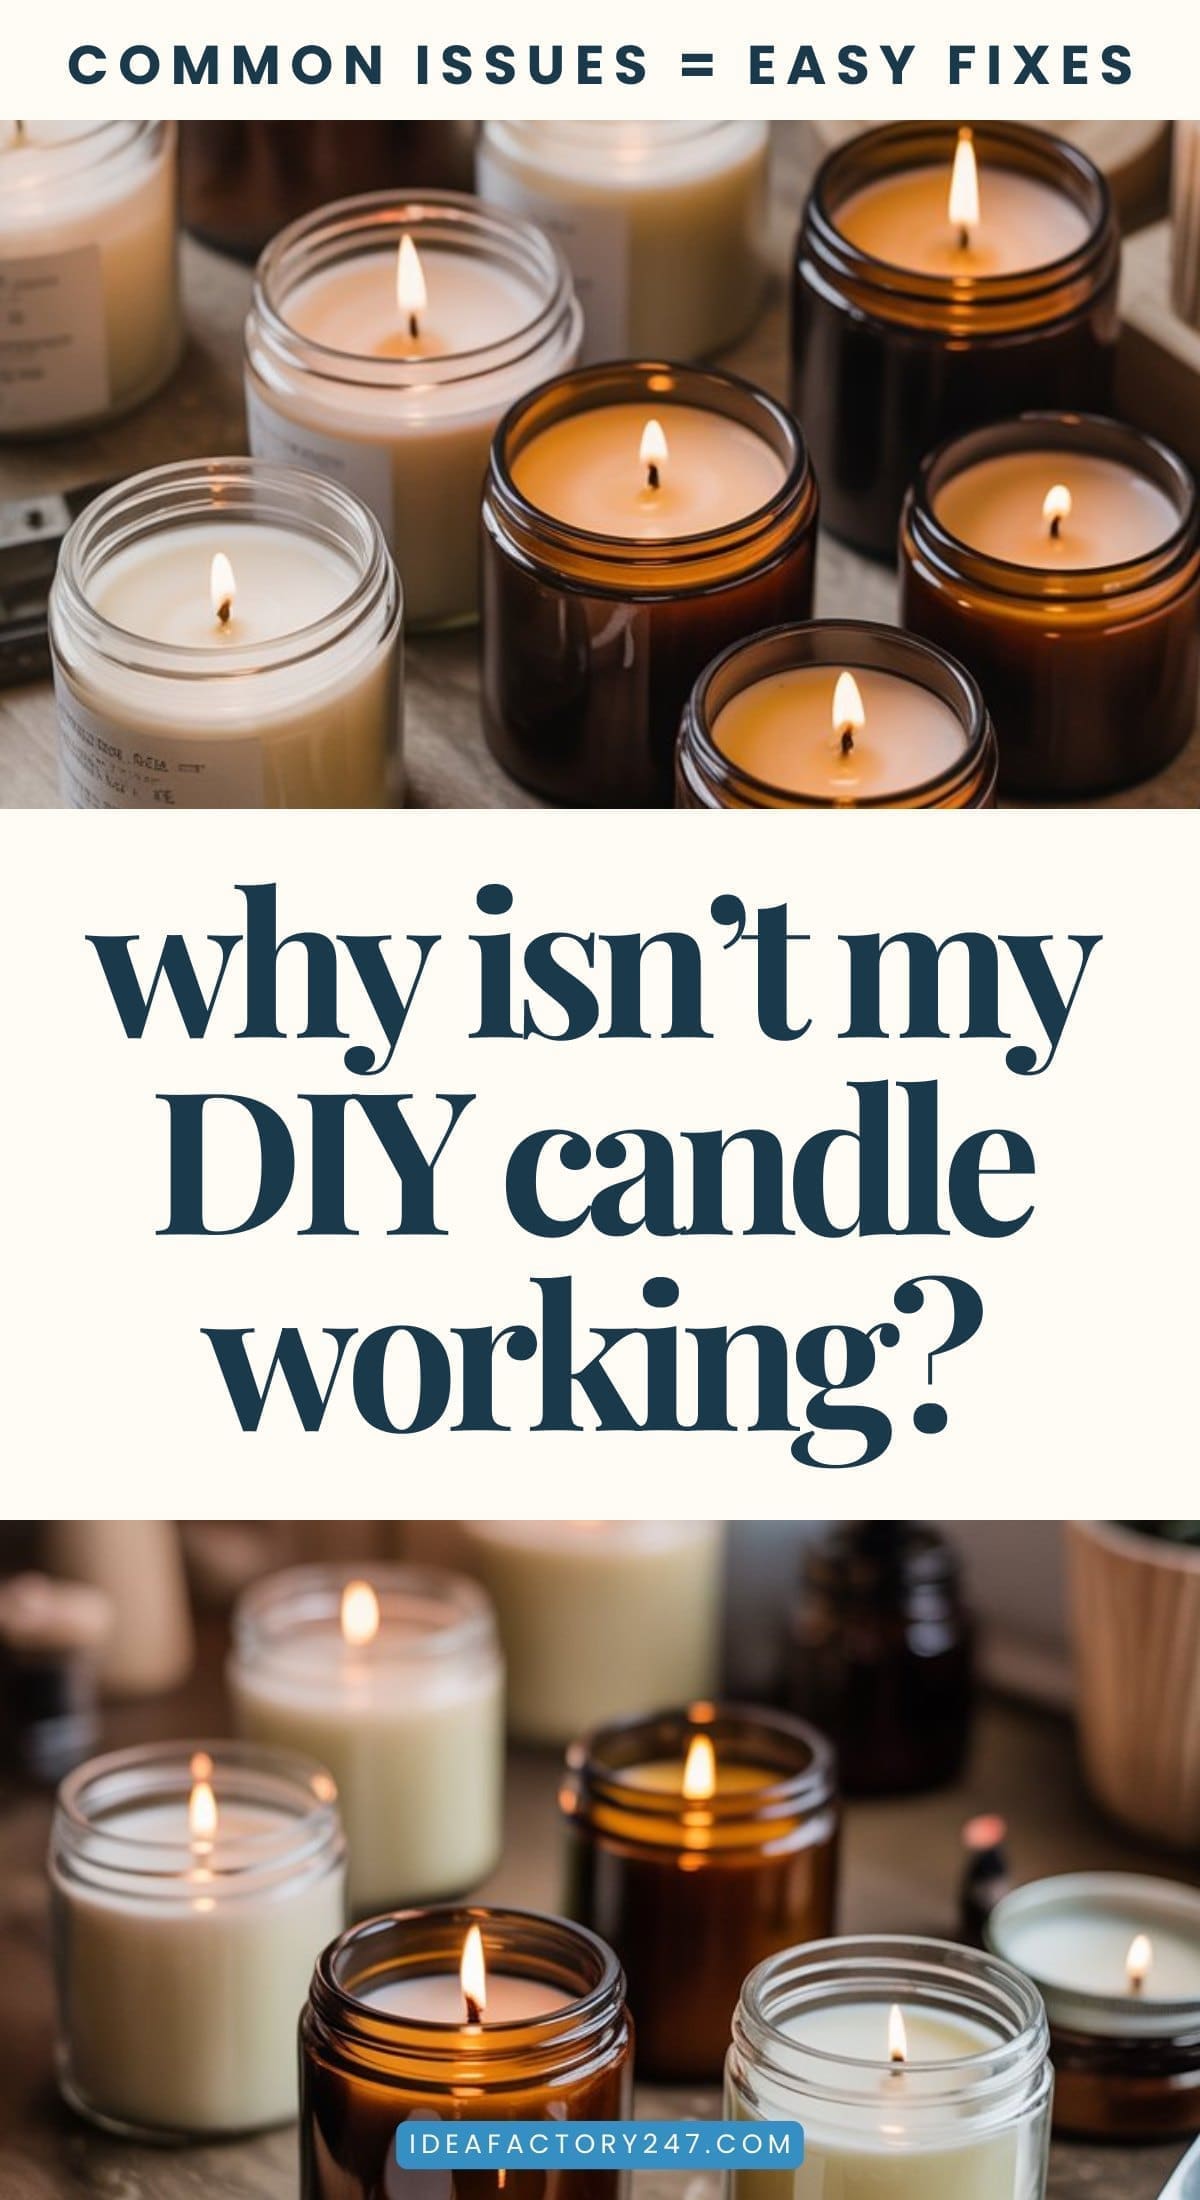
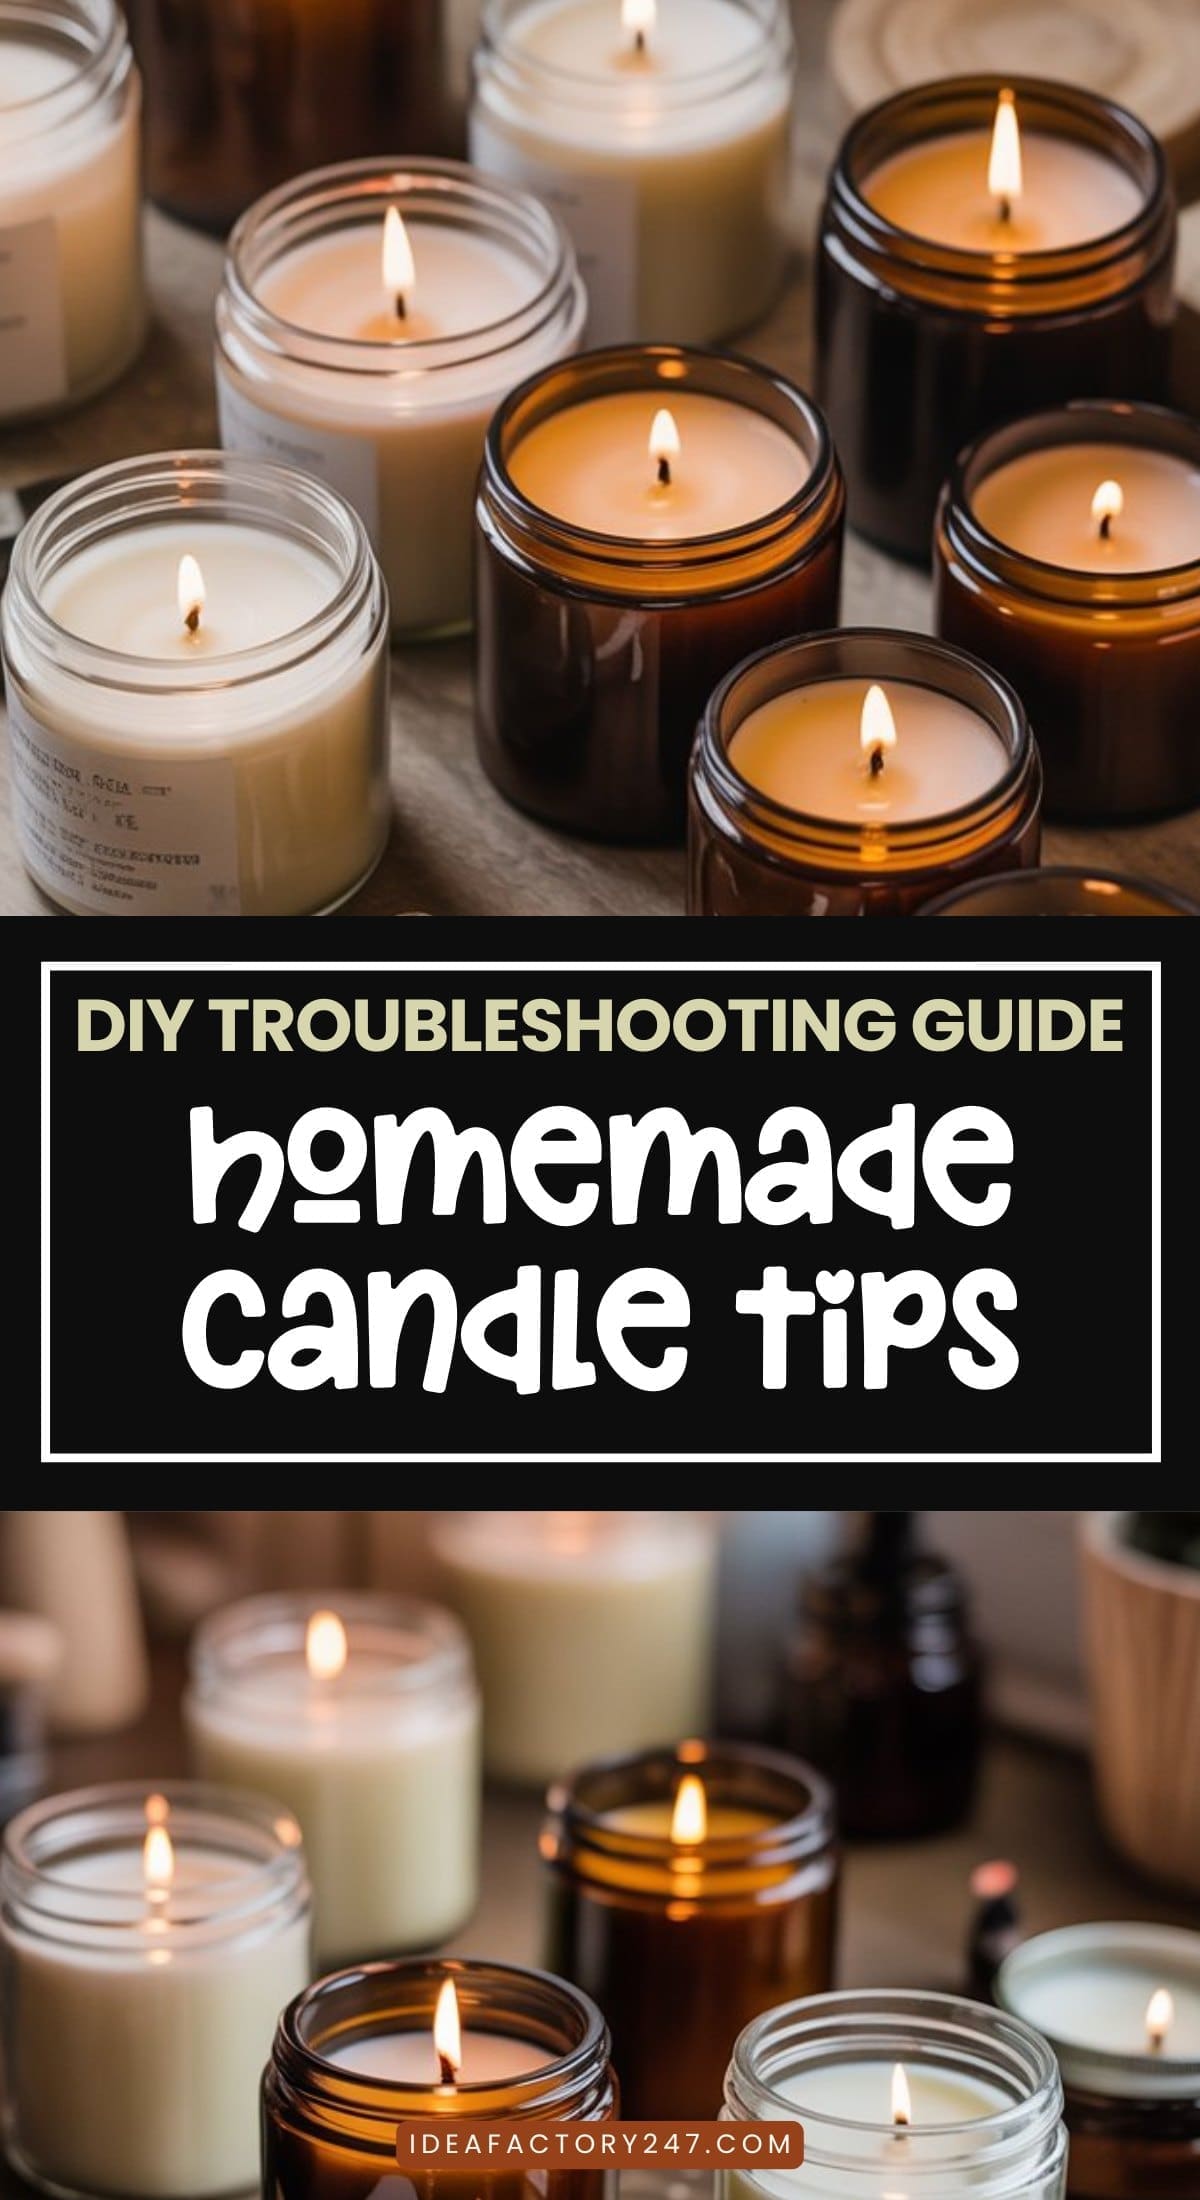
Making homemade candles is supposed to feel cozy and creative — but if your candle tunnels, has no scent, or won’t stay lit, it can quickly turn frustrating.
The good news?
Almost every candle issue has a simple fix, and most of them have nothing to do with doing something “wrong.”
This candle troubleshooting guide walks through the most common problems people run into when making DIY candles and exactly how to fix them, without complicated formulas or fancy equipment.
If you’ve ever wondered why your candle didn’t turn out the way you hoped, this article is for you.
First Things First: Candle Problems Are Normal
If your first homemade candle didn’t turn out the way you imagined, you’re not alone — and you didn’t do anything wrong.
I still remember the first time I made a candle and thought, Why is this burning like that? The flame was huge, the wax tunneled down the middle, and the scent I was so excited about barely showed up at all. I assumed I’d messed something up and seriously wondered if candle making just “wasn’t my thing.”
But here’s the truth: almost everyone runs into candle issues at the beginning — and even experienced candle makers still tweak and adjust from batch to batch.
Candles are surprisingly sensitive. Small things like room temperature, jar size, wick thickness, or how long you burn it the first time can completely change how a candle behaves. That doesn’t mean your candle is bad. It just means it needs a small adjustment.
The good news? Candle problems are usually simple fixes, not failures. Once you understand what’s happening — whether it’s tunneling, weak scent, or a flickering flame — you can almost always correct it in the next burn or the next batch.
So if you’re feeling frustrated or discouraged, take a breath. You’re learning. And every “imperfect” candle gets you one step closer to cozy, beautiful results.
Problem: My Candle Has Little or No Scent
This is one of the most common frustrations.
Why it happens:
- Scent added when wax was too hot
- Not enough fragrance used
- Candle wasn’t cured long enough
How to fix it:
- Let wax cool slightly before adding fragrance
- Follow recommended scent amounts for your wax
- Allow candles to cure 24–48 hours minimum before burning
Soft, cozy candles are meant to smell subtle — not fill the entire house.
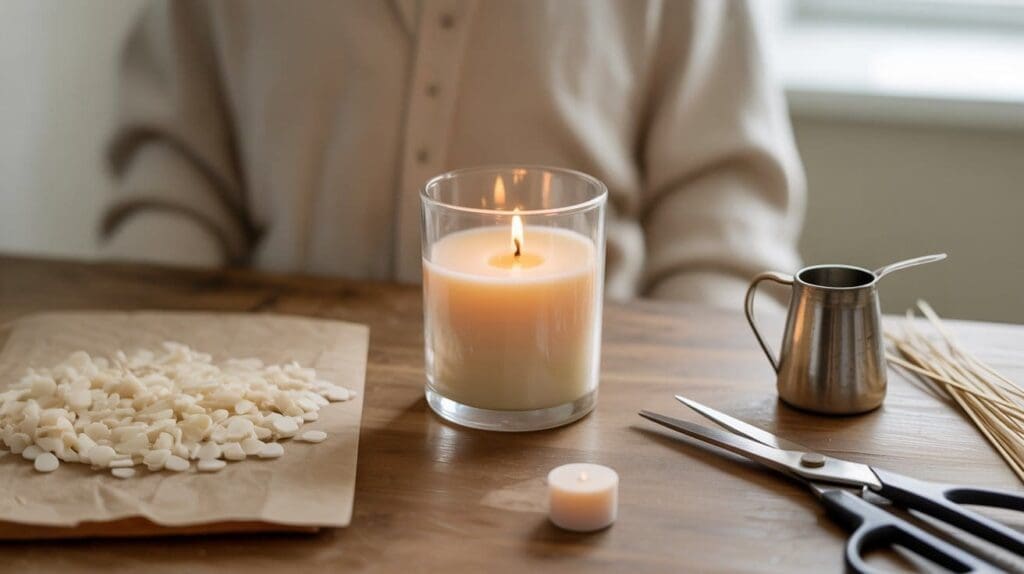
Problem: My Candle Is Tunneling
Tunneling happens when the candle burns straight down the middle instead of evenly across.
Why it happens:
- Candle wasn’t burned long enough the first time
How to fix it:
- On the first burn, let the candle burn until melted wax reaches the edges (usually 2–3 hours)
- Avoid short burn sessions early on
The first burn sets the memory for the candle.
Problem: The Candle Wick Keeps Going Out
This one is especially frustrating — because it feels like the candle should be working, and yet the flame keeps disappearing. You relight it, it flickers for a minute… and then it’s out again. At that point, most people assume something went very wrong.
In reality, this is one of the most common beginner candle issues, and it usually comes down to the wick — not the wax, not the scent, and not anything you “messed up.”
When a wick keeps going out, it’s often because it’s too small for the jar, trimmed a bit too short, or getting overwhelmed by melted wax before it can establish a steady flame. Even something as simple as pouring a little too much wax or burning the candle for too short of a time can cause this to happen.
The good news? This issue is almost always fixable with a small adjustment — either trimming, switching wick size next time, or letting the candle fully cool and reset before trying again.
Why it happens:
- Wick is too small for the container
- Wick trimmed too short
- Melted wax drowning the wick
How to fix it:
- Trim wick to ¼ inch, not shorter
- Let the candle cool completely before relighting
- Use a slightly thicker wick in future candles
Don’t miss the section below: Everything You Need to Know About Candle Wicks
Problem: The Flame Is Too Large or Flickering
Why it happens:
- Wick is too thick
- Wick is too long
- Candle placed in a draft
How to fix it:
- Trim wick before each burn
- Move candle away from windows, fans, or vents
- Choose a thinner wick for future candles
A calm flame = a better burn.
For more tips on managing the flam, jump to the Candle Wick Guide below.
Problem: The Top of My Candle Looks Cracked or Frosted
This is especially common with soy wax.
Why it happens:
- Natural wax reaction
- Temperature changes while cooling
How to fix it:
- Let candles cool slowly at room temperature
- Avoid cold surfaces or drafts during setting
Good news: frosting does not affect performance at all.
Problem: My Candle is not Burning Correctly or Evenly
Why it happens:
- Wick size doesn’t match jar size
- Candle not burned long enough per session
How to fix it:
- Use the right wick for your container
- Burn candles long enough for a full melt pool
Problem: My Candle Smells Different When Lit
Why it happens:
- Too many scents mixed together
- Fragrance behaves differently when heated
How to fix it:
- Stick to 1–2 scent notes max
- Vanilla-based blends tend to be more forgiving
Simple blends almost always smell better once lit.
Problem: My Candle Looks Uneven or Has Air Bubbles
Why it happens:
- Wax poured too quickly
- Jar was too cold
How to fix it:
- Pour wax slowly
- Use room-temperature jars
- Gently smooth the top with a heat gun or hair dryer if needed
The Most Overlooked Fix: Cure Time
Many candle issues resolve themselves with time.
- Let candles cure at least 24–48 hours
- Some waxes perform better after 3–5 days
- Candles often burn better on the second burn
Patience matters more than perfection here.
Quick Candle Care Tips That Prevent Most Problems
- Trim wick before every burn
- Don’t burn longer than 3–4 hours
- Avoid drafts
- Keep scent blends simple
- Let candles cool completely between burns
When to Try Again (And When Not To)
If your candle:
- Smells faint but burns evenly → it’s probably fine
- Looks imperfect but burns well → totally normal
- Won’t stay lit or tunnels badly → worth adjusting next time
Candle making is forgiving. Small tweaks make a big difference.
General Wick Guidelines (Beginner-Friendly & Realistic)
First, the Most Important Rule
There is no single “perfect” wick, but there are very reliable starting points based on:
- Container size
- Wax type
- Wick material
You’re aiming for:
✔ A steady flame
✔ Minimal flickering
✔ Full melt pool within 2–3 hours
✔ No smoking or mushrooming
Wick Size Guidelines by Container Size
For an 8-ounce candle jar (for example) here are the recommended starting points:
If using soy wax:
- Cotton wick:
- CD 8–10
- ECO 8–10
- Wood wick:
- 0.02–0.03 thickness
- Crackling optional, not required
If using beeswax:
- Beeswax burns hotter, so:
- Use one size smaller than soy
- Example: CD 6–8
💡 Tip: When in doubt, choose the smaller wick first. A wick that’s slightly too small is easier to fix than one that’s too large.
Wick Length: What Actually Matters
Before burning:
- Trim wick to ¼ inch (this is the sweet spot)
- Longer wicks = larger flame + flickering + soot
If the flame is too large, the wick is either:
- Too thick for the jar
- Too long
- Or both
THE FIX: Trim first. If it still flickers, the wick size itself is too big.
Signs Your Wick Is TOO Thick
- Flame is tall and dancing wildly
- Jar feels excessively hot
- Black smoke or soot on jar
- Mushrooming at the wick tip
- Wax melts too quickly
➡ Solution: Use a thinner wick next time.
Signs Your Wick Is TOO Thin
- Flame keeps going out
- Candle tunnels badly
- Melt pool never reaches edges
- Wick drowns in wax
➡ Solution: Go up one wick size, not two.
Wood Wick vs Cotton Wick (Simple Breakdown)
Cotton wicks
✔ More forgiving
✔ Easier for beginners
✔ Better for softer scent throw
Wood wicks
✔ Modern aesthetic
✔ Slightly stronger flame
✔ Require correct width/thickness
💡 Wood wick tip:
If your wood wick flame is too large, the wick is usually too wide, not too long.
How to Buy the Right Wick (Without Overthinking It)
Best beginner approach:
- Buy wick sampler packs
- Choose packs labeled:
- “For 6–10 oz containers”
- “Soy wax compatible”
This allows you to test once, take notes and reuse confidently.
Avoid buying single wicks until you know what works for your jars.
Why Trimming Matters More Than People Think
Many “bad wick” issues are actually trimming issues.
Best practice:
- Trim before every burn
- Keep it at ¼ inch
- Remove mushroomed tips
This alone fixes:
- Flickering
- Smoke
- Overheating
One Honest Beginner Tip
Even experienced candle makers:
- Test the same candle with 2 wick sizes
- Adjust slightly based on fragrance
- Keep notes for future batches
So if your first candle flame is off — that’s normal.
Simple Wick Cheat Sheet
You can include this as a callout box:
Quick Wick Guide for 8 oz Candles
- Wax: Soy
- Start with: CD 8 or ECO 8
- Trim to: ¼ inch
- Flame too big? → Wick too thick
- Flame too small? → Wick too thin
Final Thought
If your homemade candle didn’t turn out exactly how you imagined, don’t give up. Most candle problems are easy fixes, and every batch teaches you something new. Cozy, beautiful candles come from practice — not perfection.
Please note: This website contains affiliate links. As an Amazon Associate, we earn from qualifying purchases at no additional cost to you.
.