
Please note: This website contains affiliate links. As an Amazon Associate, we earn from qualifying purchases at no additional cost to you.
.
If you’ve been anywhere near the natural skincare or homesteading side of TikTok lately, you already know tallow is having a massive moment.
And honestly? Deserved.
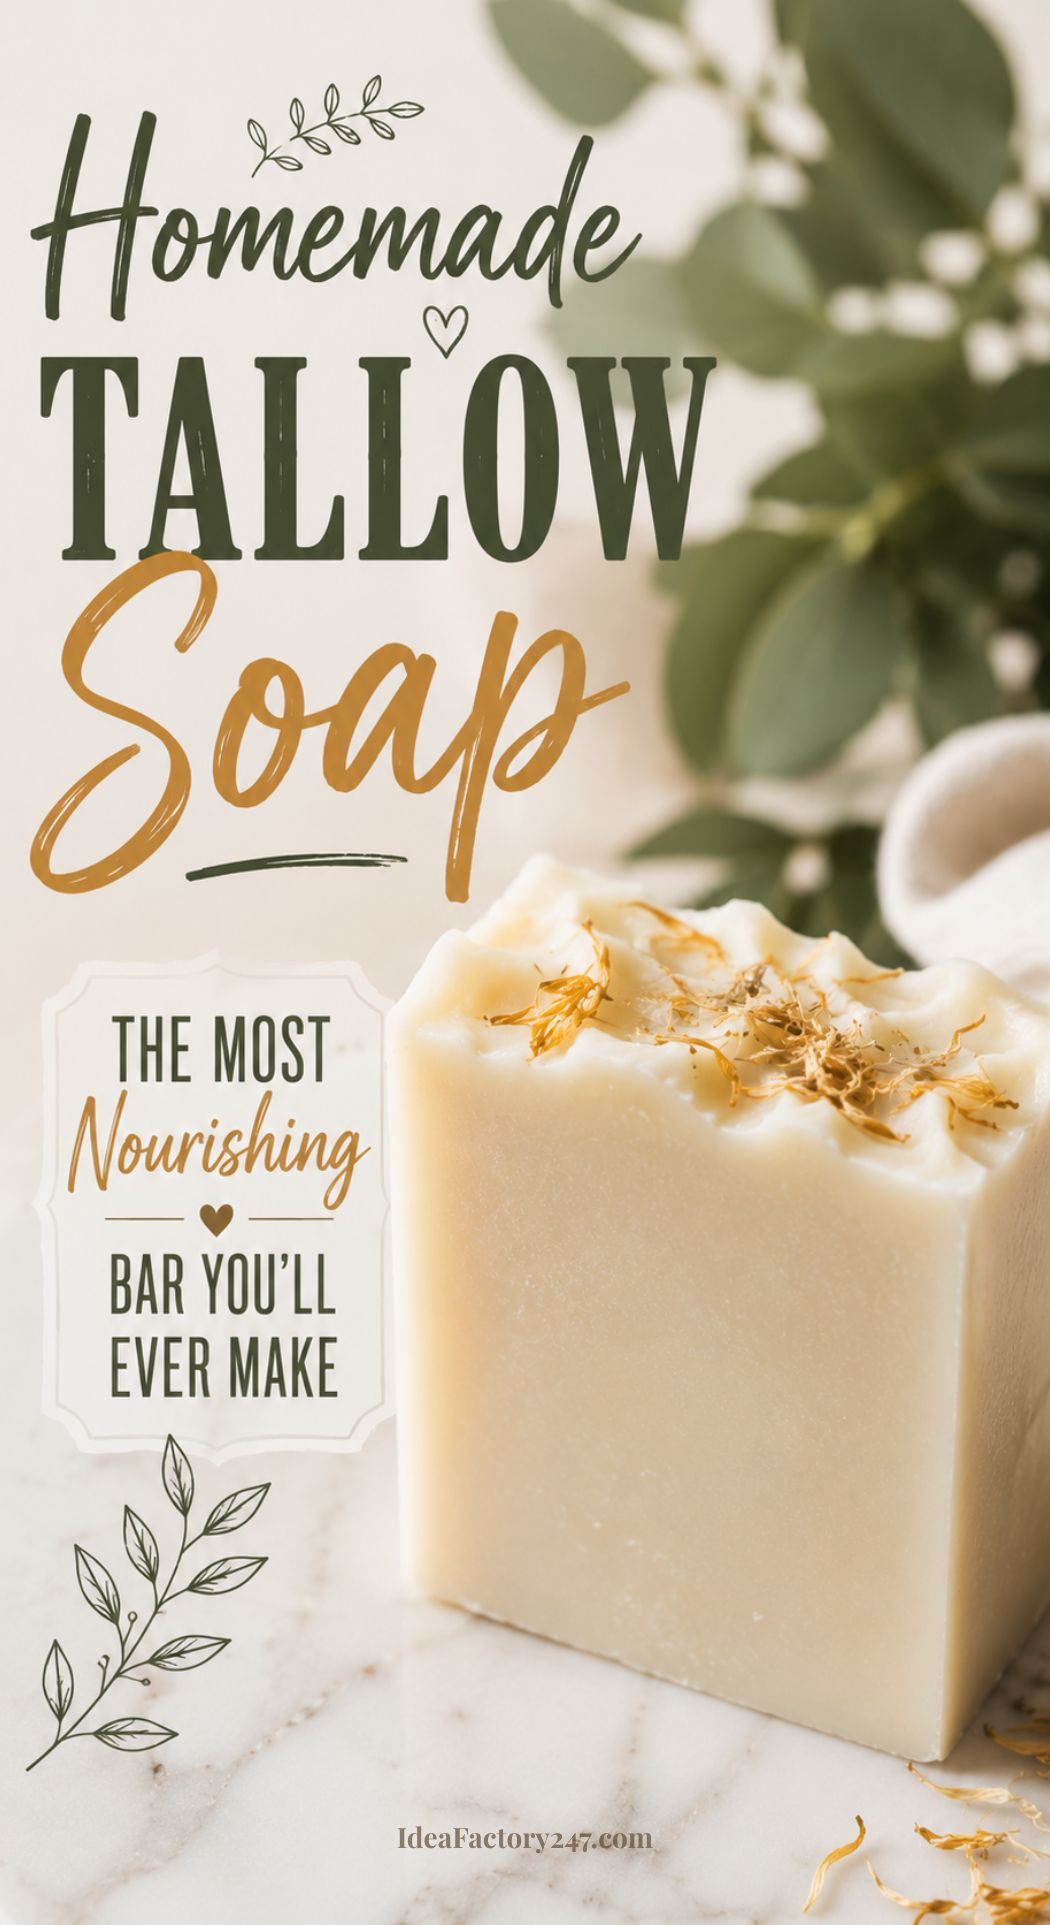
Beef tallow makes some of the most nourishing, skin-loving soap you can possibly craft at home. It’s rich, creamy, incredibly long-lasting, and surprisingly simple once you get past the initial “wait, I’m using what?” factor.
Tallow soap is basically the OG skincare. Long before the era of synthetic detergents and drugstore body washes packed with ingredients you can’t pronounce, rendering animal fat was just what people did. There’s something deeply satisfying about reclaiming that tradition—especially when the result is a luxury-tier bar of soap that leaves your skin feeling way better than anything in a plastic bottle.
Here is what we’re diving into:
- What tallow soap actually is (and no, it won’t make you smell like a burger).
- Why your skin barrier is going to thank you for using it.
- A foolproof beginner recipe (jump to recipe).
- A few fun variations once you’ve nailed the basics.
What Is Tallow Soap, Anyway?
Let’s demystify this. Tallow is just rendered beef fat. Specifically, it comes from “suet”—the fat surrounding the kidneys and organs, which yields the cleanest, most stable product.
When you combine tallow with lye (sodium hydroxide) and water, a little chemical reaction called saponification happens. The fat and the lye essentially fuse together and completely transform into a firm, creamy bar of soap.
The Big Myth, Debunked: The lye is completely consumed in this reaction. There is zero active lye left in your finished bar of soap. I know working with lye sounds intimidating at first, but once the science does its thing, you’re left with a gentle, glycerin-rich, 100% natural bar.
Why Tallow is a Skincare Cheat Code
Here’s the science-backed reason why everyone is obsessing over it: tallow’s fatty acid profile is remarkably similar to our skin’s natural sebum. It’s packed with oleic, palmitic, and stearic acids—aka the exact building blocks your skin already uses to lock in moisture and protect its barrier.
While some commercial soaps strip your skin dry, tallow soap plays nice.
The Perks at a Glance:
- Built to Last: It creates a hard bar that won’t turn into sad, mushy slime in your shower.
- The Lather: Think rich, dense, and creamy rather than big, aggressive bubbles.
- Maximum Moisture: The natural glycerin stays in the bar instead of being stripped out like it is in industrial soap-making.
- Shelf-Stable: Tallow doesn’t go rancid easily, so these bars keep for a long time.
- Ultra-Minimalist: Perfect for sensitive, dry, or eczema-prone skin because you know exactly what’s in it.
A Quick Reality Check on Lye Safety
Look, lye demands respect. It’s a caustic substance, so we aren’t going to casual our way through the safety steps. It’s nothing to be terrified of, but you do need to lock in and pay attention.
The Golden Rules of Lye:
- Suit Up: Safety glasses and gloves are non-negotiable.
- Ventilate: Work near an open window or an exhaust fan. The lye-and-water mix produces some brief, strong fumes.
- Snow into the Lake: Always add your lye TO the water, never water to lye. (Adding water to lye can cause a mini soap volcano, and we don’t want that).
- Check Your Containers: Use heat-safe glass, heavy-duty plastic, or stainless steel. Lye gets hot.
- Clear the Room: Keep pets and kids out of the zone while you work.
Once your soap cures, the lye is totally gone, leaving behind a pure, gentle product. Now that we’ve got the safety brief out of the way, let’s get into the recipe!
What You’ll Need
Ingredients
- 16 oz (454g) beef tallow — rendered and strained (see notes below on sourcing)
- 2.1 oz (60g) sodium hydroxide (lye) — food grade or soap-making grade
- **5 oz (142g) distilled water
- 1 oz (28g) castor oil — optional but adds bubbliness and a silkier lather
- Essential oils — optional, for scent (see variations below)
Bestseller

Sodium Hydroxide
Shop on Amazon
$15.99
Pure, Food Grade (Caustic Soda, Lye). Works well for homemade soap, including the popular DIY tallow soap bars.
We earn a commission if you make a purchase, at no additional cost to you.
06/29/2026 01:16 am GMT
Equipment
- Kitchen scale (essential — soap making requires precise measurements by weight)
- Two heat-safe containers (stainless steel or glass — no aluminum)
- Stick blender / immersion blender
- Silicone soap mold or a loaf pan lined with parchment paper
- Thermometer
- Rubber spatula
- Gloves and safety glasses

Amazon Basics Digital Kitchen Scale
Shop on Amazon
$10.49
LCD Display, Tare Function, Weighs up to 11 Pounds
06/29/2026 01:20 am GMT
How to Source and Render Tallow
Buying pre-rendered tallow: The easiest starting point. Look for grass-fed beef tallow online or at natural grocery stores. Make sure it’s pure rendered tallow, not a blend.
Rendering your own: Ask your butcher for beef suet — the hard fat from around the kidneys. Cut it into small pieces, place in a slow cooker on low, and let it melt down over several hours. Strain through cheesecloth into clean jars, discard the solids, and let it cool and solidify. The result is a clean white fat that keeps for months in the fridge or freezer.
Grass-fed vs. conventional: Grass-fed tallow has a better fatty acid profile and is the preferred choice for skincare use, but conventional tallow will still make excellent soap.
Basic DIY Tallow Soap Recipe
This is a simple, reliable beginner recipe that makes approximately 4-6 bars depending on your mold size. It’s an 8% superfat recipe, meaning 8% of the oils remain unsaponified in the finished bar for extra skin conditioning.
Makes: approximately 6 bars Cure time: 4-6 weeks
Step 1: Prepare Your Lye Solution
- Put on your gloves and eye protection.
- Measure your distilled water into a heat-safe container.
- Carefully measure your lye into a separate container.
- Slowly pour the lye INTO the water (never the reverse), stirring gently as you go.
- The solution will heat up rapidly — this is normal. Stir until fully dissolved.
- Set aside to cool. You’re aiming for around 100-110°F before combining with oils.
Step 2: Melt Your Tallow
- Gently melt the tallow in a saucepan over low heat or in the microwave in short bursts.
- If using castor oil, add it to the melted tallow and stir to combine.
- Allow to cool to around 100-110°F — the same temperature as your lye solution. Having both at similar temperatures helps them combine smoothly.
Step 3: Combine and Bring to Trace
- Slowly pour the lye solution into the melted tallow, stirring as you pour.
- Use your stick blender to blend in short bursts, alternating with stirring.
- You’re watching for “trace” — the point where the mixture thickens to a pudding-like consistency and leaves a trail on the surface when you drizzle some from the blender. Light trace looks like thin pudding; medium trace looks like thick pudding.
- This usually takes 3-5 minutes with a stick blender.
Step 4: Add Essential Oils and Pour
- At light to medium trace, add your essential oils if using. Stir well to combine.
- Pour into your prepared mold. Tap the mold on the counter a few times to release any air bubbles.
- Smooth the top with your spatula.
- Optional: sprinkle the top with dried herbs, oats, or a pinch of sea salt for texture and visual interest.

Silicone Soap Molds (3 Pack)
Shop on Amazon
$7.99
Rectangle Soap Molds for DIY Soap Making
06/29/2026 01:23 am GMT
Step 5: Insulate and Wait
- Cover the mold loosely with a piece of cardboard or a light towel.
- Leave undisturbed for 24-48 hours. The soap will go through “gel phase” — it may look translucent or slightly dark in the middle. This is completely normal and actually a sign of a successful saponification.
- After 24-48 hours, check if the soap has hardened enough to unmold. It should feel firm and waxy, not soft or sticky.
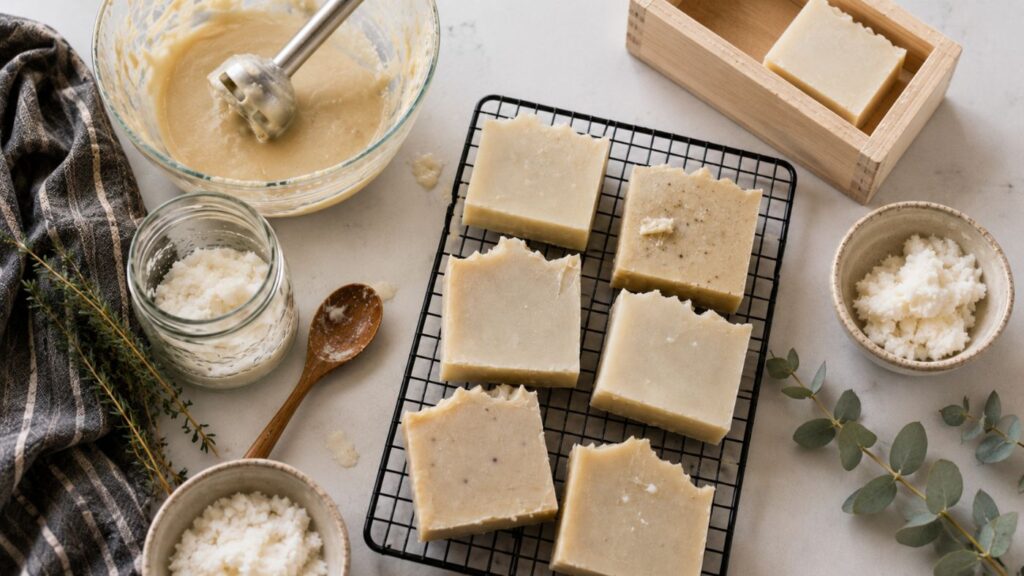
Step 6: Unmold, Cut, and Cure
- Turn out the soap onto a cutting board and cut into bars.
- Place the bars on a rack or tray with space between them for air circulation.
- Allow to cure for 4-6 weeks in a cool, dry place. This is the most important step — curing allows excess water to evaporate, the bars to harden, and the pH to mellow. Fresh soap is harsher than cured soap.
- After curing, your bars are ready to use or gift.
Essential Oil Combinations for Tallow Soap
Tallow has a very mild, slightly meaty scent when raw that completely disappears once the soap is made — the finished bar smells like nothing, or like whatever essential oils you add. Here are some combinations that work beautifully:
Classic Clean
- 20 drops lavender
- 15 drops cedarwood
- 10 drops eucalyptus
Citrus Fresh
- 25 drops sweet orange
- 10 drops lemon
- 10 drops grapefruit (Note: citrus essential oils can fade in cold process soap — use at higher amounts or expect a lighter scent)
Woodsy & Grounding
- 20 drops cedarwood
- 15 drops pine
- 10 drops patchouli
Peppermint Clean
- 30 drops peppermint
- 10 drops tea tree
- 5 drops eucalyptus
Unscented — tallow soap is excellent unscented, especially for sensitive skin. Let the natural ingredients speak for themselves.
Soap Variations
Tallow and Coconut Oil Soap: Replace 20% of the tallow with coconut oil for a harder bar with bigger, fluffier bubbles. Coconut oil adds lather; tallow adds conditioning. They complement each other well. Adjust your lye amount using a lye calculator if you change the oil percentages.
Tallow and Olive Oil (Bastille-Style): Replace 30% of the tallow with olive oil for an incredibly conditioning bar. The olive oil adds a silky, skin-loving quality that’s especially good for dry or mature skin.
Tallow Goat Milk Soap: Substitute goat milk for the distilled water. Freeze the goat milk first, then add the lye to the frozen milk slowly to prevent scorching. Goat milk adds natural sugars that boost lather and make the bar extra creamy.
Herbal Infusions: Infuse your tallow with dried herbs before making the soap — calendula, chamomile, or lavender all work beautifully. Gently heat the tallow with dried herbs for 30-60 minutes, strain, and use as your base fat.
DIY Tallow Soap Troubleshooting
- My soap didn’t reach trace: Make sure your temperatures are in the right range and try blending for longer. Very cold oils can slow trace significantly.
- My soap has white, powdery patches on top (soda ash): This is purely cosmetic — a reaction between the soap and air. It doesn’t affect the soap’s performance at all. You can plane it off with a vegetable peeler or simply use the soap as-is.
- My soap cracked on top: Usually caused by the soap getting too hot during gel phase. Try soaping at cooler temperatures next time, or put the mold in the freezer for the first hour to prevent overheating.
- My soap is soft after 48 hours: Give it more time. Tallow soap can sometimes take 3-4 days to fully harden, especially in humid environments.
- My bars are crumbly: The lye amount was likely too high. Always run your recipe through a lye calculator before making soap, especially if you adjust the oil amounts.
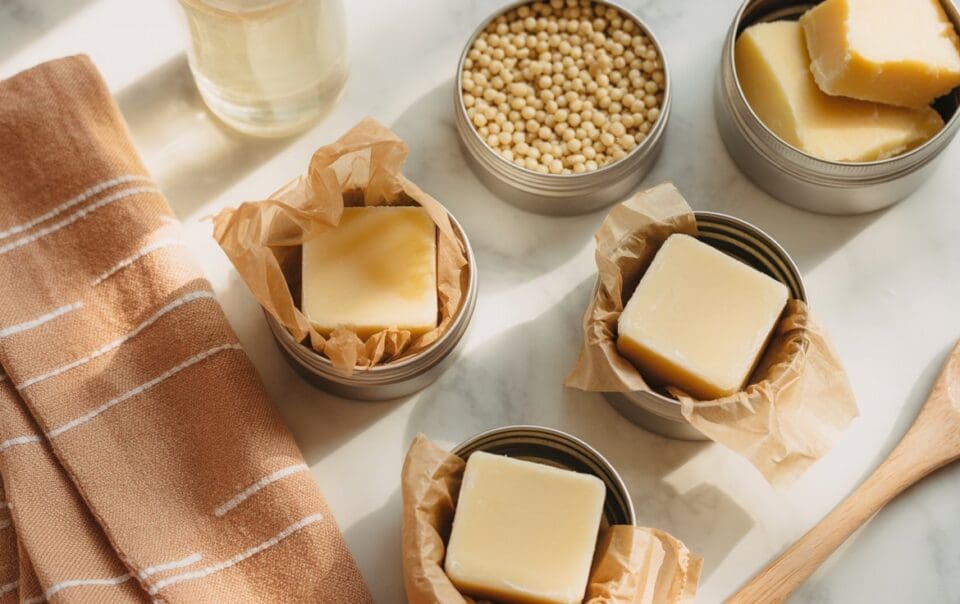
How Long Does Tallow Soap Last?
A well-made tallow soap bar lasts significantly longer than most commercial soap bars — typically 3-4 weeks of daily use per bar, compared to 1-2 weeks for softer commercial bars. This is because tallow creates a very hard, dense bar that doesn’t dissolve quickly. Use a soap dish that drains well between uses to extend the life of your bars even further.
Unmade bars stored in a cool, dry place will keep for 1-2 years or longer — tallow is naturally shelf-stable.
More DIY Bath & Body Recipes You’ll Love
- Honey Oat Soap Recipe for Beginners
- Handmade Soap Recipes for Relaxing
- DIY Whipped Body Butter Recipes
- DIY Natural Deodorant
- DIY Peppermint Sugar Scrub
- Homemade Body Wash Recipe
Please note: This website contains affiliate links. As an Amazon Associate, we earn from qualifying purchases at no additional cost to you.
.