Please note: This website contains affiliate links. As an Amazon Associate, we earn from qualifying purchases at no additional cost to you.
.
We all have that one product we reach for when we want to look “put together” without actually putting in the effort.
It’s not a heavy lipstick, but it’s more than just a clear balm—it’s that perfect, effortless tint.
The struggle is that most store-bought tinted lip balms are a letdown. They either have zero pigment (what’s the point?) or they’re weirdly drying, leaving you with patchy color and flaky lips an hour later. I got tired of the “hit or miss” game, so I decided to make my own.
This recipe is the ultimate middle ground. It’s simple to make, fully customizable, and gives you that soft, natural flush of color while actually keeping your lips hydrated.
Once you have a tube of this in your bag, you’ll find yourself reaching for it every single day.
Why We’re Collectively Obsessed with Tinted Balm
There’s a reason you’ll find a tinted balm in almost every purse, car console, and pocket. It’s essentially the “multitasker” of the beauty world. It’s popular because it tackles three things at once:
The Instant Wake-Up: It’s just enough pigment to make you look alive and “done” without the commitment (or the smudge-risk) of a traditional lipstick.
The “Secret” Hydration: It does the heavy lifting of a lip mask but looks like a sheer stain. No more choosing between “cute color” and “chapped lips.”
The “No-Mirror” Aesthetic: It’s the ultimate low-stakes makeup. You can swipe it on while walking to a meeting or sitting in traffic without worrying about clown lips.
How to Make Tinted Lip Balm at Home
This recipe uses a simple base and adds natural color so you can control how bold or subtle the tint is.
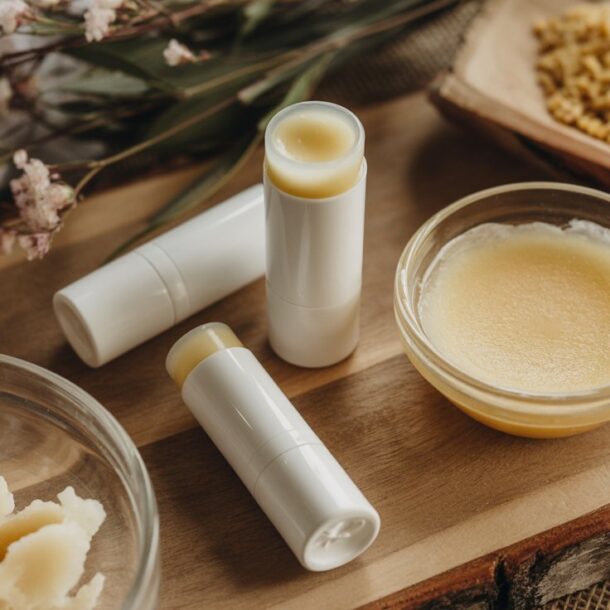
Typical Batch Size: This recipe makes about 4 tablespoons and that yields 7–8 lip balm tubes or 3–4 small tins. If you added extra oils for glide, may be closer to 6 tubes (slightly softer formula).
Ingredients
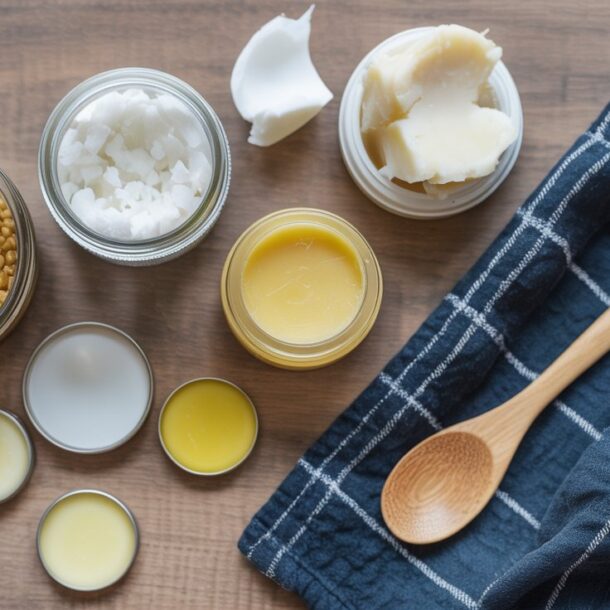
- 1 tablespoon beeswax pellets
- 2 tablespoons coconut oil
- 1 tablespoon shea butter
- 1/2 teaspoon beetroot powder or a small amount of natural mica powder
- 5–10 drops essential oil (optional)

Kate Naturals Organic Beet Root Powder for Smoothies, Baking & Juice. Raw Beetroot Superfood & Natural Red Food Coloring (8oz, Non-GMO, Earthy Flavor)
Shop on Amazon
$9.99
Great for smoothies or even DIY lip balm recipes.
We earn a commission if you make a purchase, at no additional cost to you.
09/18/2026 02:56 am GMT
Instructions
- Add beeswax, coconut oil, and shea butter to a heat-safe bowl
- Melt using a double boiler method
- Once fully melted, remove from heat and let cool slightly
- Stir in your tint (beetroot powder or mica) until evenly blended
- Add essential oil if using
- Pour into lip balm tubes or small containers
- Let it fully set before using
Start with a small amount of color and build gradually until you get the shade you like.

Beesworks Yellow Beeswax Pellets
Shop on Amazon
$13.99
100% Pure, Cosmetic Grade, Triple-Filtered Beeswax for DIY Skin care, Lip Balm, Lotion, and Candle Making
We earn a commission if you make a purchase, at no additional cost to you.
09/17/2026 07:54 am GMT
How to Customize Your Tint
This is where tinted lip balm really stands out. You can easily adjust the color depending on your preference:
- For a soft pink tint, use a small amount of beetroot powder
- For a deeper tone, add a bit more gradually
- For a more polished look, use cosmetic-grade mica powder
Because you’re making it yourself, you can create something that actually suits your skin tone instead of settling for whatever’s in store.
This mica powder comes in 24 glorious colors so you can create really creative with your tinted lip balm! If you click on the link, you’ll also see that they have single-color options (reds, browns, pinks) you can buy.
Best Seller

Mica Powder for Resin Coloring 24 Colors Set - Pigment Powder for Nails Cosmetic Grade Mica Powder for Skin - Epoxy Resin Color Pigment Powder Resin Dye Mica Powder for Soap
Shop on Amazon
$7.49
This works great for a tinted lip balm recipe. You can get a sample back like this or they also single-color options.
We earn a commission if you make a purchase, at no additional cost to you.
09/18/2026 03:58 am GMT
How This Compares to Regular Lip Balm
A regular lip balm focuses only on hydration. A tinted lip balm gives you:
- moisture
- color
- a more finished look
It’s one of the easiest ways to simplify your routine without giving up that polished feel.
Common Mistakes When Making Tinted Lip Balm
Here are a few of the lessons I’ve learned along the way… hope this helps you!
- Adding too much color too quickly can make the tint uneven or too bold. Just go slow and really mix thoroughly!
- If you don’t mix thoroughly and consistently, it can cause the color to settle instead of blending smoothly.
- Using too much wax can make the balm feel stiff and harder to apply.
- Using too much oil can make it too soft and reduce how long it lasts.
Small adjustments make a big difference, so it’s worth taking your time with the first batch of your homemade lip balm For more beginner tips, visit our Guide to Making Lip Balm at Home.
When to Use Tinted Lip Balm
This is the kind of product you can use every day. It works well:
- as a quick everyday lip color
- for no-makeup makeup looks
- when you want something lightweight but still polished
It’s especially helpful if you don’t want to deal with lipstick but still want a little color.
FAQs About Tinted Lip Balm
How much color should I add?
Start with a small amount and build gradually. It’s easier to add more than to fix a shade that’s too strong.
Can I use food-based coloring like beetroot powder?
Yes, beetroot powder is a popular natural option for a soft pink tint. I’ve had several friends with completely different skin tones and everyone seems to love the beet root option. And the bonus, you can add the leftover powder to your smoothie! 🙂
Kate Naturals Organic Beet Root Powder for Smoothies, Baking & Juice. Raw Beetroot Superfood & Natural Red Food Coloring (8oz, Non-GMO, Earthy Flavor)
Shop on Amazon
$9.99
Great for smoothies or even DIY lip balm recipes.
We earn a commission if you make a purchase, at no additional cost to you.
09/18/2026 02:56 am GMT
Will the color transfer?
Tinted lip balm is lighter than lipstick, so it may transfer slightly but usually not as heavily.
How long does homemade tinted lip balm last?
When stored properly, it can last several months.
Can I adjust the texture?
Yes, you can adjust the balance of wax and oil to make it firmer or softer.
We want you to feel like this…
You swipe it on quickly before heading out, and instead of feeling like you need a full makeup routine, your lips already look softer, more even, and just slightly enhanced. It’s simple, but it makes you feel more put together without trying too hard.
Final Thoughts
If you’ve been looking for a simple way to add color without sacrificing hydration, learning how to make tinted lip balm at home is a great place to start.
It’s easy, customizable, and fits into your routine without adding extra steps. Once you find your perfect shade, it’s something you’ll probably keep using on repeat.
Please note: This website contains affiliate links. As an Amazon Associate, we earn from qualifying purchases at no additional cost to you.
.