
Please note: This website contains affiliate links. As an Amazon Associate, we earn from qualifying purchases at no additional cost to you.
.
There’s a point where you realize you’ve tried 101 lip balms… and somehow none of them really stick.
They feel good for a few minutes, then your lips are right back to feeling dry again. Right?
After a while, it starts to feel like you’re just reapplying out of habit instead of actually fixing anything.
That’s what made me curious enough to try making my own.
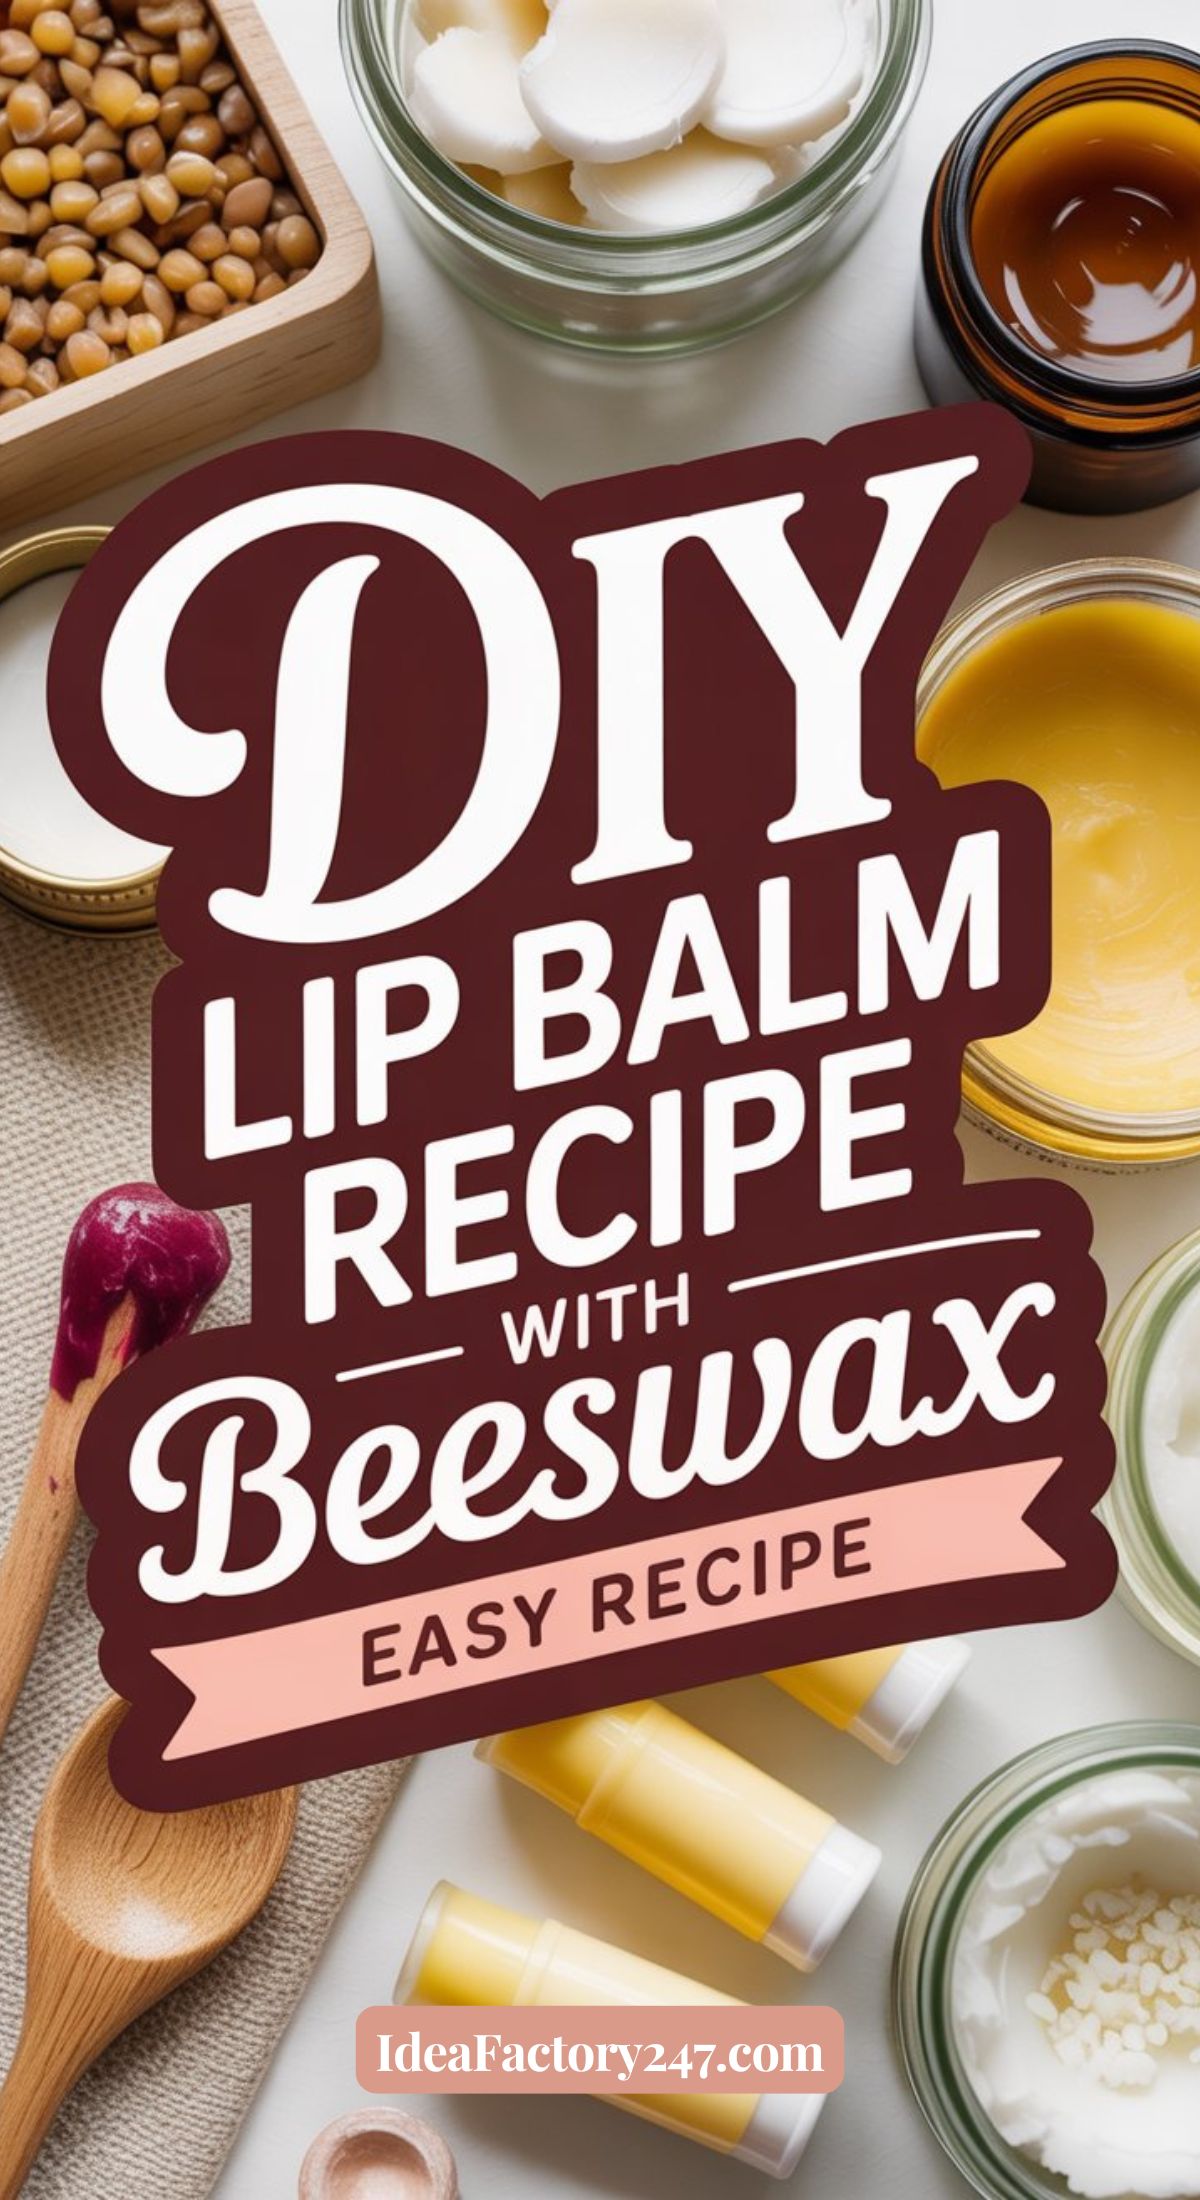
This beeswax lip balm recipe is simple, reliable, and one of those things that ends up being way easier than you expect. It gives you a smooth, moisturizing balm that actually lasts, without needing a long list of ingredients or a complicated process.
Why Beeswax Works So Well in Lip Balm
Beeswax is one of the most commonly used ingredients in lip balm for a reason.
It helps create a protective layer on your lips that locks in moisture without feeling overly heavy. Instead of constantly reapplying, your lips stay hydrated longer.
In a homemade lip balm, beeswax works with oils and butters to:
- protect dry or cracked lips
- seal in moisture
- give the balm structure so it’s easy to use
It’s simple, but it makes a big difference.
How to Make Lip Balm at Home (Beeswax Version)
This DIY lip balm recipe uses just a few ingredients and comes together quickly.
Typical Batch Size: This beeswax recipe makes about 4 tablespoons and that yields 7–8 lip balm tubes or3–4 small tins. If you added extra oils for glide, may be closer to 6 tubes (slightly softer formula).
For your convenience, we’ve also included links to Amazon if you need to shop for any of the ingredients.
Ingredients
- 1 tablespoon beeswax pellets
- 2 tablespoons coconut oil
- 1 tablespoon shea butter
- 5–10 drops essential oil (optional for scent)

Beesworks Yellow Beeswax Pellets
Shop on Amazon
$13.99
100% Pure, Cosmetic Grade, Triple-Filtered Beeswax for DIY Skin care, Lip Balm, Lotion, and Candle Making
07/27/2026 10:01 pm GMT
Instructions
- Add the beeswax, coconut oil, and shea butter to a heat-safe bowl
- Place the bowl over a pot of simmering water (double boiler method)
- Stir until everything is fully melted and combined
- Remove from heat and let it cool slightly
- Add essential oil if you want a light scent
- Pour into lip balm tubes or small containers
- Let it fully set before using
That’s it. This is one of the easiest ways to make a homemade lip balm and it feels good to use.
How to Get the Texture Just Right
If your first batch isn’t perfect, don’t worry. Small adjustments make a big difference.
If your lip balm feels too hard, add a little more oil next time.
If it feels too soft, increase the beeswax slightly.
Most DIY lip balm recipes take one or two tries to get exactly how you like it.
Common Mistakes When Making DIY Lip Balm
- Using too much beeswax can make your balm feel stiff and harder to apply.
- Using too much oil can make it overly soft or even slightly greasy.
- Not mixing thoroughly can lead to uneven texture.
- Pouring too slowly can cause the mixture to start setting before you finish (beginner DIYers – listen to this one!)
These are all easy fixes once you know what to look for, but you can check out more troubleshooting tips on our complete guide to making lip balm at home.
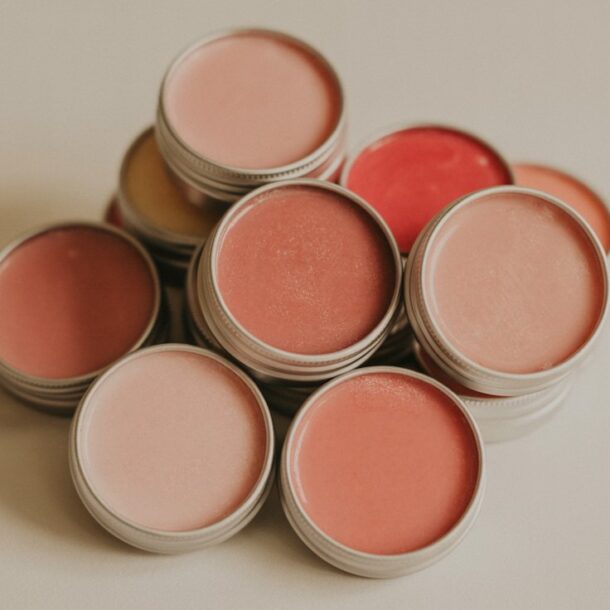
PRO TIP: If you are making this for the first time, I would highly recommend storing your lip balm in the little tins (versus trying to get them into a perfect lipstick tube formation!).
This is a super affordable option and I love that they come with cute labels – makes it easy for DIY gifting!
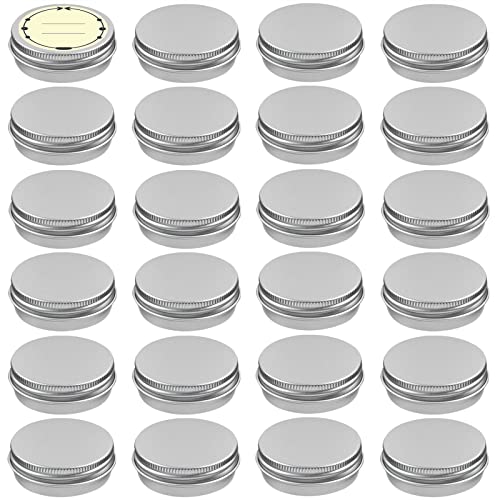
TUZAZO 24Pack 1/2 Oz Aluminum Tin Cans with Screw Lid and Labels, Refillable Travel Sized Cosmetic Containers Small Tins for Lip Balms, Salves, Lotion Bars, Candles
Shop on Amazon
$9.99
TUZAZO 24 Pack 1/2 Oz Aluminum Tin Cans with Screw Lid and Labels, Refillable Travel Sized Cosmetic Containers Small Tins for Lip Balms, Salves and other DIY skin care products.
We earn a commission if you make a purchase, at no additional cost to you.
07/27/2026 07:02 am GMT
How to Customize This Lip Balm Recipe
Once you get comfortable with the basics, you can start customizing your lip balm. You can:
- add a small amount of beetroot powder for a natural tint (check out our full beetroot lip balm recipe)
- use different oils for a lighter or richer feel
- add essential oils for a subtle scent
- adjust the texture based on your preference
This is where DIY lip balm becomes more fun and personal.
When to Use Homemade Lip Balm
You can use this lip balm anytime your lips feel dry, but it’s especially helpful:
- before bed for overnight hydration
- before going outside in cold or windy weather
- throughout the day to maintain softness
Because it helps lock in moisture, it tends to last longer than many store-bought options.
FAQs About Beeswax Lip Balm
Is beeswax lip balm better than store-bought lip balm?
It can be, especially if you’re trying to avoid unnecessary ingredients. Homemade lip balm gives you control over what you’re using.
How long does homemade lip balm last?
When stored properly in a cool, dry place, it can last several months.
Can I make this without beeswax?
Yes, but the texture will be different. Beeswax helps give the balm structure and staying power.
What is the best oil to use in DIY lip balm?
Coconut oil is a popular option, but you can also use oils like almond or jojoba depending on your preference.
Can I add color to this lip balm?
Absolutely! Natural ingredients like beetroot powder can add a subtle tint.

Kate Naturals Organic Beet Root Powder for Smoothies, Baking & Juice. Raw Beetroot Superfood & Natural Red Food Coloring (8oz, Non-GMO, Earthy Flavor)
Shop on Amazon
$8.99
Great for smoothies or even DIY lip balm recipes.
We earn a commission if you make a purchase, at no additional cost to you.
07/27/2026 07:02 am GMT
Picture This
You apply your lip balm once, and instead of reaching for it again a few minutes later, your lips actually stay soft. There’s no waxy buildup or constant reapplying. Just a smooth, comfortable feeling that lasts longer than you’re used to.
Final Thoughts
If you’ve been cycling through different products trying to find something that works, learning how to make lip balm at home is a simple shift that can make a noticeable difference.
This beeswax lip balm recipe is a great starting point. It’s easy, customizable, and built around ingredients that actually support your lips instead of just coating them.
Once you get the hang of it, it becomes one of those things you always keep on hand.
Please note: This website contains affiliate links. As an Amazon Associate, we earn from qualifying purchases at no additional cost to you.
.