Please note: This website contains affiliate links. As an Amazon Associate, we earn from qualifying purchases at no additional cost to you.
.
Ever feel like you’re stuck in a toxic relationship with your lip balm?
You apply it, feel great for ten minutes, and then suddenly your lips feel like a desert again. So you apply more. It’s a vicious cycle that most of us just accept as “life.”
After burning through way too many tubes of the store-bought stuff, I finally took a look at the ingredients list and had a “lightbulb” moment: if I wanted it done right, I had to do it myself. The best part? It’s surprisingly easy. No lab coat or chemistry degree required. Just a few simple, nourishing ingredients you probably already recognize.
In this guide, we’re breaking down how to make your own lip balm from scratch—one that actually stays put and heals your skin instead of just sitting on the surface.
Why Homemade Lip Balm Works Better for Dry Lips
A lot of store-bought lip balms rely on ingredients that create a temporary barrier but don’t really nourish your lips. That’s why you end up reapplying constantly.
When you make homemade lip balm, you’re choosing ingredients that:
- help lock in moisture
- soften dry, cracked lips
- protect against weather and dryness
You’re not just coating your lips. You’re actually supporting them.
This is especially helpful if you’ve been dealing with dryness, flaking, or lips that never seem to stay hydrated.
The Basic Formula for DIY Lip Balm
Once you understand the base formula, everything becomes easier.
Most DIY lip balm recipes follow a simple structure:
- a wax for structure
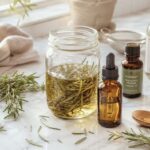
- an oil for moisture
- an optional butter for softness
This balance is what gives lip balm its texture and effectiveness.
A typical ratio looks like:
- 1 part wax
- 2 parts oil
- 1 part butter
From there, you can adjust based on how firm or soft you want your balm to feel.
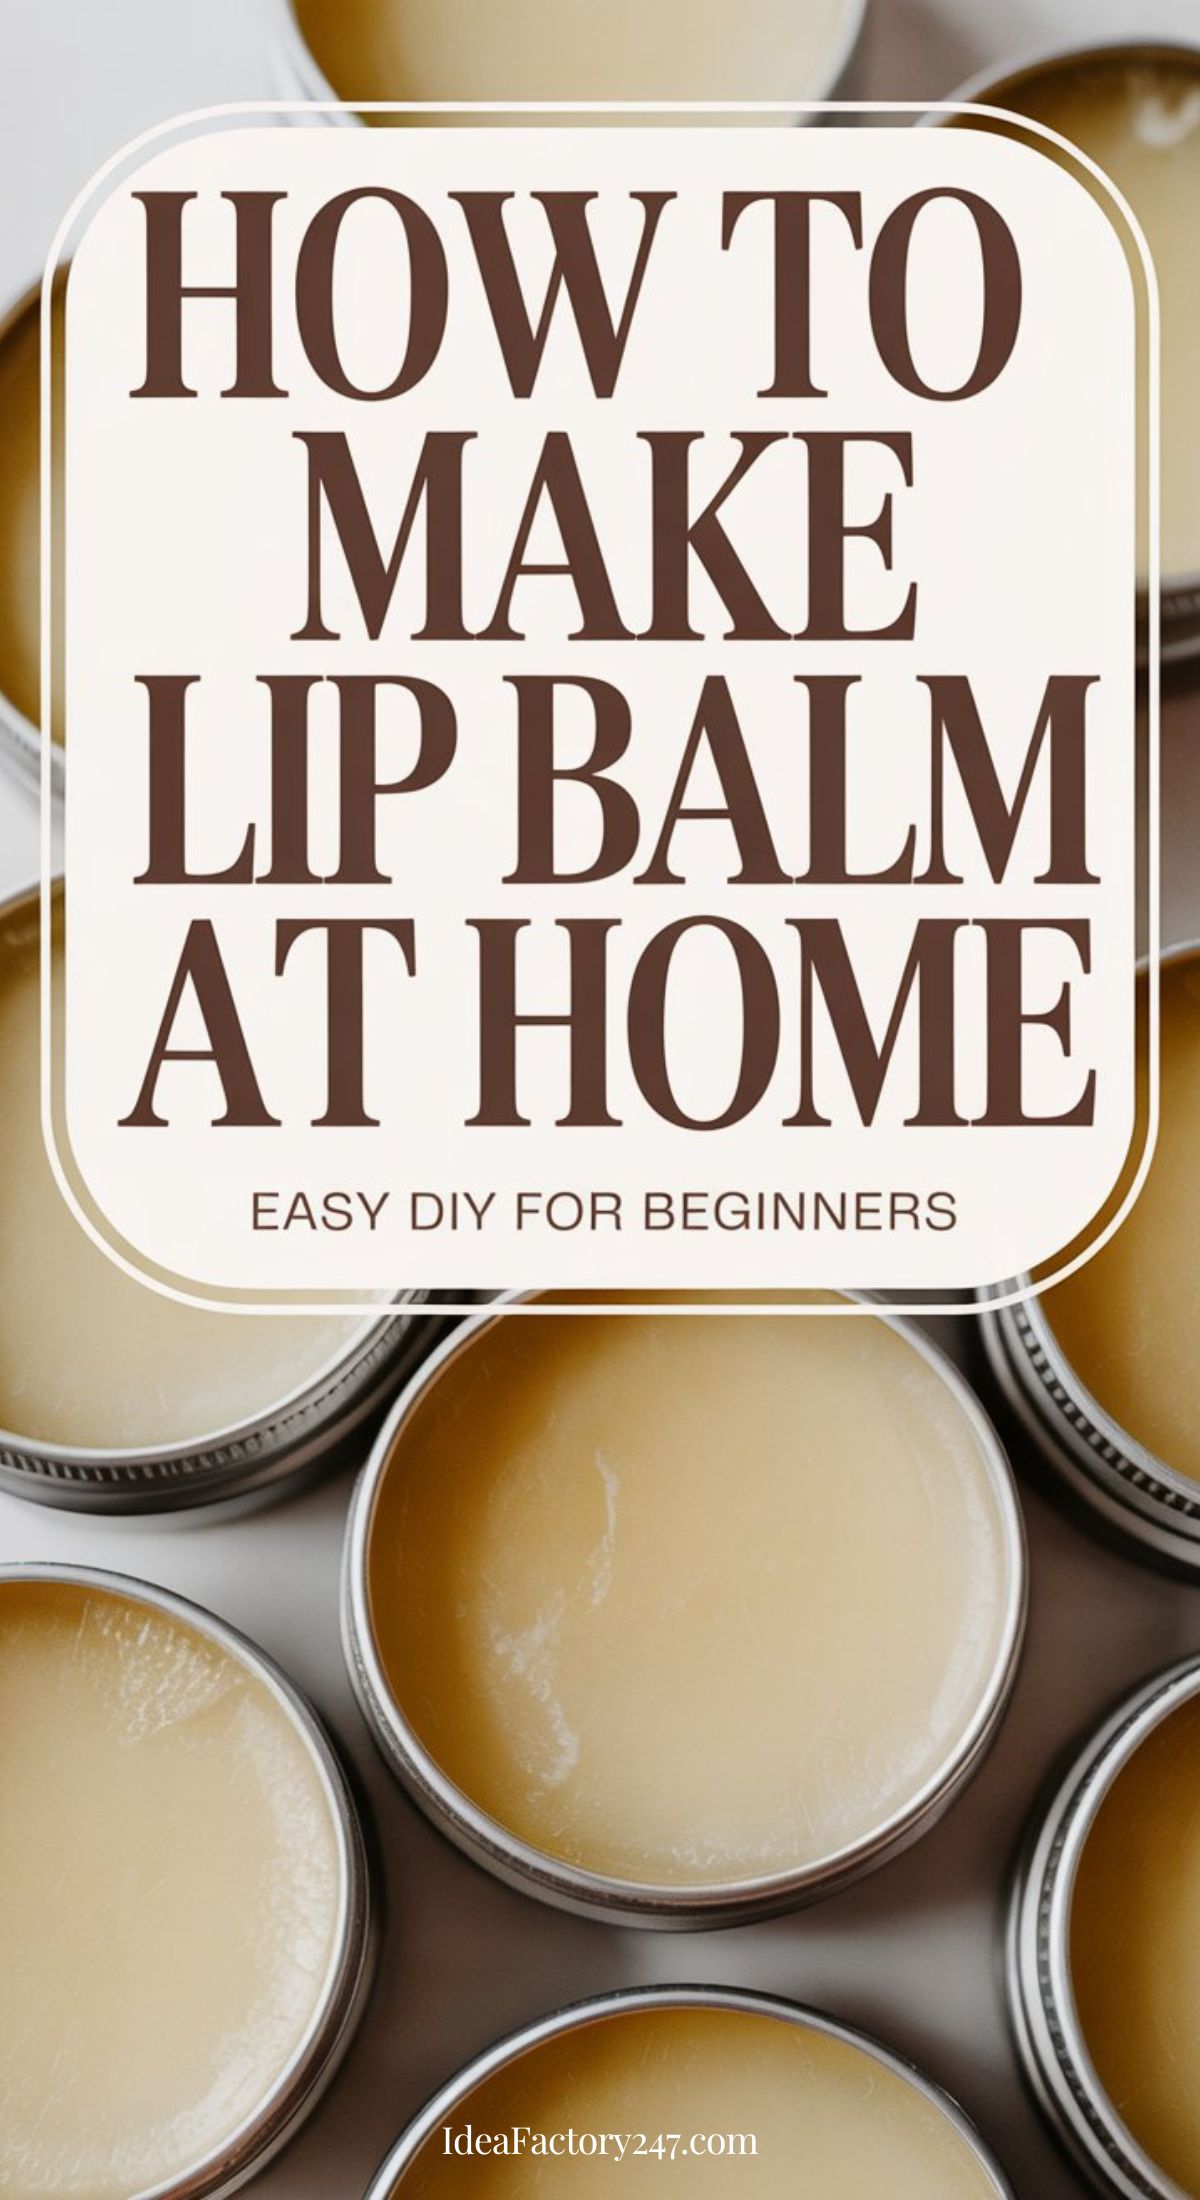
How to Make Lip Balm at Home (Step-by-Step)
For your convenience, we’ve also included links to Amazon if you need to shop for any of the ingredients.
Ingredients
- 1 tablespoon beeswax pellets
- 2 tablespoons coconut oil
- 1 tablespoon shea butter
- 5–10 drops essential oil (optional, for scent)

Beesworks Yellow Beeswax Pellets
Shop on Amazon
$13.99
100% Pure, Cosmetic Grade, Triple-Filtered Beeswax for DIY Skin care, Lip Balm, Lotion, and Candle Making
07/27/2026 10:01 pm GMT
Instructions
- Add beeswax, coconut oil, and shea butter to a heat-safe bowl
- Place the bowl over a pot of simmering water (double boiler method)
- Stir until everything is fully melted and combined
- Remove from heat and let cool slightly
- Add essential oils if using
- Pour into lip balm tubes or small containers
- Let it set completely before using
Once it cools, it will firm up into a smooth, easy-to-use balm.
Common Mistakes When Making Lip Balm
If your first batch doesn’t turn out perfectly, it’s usually one of these:
- Using too much wax can make your balm feel hard and difficult to apply.
- Using too much oil can make it too soft or even slightly greasy.
- Not mixing thoroughly can cause uneven texture.
- Pouring too slowly can cause the mixture to start setting before you finish.
The good news is that these are all easy to fix once you know what to adjust.
How to Customize Your Lip Balm
This is where things get fun. Once you know how to make lip balm at home, you can start customizing it based on what you like. You can:
- add a tint using natural ingredients like beetroot powder
- create a glossy finish with lighter oils
- add flavor or scent with essential oils
- make it richer with more butter
This is how you go from a basic homemade lip balm to something that feels a little more personal.
Popular Lip Balm Variations to Try
If you’re not sure where to go next, here are a few easy directions:
- A beeswax lip balm recipe is great if you want something classic and protective – we really like this one for beginners, as it only requires 3 ingredients and is pretty easy to whip up!
- A tinted lip balm adds a natural wash of color and is perfect for everyday use.
- A beetroot lip balm DIY version is a popular option for a soft pink tint – naturally!
- A lip balm with SPF is helpful for protecting your lips during the summer (DIY recipe for this one coming soon!)
- Tallow Lip Balm is ideal for moisturizing and nourishing your lips (and skin).
Each of these homemade balms build on the same base recipe, so you’re not starting from scratch every time.
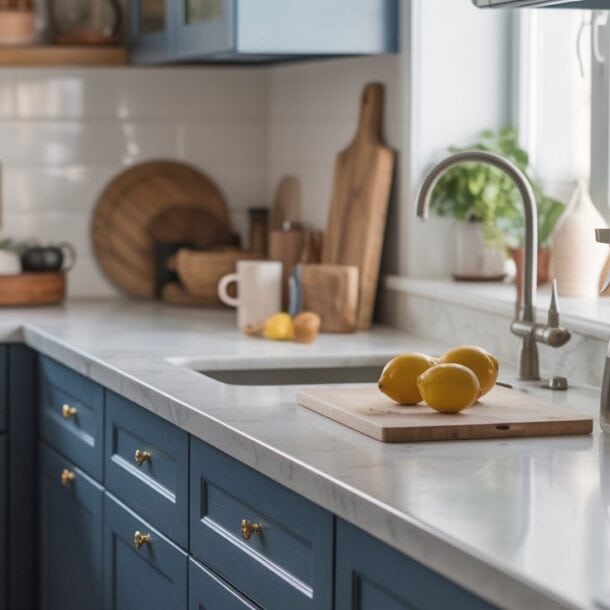
How to Store Your Homemade Lip Balm
Homemade lip balm is easy to store and lasts longer than you might expect.
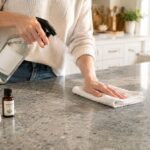
Keep it in a cool, dry place and away from direct sunlight.
If stored properly, it can last several months without any issues.
Using clean containers and avoiding moisture helps extend its shelf life.

SATINIOR 24 Pieces Empty Clear Plastic Jars with Lids Round Storage Containers Wide-Mouth for Beauty Product Cosmetic Cream Lotion Liquid Butter Craft and Food (Gold Lid, 2 oz)
Shop on Amazon
$19.95
Round Storage Containers Wide-Mouth for Beauty Product Cosmetic Cream Lotion Liquid Butter Craft and Food. Great for gifting DIY lip balms or lotions.
We earn a commission if you make a purchase, at no additional cost to you.
07/27/2026 07:02 am GMT
Final Thoughts
Learning how to make lip balm at home is one of those small things that ends up making a bigger difference than expected.
You’re not relying on random ingredients or guessing what’s working. You’re creating something simple, effective, and tailored to what your lips actually need.
Once you get the basics down, it becomes easy to experiment, adjust, and find what works best for you.
FAQs About How to Make Lip Balm at Home
Is it hard to make lip balm at home?
Not at all. Once you understand the basic formula, it’s a simple process that only takes a few steps. We recommend starting with the beeswax lip balm recipe.
What is the best wax for homemade lip balm?
Beeswax is the most commonly used option because it provides structure and helps lock in moisture.
Can I make lip balm without beeswax?
Yes, you can use alternatives like candelilla wax, but the texture may be slightly different.
How long does homemade lip balm last?
When stored properly, it can last several months.
Can I customize the scent or flavor?
Yes, essential oils or natural flavor oils can be added in small amounts to customize your balm.
Please note: This website contains affiliate links. As an Amazon Associate, we earn from qualifying purchases at no additional cost to you.
.