
Please note: This website contains affiliate links. As an Amazon Associate, we earn from qualifying purchases at no additional cost to you.
.
Winter has a way of making your home feel a little… dark. And not in a cool, moody Pinterest kind of way—more like “why does my living room feel like a cave at 4:45 PM?”
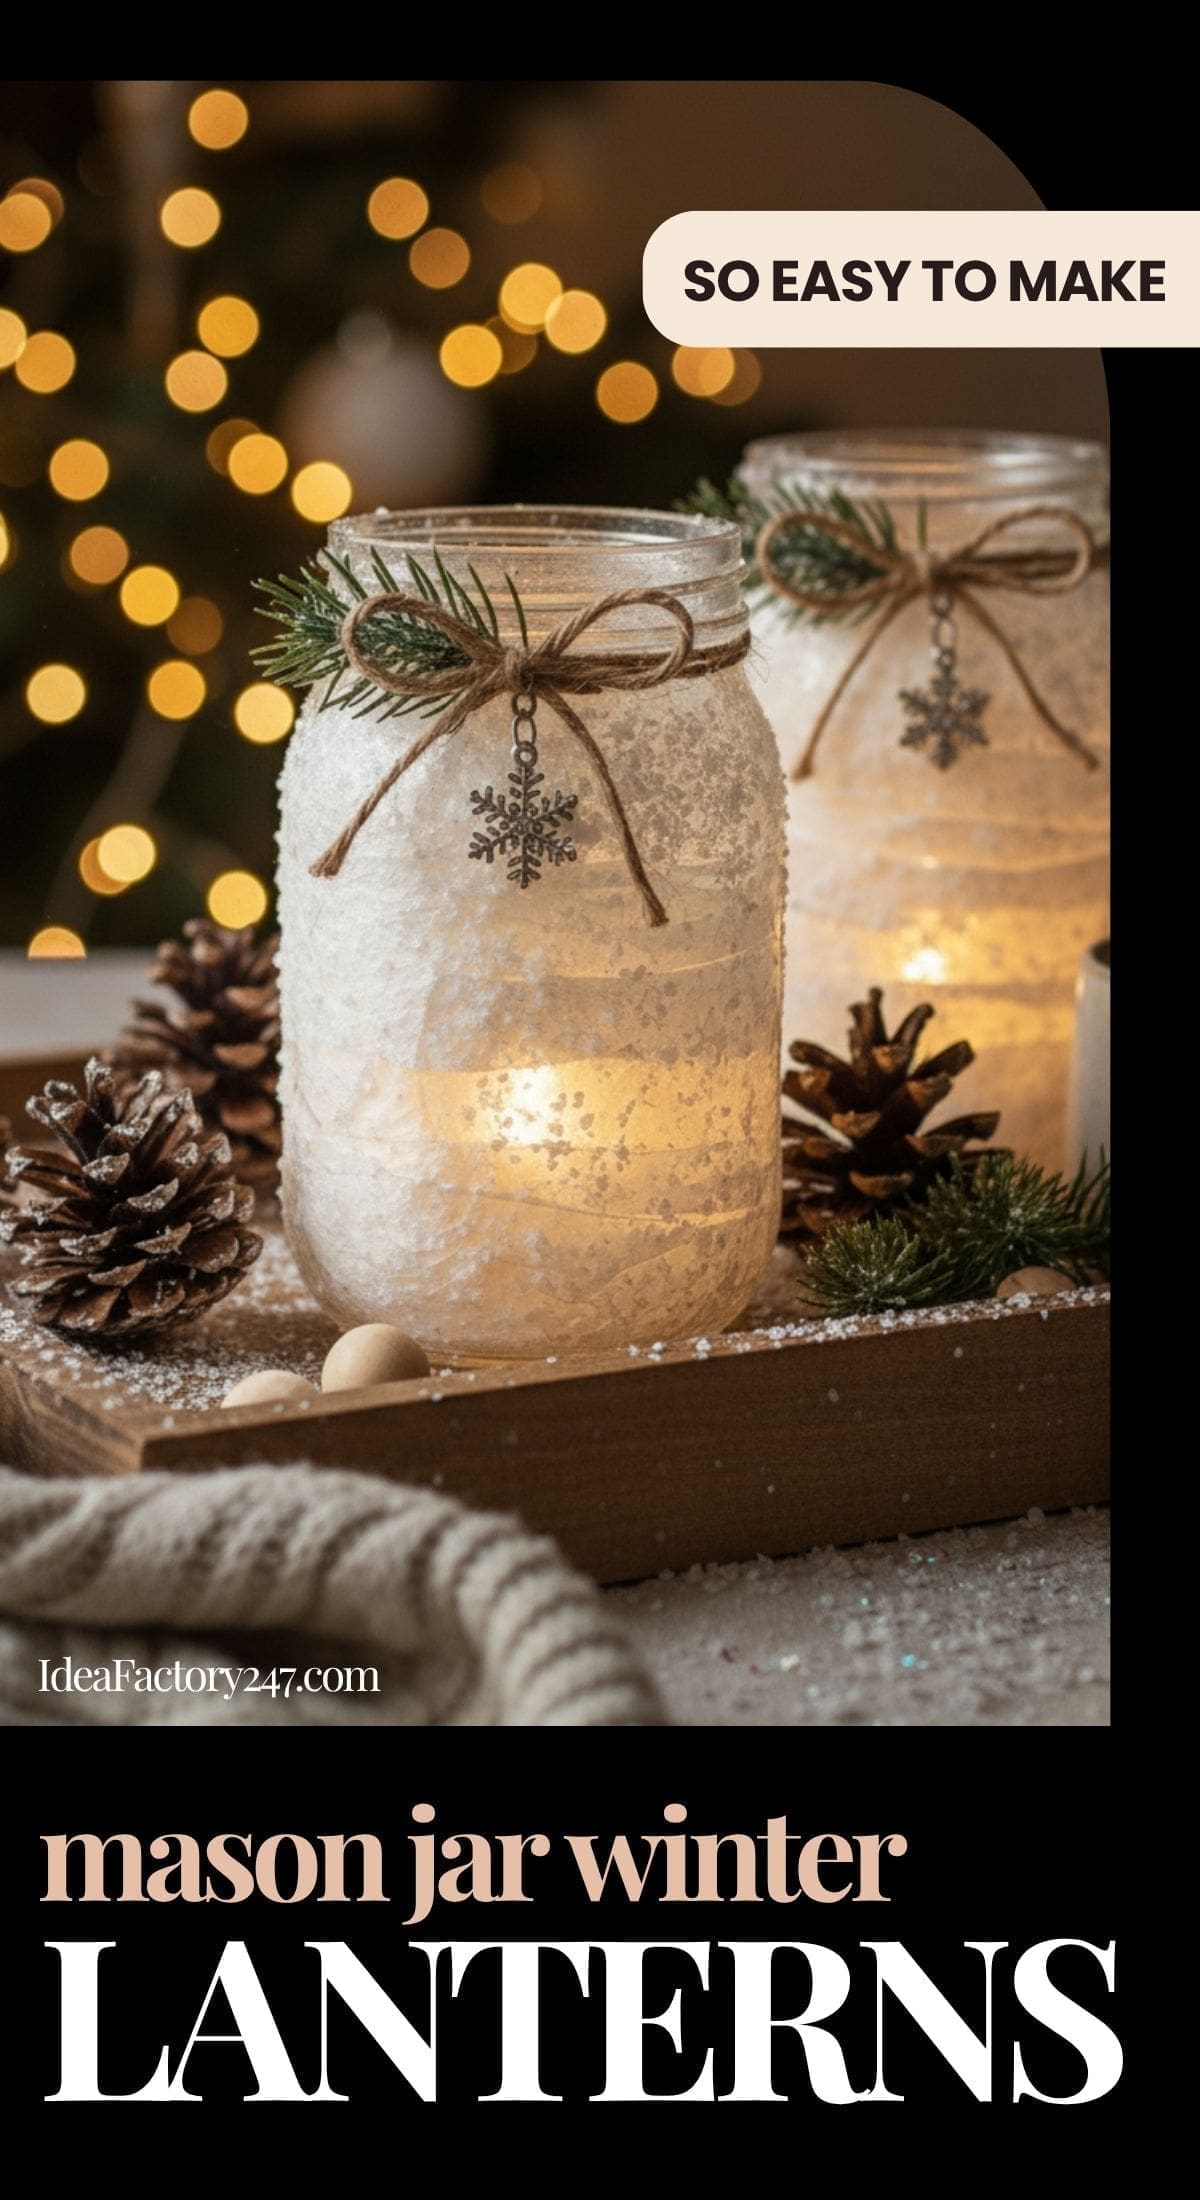
Enter Winter Mason Jar Lanterns, the easiest craft that instantly gives your home that soft, warm, magical glow we all pretend comes naturally to us. Spoiler: it does not. But these lanterns? They fake it beautifully.
This project is super kid-friendly (as long as they’re not wielding the hot glue gun), incredibly cheap to make, and turns basic mason jars into Anthropologie-adjacent décor that you’ll actually want to keep out all winter.
Think frosted glass, twinkly lights, soft textures, and a cozy vibe that says, “I definitely have my life together.” Even if you absolutely do not.
Let’s get glowing.
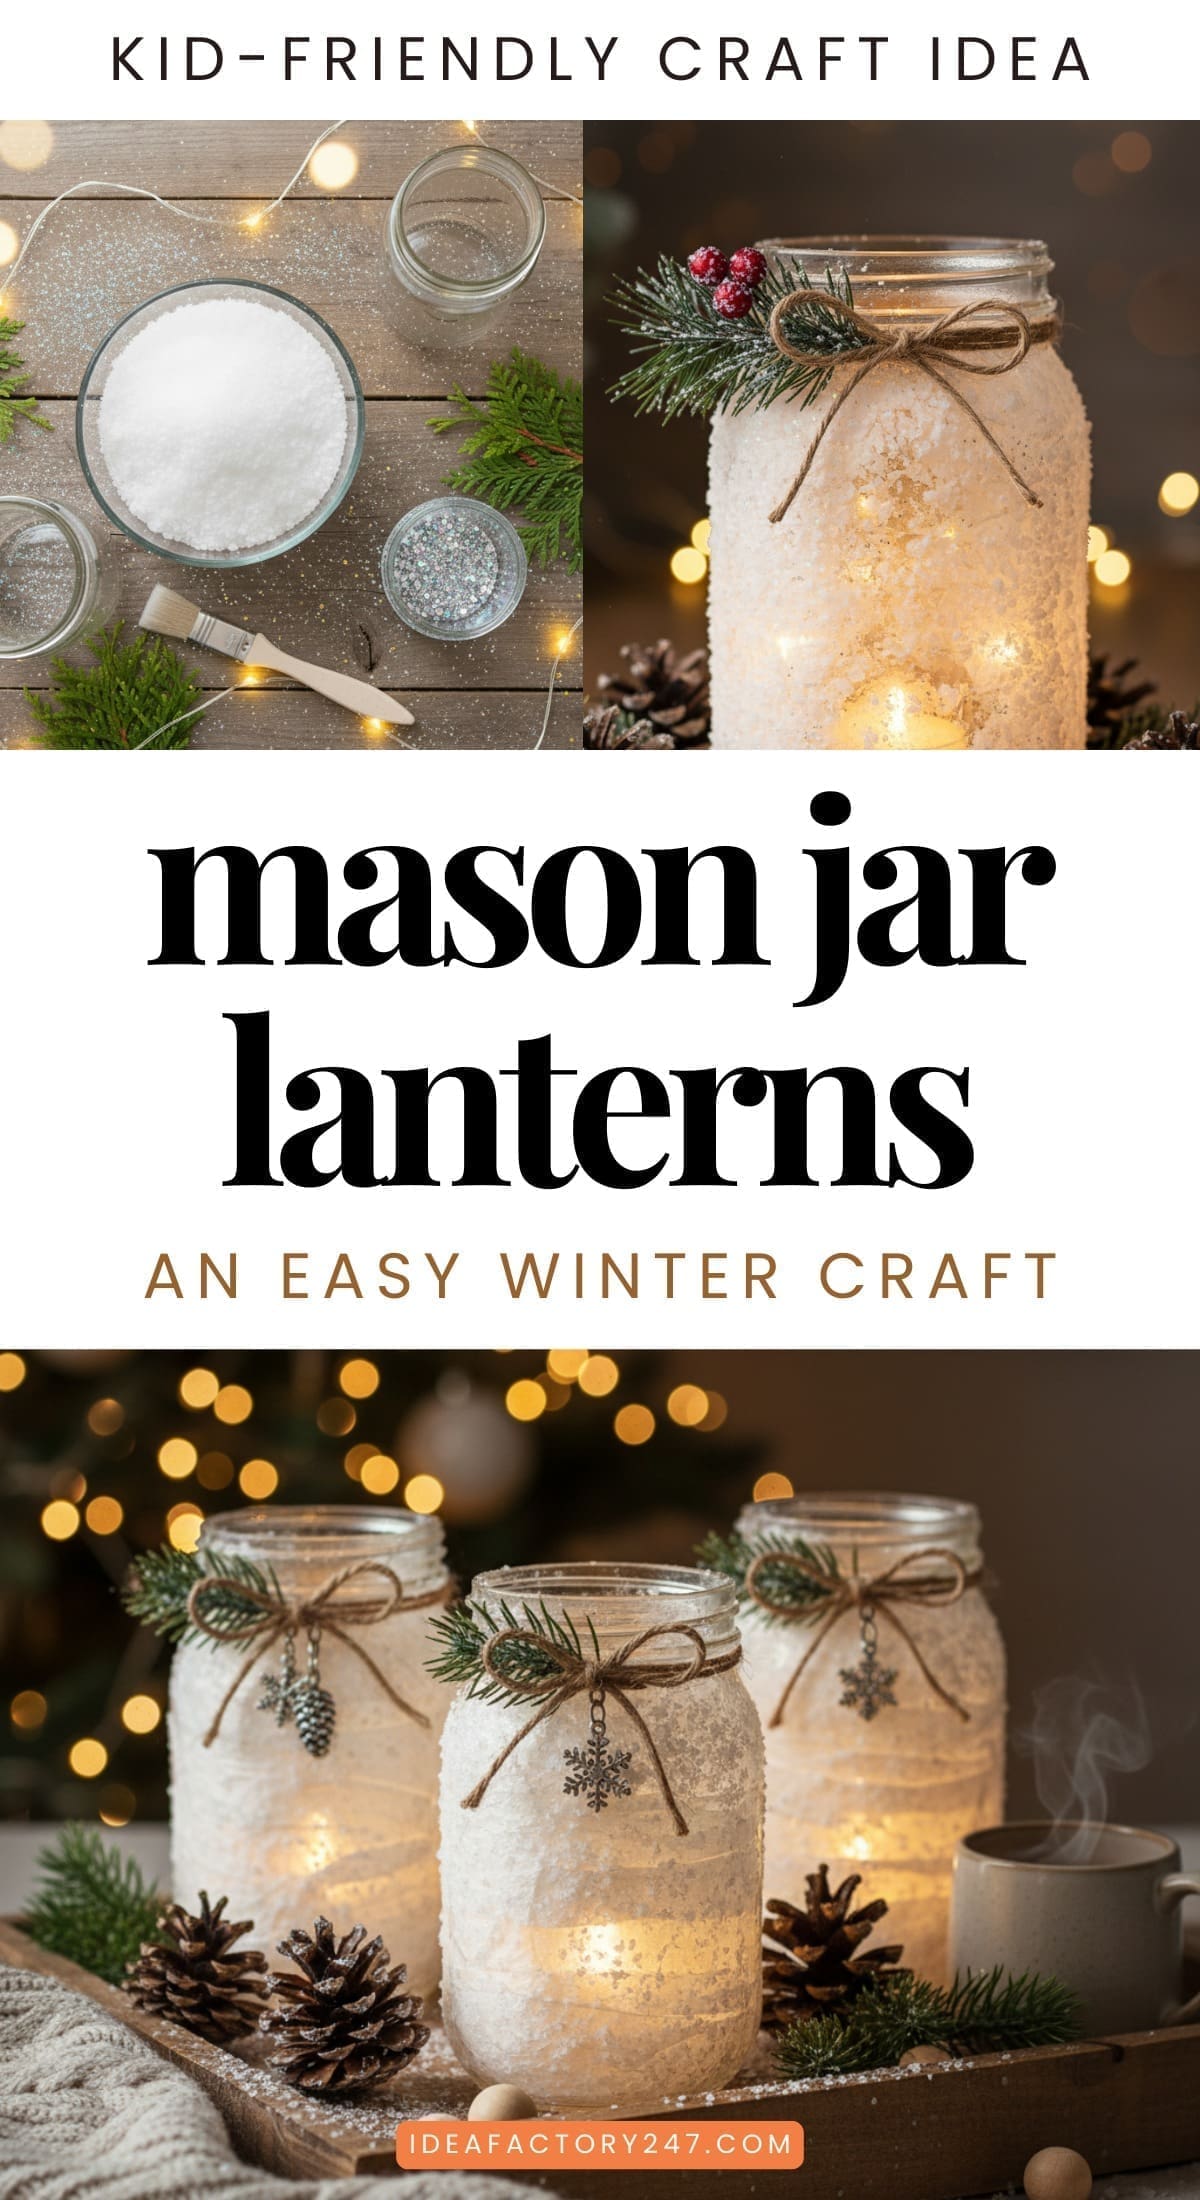
Materials You’ll Need
Everything here can usually be found at Dollar Tree, Target, Walmart, or Amazon. We’ve included some links to the products to (hopefully) make your life a tiny bit easier!
- Mason jars (any size—quart, pint, or wide-mouth)
- Mod Podge (Matte or Sparkle works great)
- Tissue paper (white, ivory, soft blues, grays)
- Foam brush or paintbrush
- Epsom salt, faux snow, or glitter (optional but magical)
- Ribbon, twine, or jute
- Battery-operated tea lights or fairy lights
Mod Podge Matte Sealer, Glue & Finish
Shop on Amazon
$3.99
We earn a commission if you make a purchase, at no additional cost to you.
05/01/2026 01:08 am GMT
Optional Styling Supplies
How to Make Winter Mason Jar Lanterns (Step-by-Step)
1. Prep Your Jars
Give your mason jars a quick wipe-down with warm water and soap or rubbing alcohol.
This helps the Mod Podge stick better and prevents weird bubbling.
Tip: If kids are helping, prep jars ahead of time so they can jump right into the fun part.
2. Create the Frosted Glass Look
- Tear white or light-colored tissue paper into strips or small pieces (imperfection = good).
- Brush a thin layer of Mod Podge on the outside of the jar.
- Press the tissue pieces onto the jar, smoothing gently as you go.
- Apply another thin coat of Mod Podge on top.
Don’t stress if it looks streaky—that dries beautifully frosted.
Kid Job: Pressing tissue paper onto the sticky jar.
Adult Job: Evening out any wrinkles if needed.
Pro Tip: If the tissue paper isn’t laying flat or is tearing a bit, don’t be afraid to add more Mod Podge or Matte Medium over the top of the tissue. It will help secure it to the jar and it dries clear.
3. Add a Snowy Texture (Optional, but Stunning)
While the Mod Podge is still wet, gently roll the bottom half of your jar in:
- Epsom salt for icy texture
- Faux snow for fluffier sparkle
- Fine glitter for shimmer
This gives your lanterns a winter wonderland effect without screaming Christmas décor.
Tip: Epsom salt gives the most “icy frost” look.
4. Decorate the Rim
Wrap the top of the jar with:
- Twine
- Ribbon
- Jute
- A mix for a layered look
Tie it in a bow or knot and add a charm if you want.
Tip: Kids love picking out the ribbon colors and accessories, so put them in charge! You can even send them outside on a scavenger hunt to find some fun greenery or twigs that you can include on your lantern.
5. Light It Up
Choose your glow:
- Battery tea lights for a classic lantern look
- Fairy lights for a twinkly woodland vibe
Place your lights inside the jar and watch it instantly turn magical.
6. Style & Display
These lanterns look stunning:
- On a mantel
- Lined along a windowsill
- As a centerpiece
- On a bedside table
- In the bathroom for a spa-like winter moment
- Outdoors for winter porch ambiance (just avoid real candles)
Cluster 2–5 lanterns together for that Winter Anthropologie-Catalog energy.
Tips & Tricks for Perfect Lanterns
For a smooth frosted look: Use slightly damp fingers to smooth wrinkles in the tissue.
For chunkier texture: Layer multiple tissue strips or add a thick coat of Mod Podge.
Kid-friendly version: Skip the Epsom salt and use plain tissue paper—they still look beautiful.
Supply-friendly version: If you don’t have any tissue paper on hand, try using paper towels instead of tissue paper. Or you can skip it altogether and just coat the jar with ModPodge and add the salt and/or glitter (the top corner pic below shows you what it looks like with just the salt).
Add silhouettes: Cut simple shapes (trees, snowflakes, mountains) from tissue paper and place under the top layer for a shadow effect when lit.
Use pint jars for smaller kids: Easier to hold, less surface area, fewer tears if dropped.
Want a snowy ombré? Only apply Mod Podge around the bottom half, then dip in Epsom salt.
Please note: This website contains affiliate links. As an Amazon Associate, we earn from qualifying purchases at no additional cost to you.
.