
This website uses cookies to ensure you get the best experience on our website. View our Privacy Policy here.

Share this article via:
Please note: This website contains affiliate links. As an Amazon Associate, we earn from qualifying purchases at no additional cost to you.
.
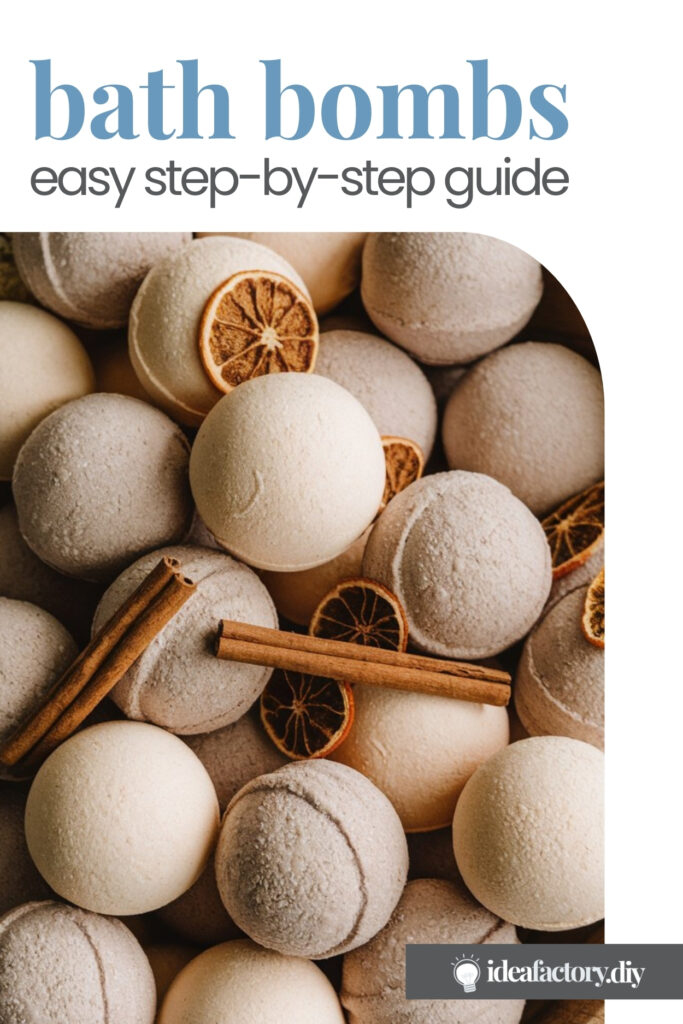
Make your self-care routine better with homemade bath bombs! These fizzy, fragrant treats turn your bathtub into a spa. Our step by step guide makes it easy to make your own bath bombs at home.
Our DIY bath bombs last up to 6 months if stored right, making them a great choice for your wellness routine or giving as a gift.
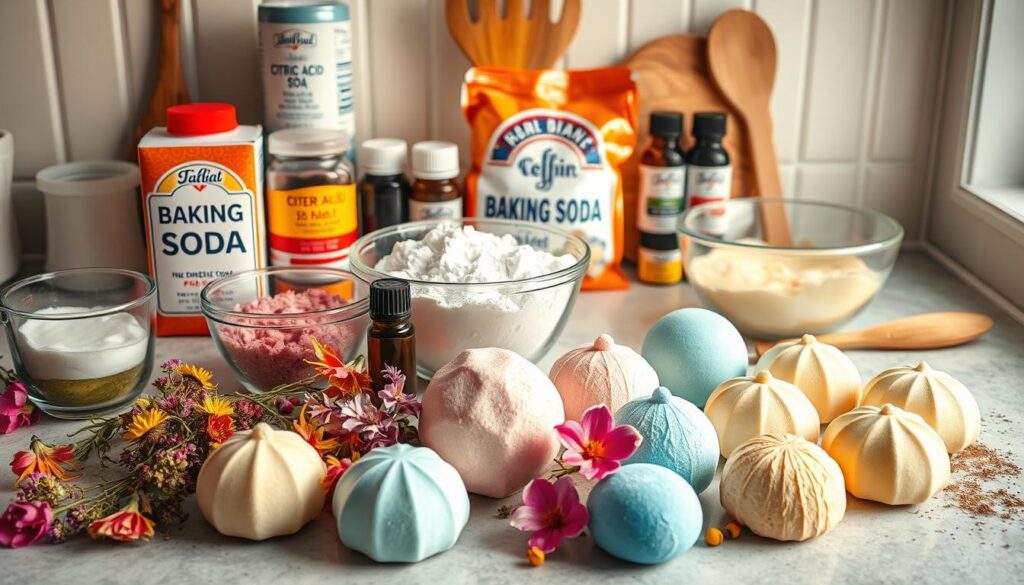
Making great bath bombs at home is easy with the right stuff. You’ll need:
Adding coconut or almond oil makes your skin soft. Essential oils give your bath bombs a nice smell. Mica powder or dried flowers add color and beauty.
To make homemade bath bombs, you need a few key tools:
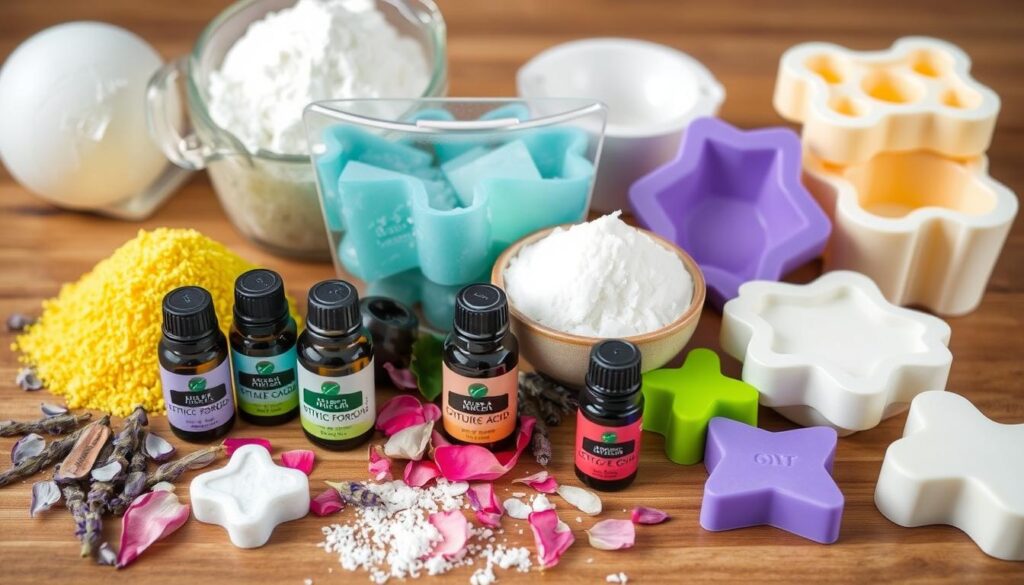
Bath bomb molds come in many shapes to match your style. Some popular ones are:
You’ll also need basic tools for mixing and measuring. These include:
After molding and drying your bath bombs, proper storage is crucial. Use airtight containers or clear glass jars to keep them fresh. You can also wrap them in plastic wrap or cellophane bags for gifting or long-term storage.
Making your own bath bombs at home is fun and rewarding. You need just a few ingredients and basic tools. This way, you can make bath bombs that make your skin soft and refreshed.
| Ingredient | Quantity |
|---|---|
| Baking Soda | 1 cup |
| Citric Acid | 1/2 cup |
| Epsom Salt | 1/2 cup |
| Cornstarch | 1/2 cup |
| Water | 3/4 tablespoon |
| Essential Oil | 2 teaspoons |
| Oil (e.g., sweet almond, apricot, olive) | 2 tablespoons |
With these easy steps, you can make your own bath bombs at home. They’re as good as store-bought ones but cheaper. Try different scents and add-ins to make them your own. Enjoy the relaxing and refreshing feeling of your homemade bath bombs!
When making your own bath bombs, picking the right essential oils and fragrances is key. They give a soothing smell and help your skin and mood.
Some favorite essential oil mixes for bath bombs are:
You can choose between natural essential oils and synthetic fragrances. Natural oils give real benefits and a true scent. Synthetic fragrances offer a steady smell. Think about what you like and what you want for your bath bombs.
Different smells can really change how you feel. Lavender helps you relax and sleep better. Peppermint clears your sinuses and wakes you up. Citrus oils like lemon and grapefruit lift your mood.
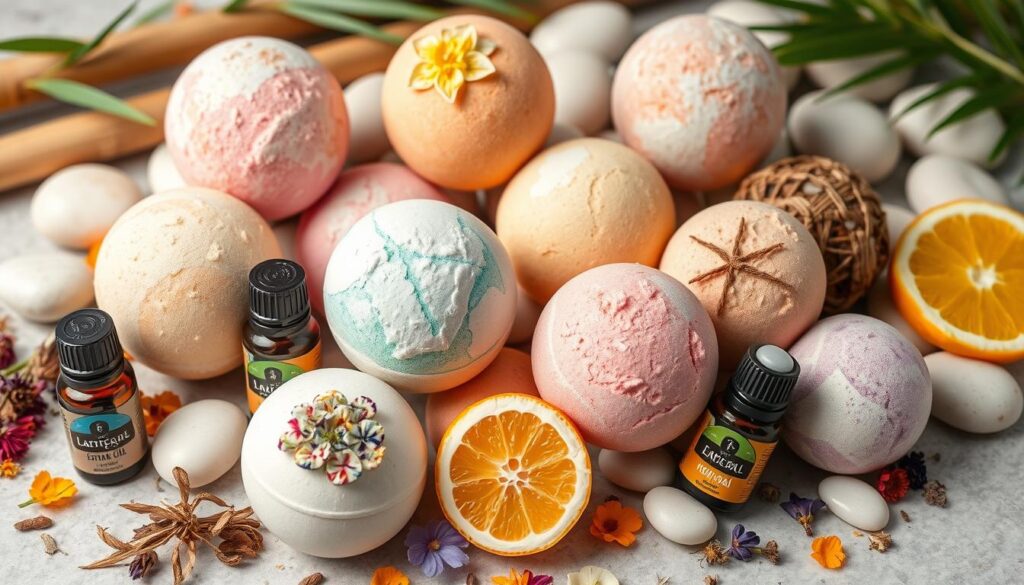
Try out different essential oil mixes to find the scent you love. It could be for relaxation, energy, or to feel better.
When making homemade bath bombs, the possibilities are endless. We can add natural colors and decorations. These make our DIY bath bombs look good and feel good on the skin. Let’s look at natural colors and decorations that can make your bath bombs stand out.
Mica powders are great for natural colors. They come in many colors like gold, purple, and pink. These colors add beauty and a spa-like feel. Food coloring is another option. It makes bold colors without synthetic stuff.
Dried flower buds like lavender or rose petals add elegance. Make sure they are safe for food. You can mix two colors to create a two-tone effect.
Seasonal bath bombs are fun to make. Use molds and colors that match the season. For example, red and green for Christmas or blue and green for summer. You can even paint them with food coloring for more color.
| Natural Colorant | Skin Benefits | Color Range |
|---|---|---|
| Mica Powders | Mineral-based, non-irritating | Shimmery golds, deep purples, earthy pinks |
| Natural Food Coloring | Plant-based, skin-safe | Vibrant reds, greens, blues, yellows |
| Dried Herbs and Flowers | Botanicals with therapeutic properties | Earthy greens, soothing lavenders, delicate roses |
With natural colors and decorations, your bath bombs can be even more special. Be creative and make bath time a chance to show your art.
Making DIY bath bombs needs careful attention. To get perfect results, here are some great tips. They will help you make bath bombs that look and feel professional.
If your bath bombs crack or crumble, don’t worry. It’s a common problem. Just press the mixture back into the mold and let it dry a bit longer. Drying time is key to keeping the bath bomb strong.
After molding, take the bath bombs out of the molds after an hour. Let them dry completely overnight. This slow drying is important for a strong bath bomb.
If the mix seems too dry, add a bit more liquid. If it’s too wet, add more dry ingredients. This way, you’ll make how to make bath bombs and DIY bath bombs that look good and work well.
| Ingredient | Quantity |
|---|---|
| Baking Soda | 1 cup (250 grams) |
| Citric Acid | 1/2 cup (100 grams) |
| Cream of Tartar | 1 tablespoon (12 grams) |
| Kaolin Clay | 1 tablespoon (3 grams) |
| Corn Starch, Tapioca Starch or Arrowroot Powder | 1 tablespoon (10 grams) |
| Avocado Oil | 1 teaspoon (5 grams) |
| Polysorbate 80 | 1 teaspoon (5 grams) |
| Scent | 7 grams |
Explore the fun world of homemade bath bombs! You can relax with lavender or get energized with peppermint. There’s a recipe for every mood and taste.
Try mixing essential oils for unique scents. Lemongrass is refreshing, lavender is calming, and peppermint is invigorating. Mix them to make your own special smells.
Make bath bombs for holidays too! Try pumpkin shapes for Halloween or snowflakes for winter. Use natural colors like spirulina for green or turmeric for gold.
Add Epsom salts for muscle relief or dried herbs for a pretty look. You can make bath bombs for any special event or just for fun.
Homemade bath bombs are great for self-care or as gifts. They make your home feel like a spa. So, let your creativity flow and enjoy making bath bomb recipes and homemade bath bombs!
Once our homemade bath bombs are dry, we suggest wrapping them in plastic wrap. This keeps them safe from moisture. For a luxurious spa gift basket, pair our bath bombs with candles and wine.
Store our bath bombs in a cool, dry place to keep them fresh. Clear glass jars are great for display and keeping our products safe. This way, our bath bombs stay fizzy and fragrant for up to 6 months.
If you want to give our bath bombs as gifts, try eco-friendly packaging. Use recyclable boxes or reusable containers. This makes the gift look better and shows you care about the planet.
At our shop, we have many bath bomb packaging options. You can find unique gift boxes on Amazon or get custom labels. We aim to make every unboxing special, building loyalty and trust with our customers.
To make bath bombs, you need baking soda, citric acid, Epsom salt, and cornstarch. Baking soda and citric acid make them fizz. Epsom salt relaxes you. Cornstarch holds everything together.
You can use many molds for bath bombs. Round molds and cupcake pans are classic. But, you can also use silicone molds in fun shapes.
To avoid cracks, control the humidity and let them dry for 24 hours. If they’re too dry, add a little liquid. If too wet, add more dry stuff. Drying them right is key for their quality.
Essential oils in bath bombs offer many benefits. They can help you relax, sleep better, or feel happier. Lavender relaxes, peppermint wakes you up, and citrus oils lift your mood.
You can mix different essential oils, colors, and shapes to make your own bath bombs. Try lemongrass for a fresh scent or lavender for calm. You can also make seasonal ones with special molds or colors. Add Epsom salts for muscle relief or dried herbs for looks.
Store homemade bath bombs in airtight containers or clear glass jars to keep them fresh. For gifts, put them in spa baskets with candles and wine. Use eco-friendly packaging like recyclable boxes. Homemade bath bombs can last up to 6 months if stored right.
Please note: This website contains affiliate links. As an Amazon Associate, we earn from qualifying purchases at no additional cost to you.
.
Share this article via:

This website uses cookies to ensure you get the best experience on our website. View our Privacy Policy here.