


Please note: This website contains affiliate links. As an Amazon Associate, we earn from qualifying purchases at no additional cost to you.
.
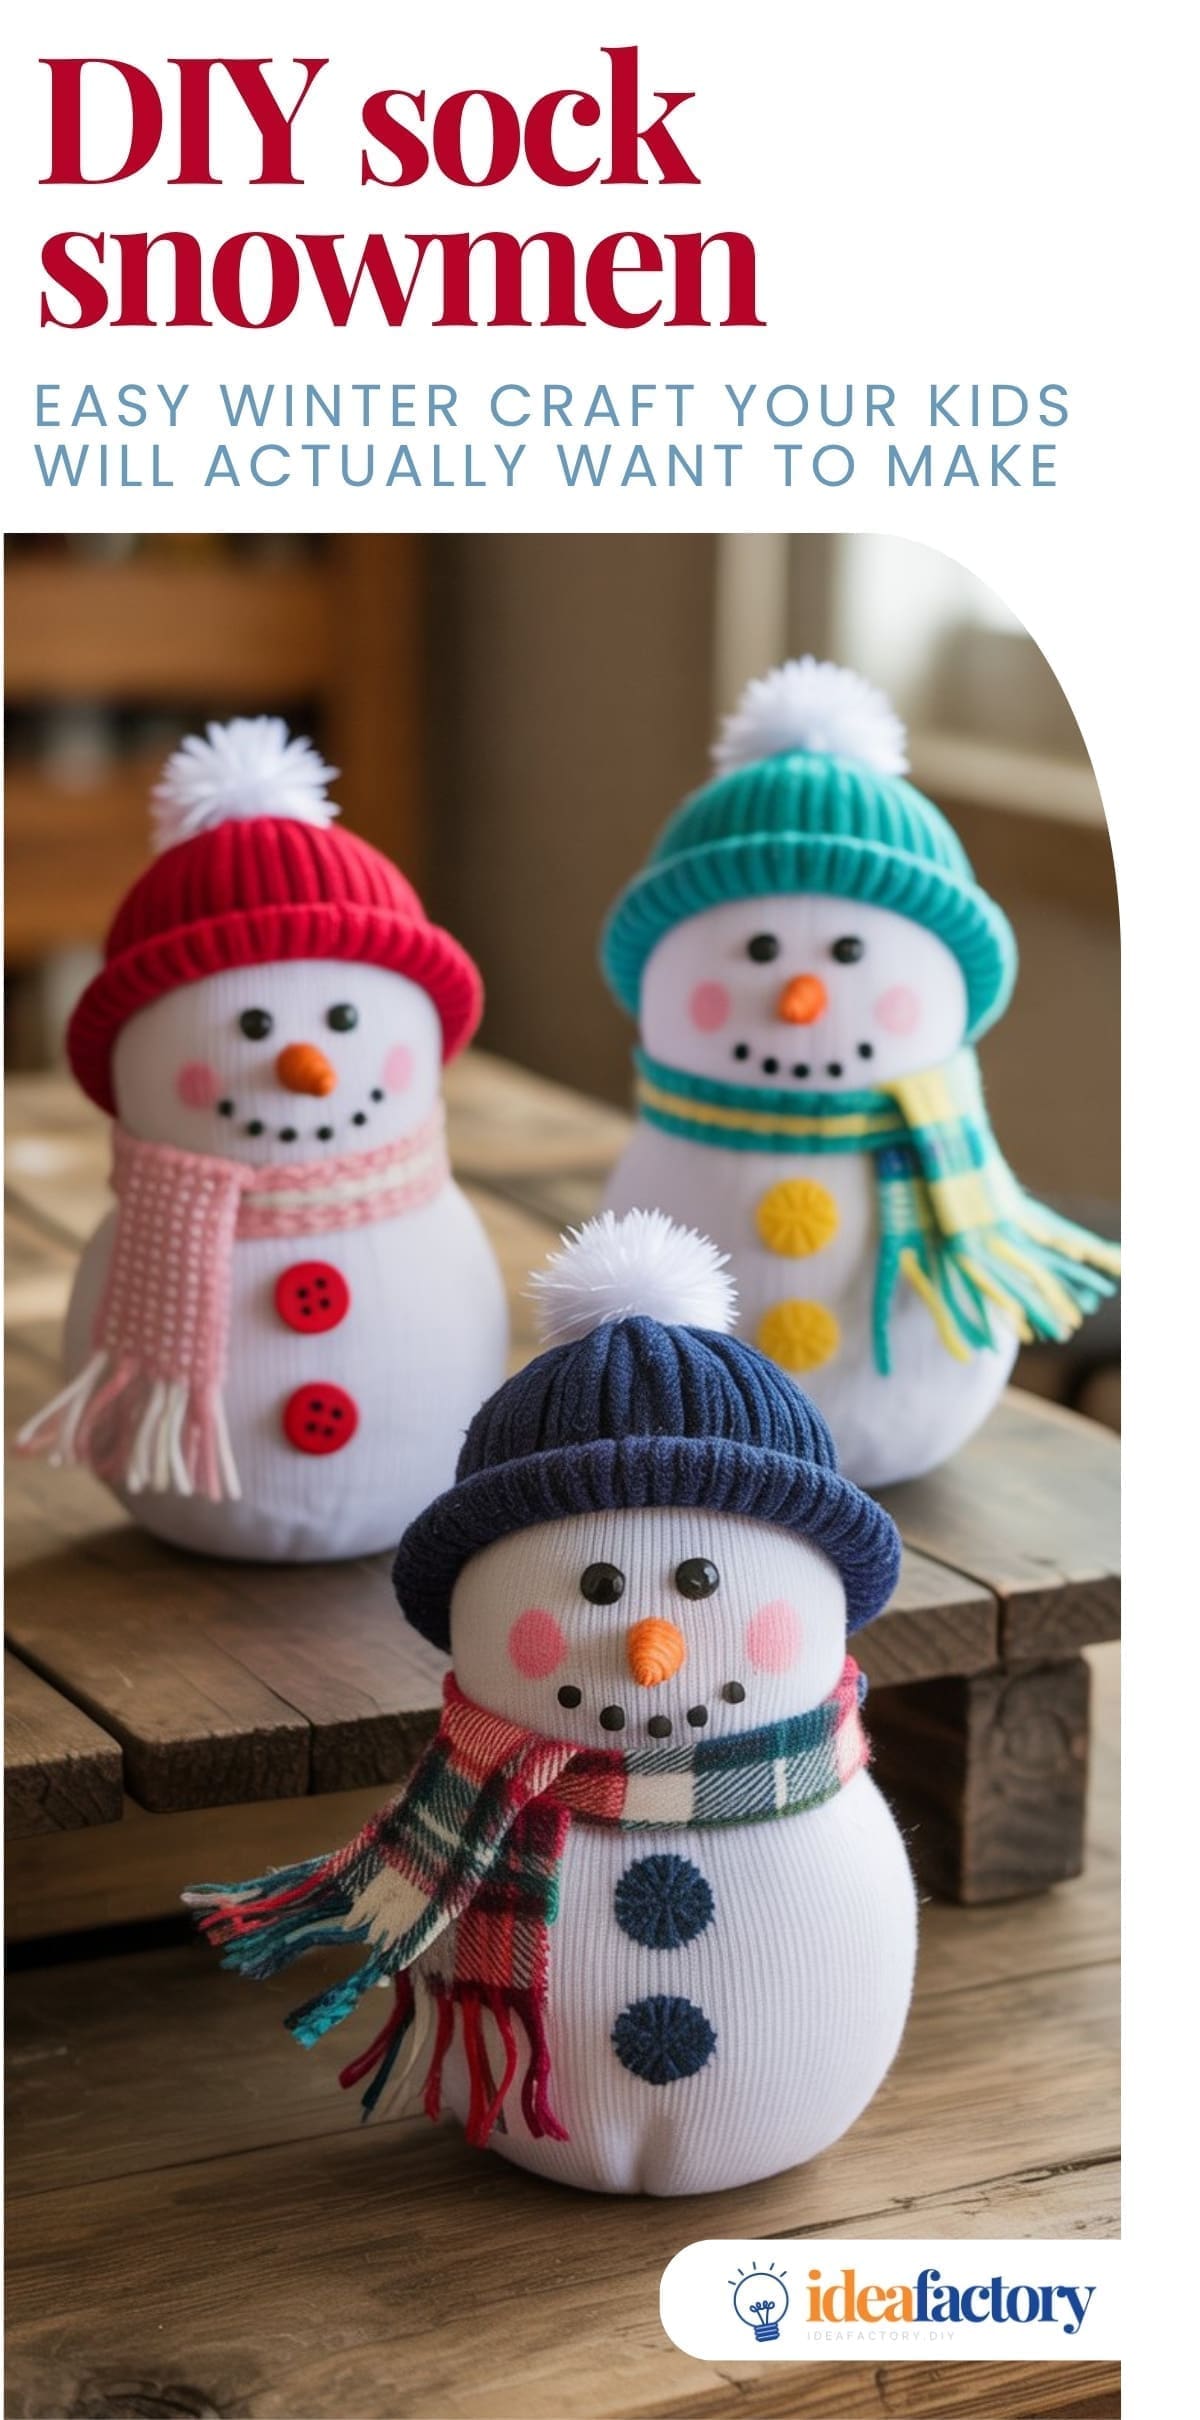
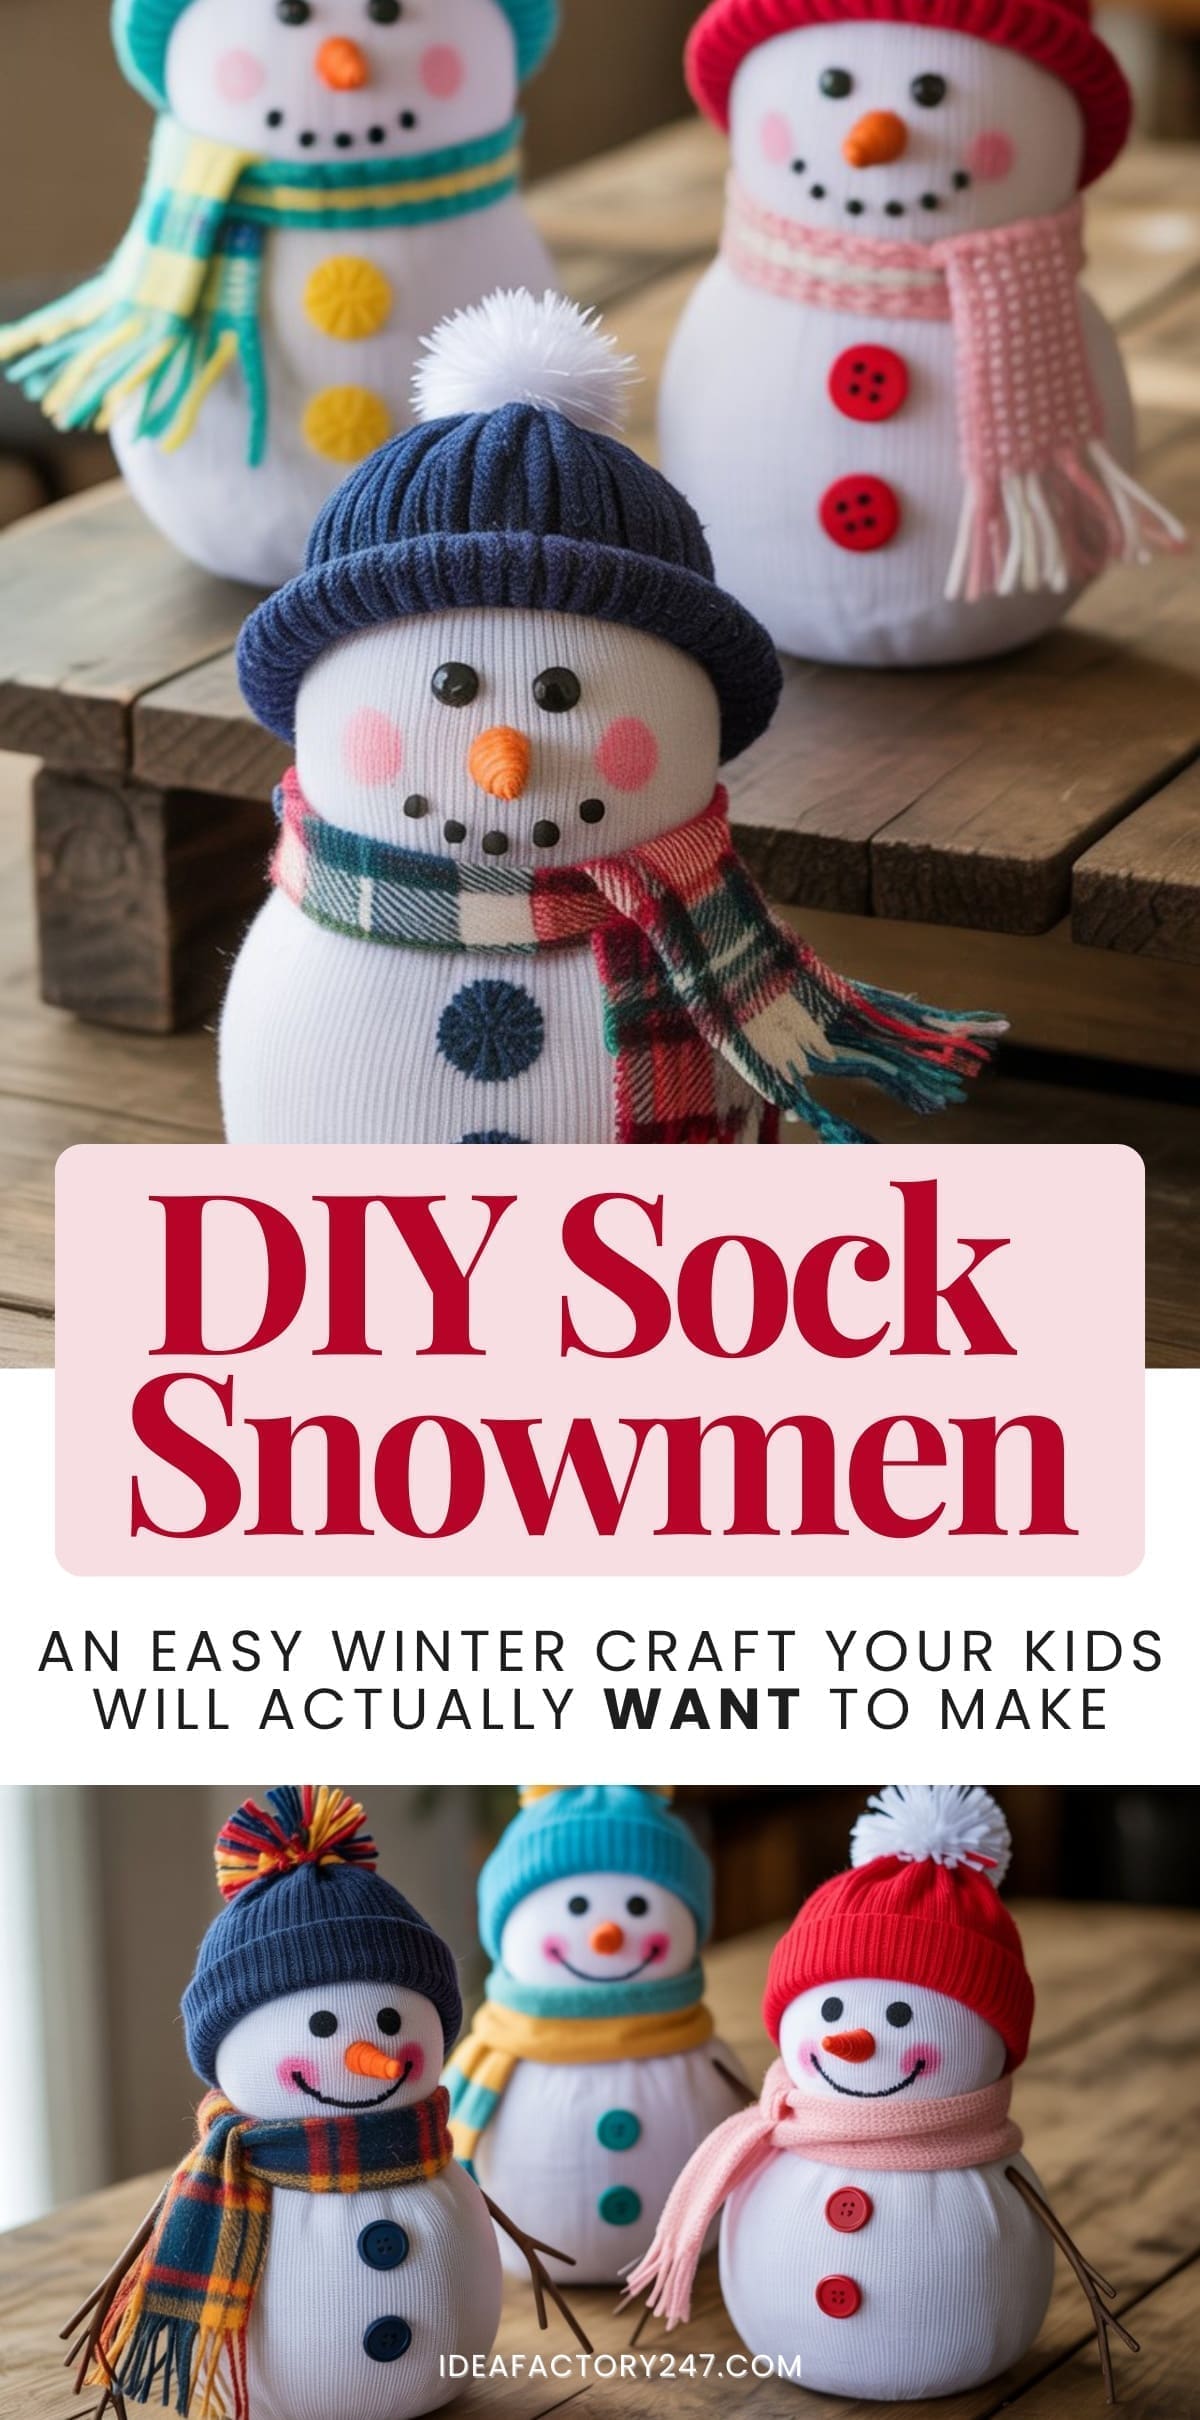
There are easy winter crafts… and then there are DIY sock snowmen so adorable you’ll want to make an entire family of them. These little guys are round, plush, colorful, and have more personality than half the people in your group chat.
And the best part? They require zero sewing, minimal supplies, and are easy enough that even the kids can help (and not ruin them… probably).
These aren’t your basic sock snowmen.
Oh no.
These are Pinterest-level, knit-sweater-wearing, pom-pom-hat-topped snow cuties just like the ones in the photo. If you want winter décor that looks boutique-level charming without boutique-level effort, this is the craft.
Let’s build the cutest little winter squad.
Materials You’ll Need
You probably already have many of these at home, but all of the materials can be found at thrift stores, Dollar Tree, Target, Walmart, or Amazon. We’ve included links to Amazon to (hopefully) simplify things for you!
Socks & Fabric
- White crew socks (for the snowman or snowwoman body)
- Knit-patterned socks (for sweaters)
- Chunky knit socks or fuzzy socks (for hats)
- Felt sheets or fleece strips (for scarves)

5Pack Womens Thick Knit Wool Crew Socks
Shop on Amazon
$9.99
These colorful knit wood socks will make the cutest little scarves and sweaters for your sock snowman!
We earn a commission if you make a purchase, at no additional cost to you.
02/28/2026 12:03 pm GMT
Fillings
- Uncooked white rice (weight for the bottom)
- Poly-Fill stuffing (to soften the shape) – optional, but does make a big difference!
Face & Details
- Black beads (eyes)
- Mini carrot noses or orange felt for DIY cones
- Pink chalk pastels or blush (for rosy cheeks)
- Medium craft buttons (belly buttons)
Assembly Supplies
- Clear elastic hair ties
- Mini pom-poms (for hat toppers)
- Hot glue gun + glue sticks

How to Make Cozy Knit Sock Snowmen (Step-by-Step)
1. Prep Your Workspace
Lay down a tray, towel, or parchment to catch rice spills.
Set up a “kid station” (filling, choosing colors) and an “adult station” (hot glue, cutting).
Pro Tip:
Place the white sock opening over a wide mason jar so kids can pour rice without creating an accidental avalanche.
2. Fill the Body
- Take a white crew sock and stand it toe-down over a jar.
- Fill the bottom half with rice—this creates weight so your snowman stands upright.
- Add a handful of Poly-Fill on top to round out the shape.
- Tie off the top tightly with a clear elastic band.
This combo gives the snowmen the smooth, plush look just like the ones in your photo.
3. Shape the Head and Body
Use another elastic band to define the snowman’s “neck.”
You should have:
- A large round bottom
- A smaller plush head
Adjust by gently massaging the rice and Poly-Fill until the shape looks cute and balanced.
4. Add the Sweater
Cut the bottom (ankle/footless tube) of a knit-patterned sock and slide it over the snowman’s body like a cozy sweater.
Position it:
- Just below the head
- Covering the belly
- Leaving the bottom white and round
Smooth the knit fabric so it looks clean and intentional.
5. Put on the Hat
Cut the top ribbed portion of a chunky knit sock and stretch it over the snowman’s head like a beanie.
Adjust it until it looks slightly slouchy and adorable.
Then glue a pom-pom to the top.
If you want a more fitted hat, tie a small elastic or thread inside the top before gluing the pom-pom.
6. Wrap the Scarf
Cut a thin strip of felt or fleece, about 1–1.5 inches wide and long enough to wrap around the neck.
Tie it in a small knot or a loose draped wrap.
Trim the ends so they look cute and proportionate.
Why felt?
It lays flat and smooth. I think the fuzzy socks also work, but sometimes there are lots of loose threads. Just depends on the look you want for your cute sock snowmen!
7. Add the Face
Eyes:
Glue two tiny black beads onto the face.
Nose:
Use a mini carrot nose OR roll a tiny cone from orange felt and glue it in place.
Cheeks:
Dip a Q-tip or small brush in pink chalk pastel/blush and dab soft circles onto the cheeks.
This gives that sweet, blushing winter look.
8. Add Buttons & Details to Your Snowman
Glue two or three medium-sized buttons onto the sweater or belly.
You can match them to the scarf or sweater color for extra cuteness.
If you want to go above and beyond, tuck a tiny piece of greenery or add embroidered-looking embellishments on the knit sweaters (very optional, very adorable).
Tips & Tricks for Picture-Perfect Sock Snowmen (and Snow-women)
- Use knit socks with patterns like snowflakes or stripes for the sweater body.
- Choose good-quality pom-poms — fluffy ones look best.
- Pick socks with ribbing for hats; it naturally shapes around the head.
- Use Poly-Fill strategically to round out any flat spots.
- Glue button details lower on the belly to match the aesthetic in the photo.
- If making in a group: pre-cut sweaters, scarves, noses, and hats. Kid chaos: reduced.
Winter crafts don’t get any cuter—or easier—than these knit sweater sock snowmen. Whether you’re making them with your kids, hosting a cozy winter craft night, or just trying to out-Pinterest your own décor from last year, these little snow buddies deliver serious charm with almost zero effort. Every one of them turns out a little different, which honestly just makes them feel more magical. Line them up on a mantel, perch them on a shelf, gift them to friends… or keep them all for yourself. No judgment here.
So grab your socks, fluff your Poly-Fill, and get ready to create the happiest, coziest little snow family your home has ever seen.
Please note: This website contains affiliate links. As an Amazon Associate, we earn from qualifying purchases at no additional cost to you.
.