
Please note: This website contains affiliate links. As an Amazon Associate, we earn from qualifying purchases at no additional cost to you.
.
If you’ve been seeing DIY face toner everywhere on Pinterest lately, you’re not imagining it. More people are looking for gentle, affordable skincare routines that feel doable — not overwhelming or harsh.
Face toner doesn’t have to be complicated, expensive, or full of ingredients you can’t pronounce. When done gently, a DIY face toner can help refresh your skin, add light hydration, and make your routine feel a little more intentional — without turning your bathroom into a chemistry lab.
This guide breaks down what face toner actually does, how to make simple DIY versions at home, and how to choose the right toner based on your skin type.
What Is a Face Toner (And What It’s Actually For)
A face toner is a lightweight liquid applied after cleansing and before moisturizing. Its main job isn’t to “strip” your skin — despite what older skincare advice suggested.
A gentle toner can:
- Refresh skin after cleansing
- Lightly hydrate and prep skin
- Help skin feel balanced and comfortable
- Add a calming step to your routine
DIY toners focus on simple, soothing ingredients, not aggressive exfoliation.
Before You Start: A Quick Safety Note
DIY skincare should always be gentle and optional.
- Patch test new ingredients
- Avoid using on broken or irritated skin
- Skip harsh acids or citrus ingredients
- If something stings or burns, rinse immediately
Less is more when it comes to toner.
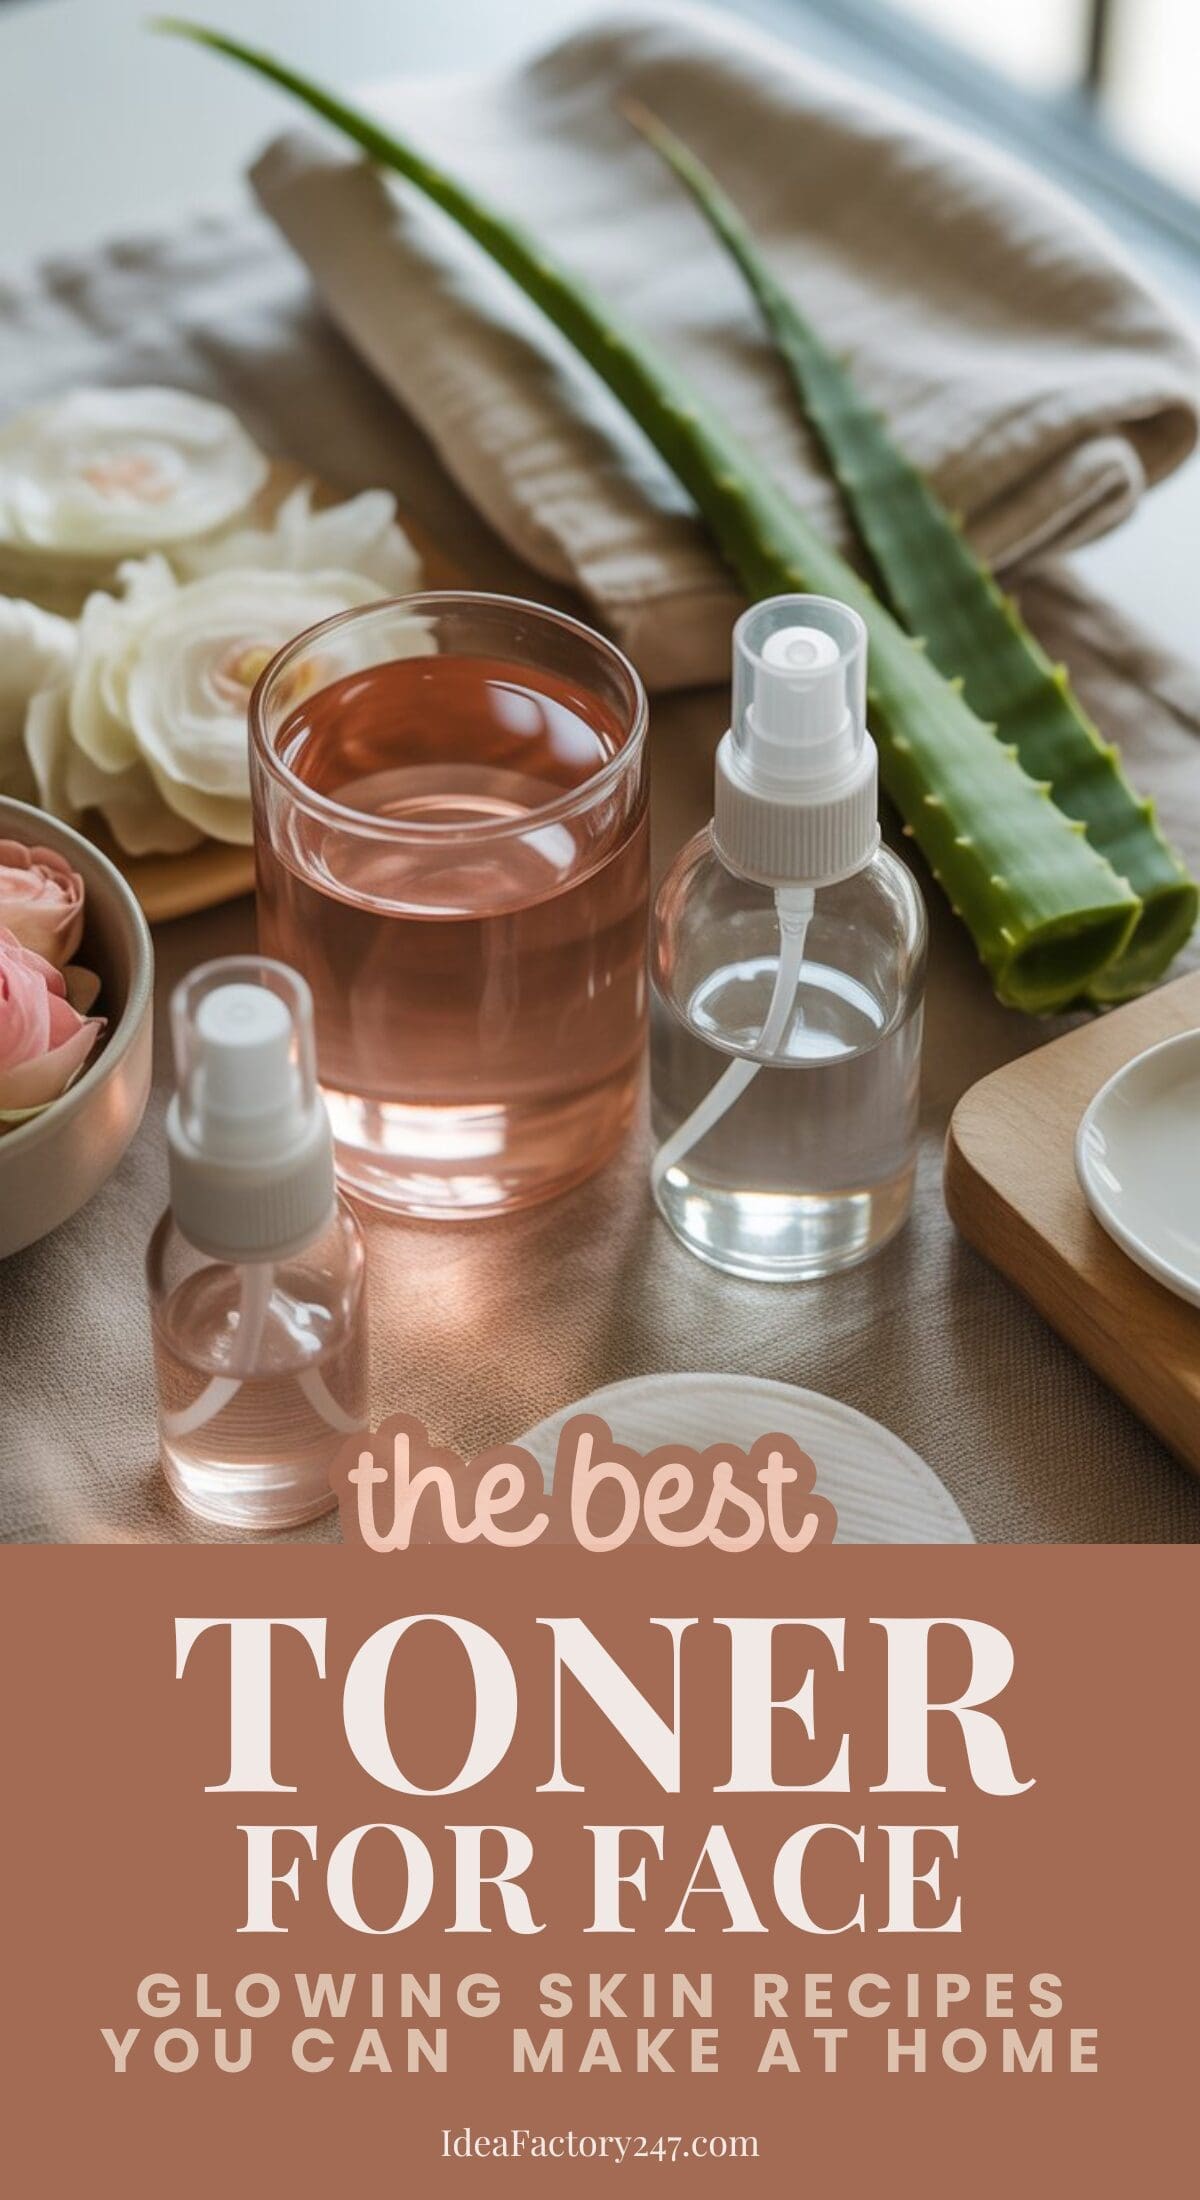
DIY Face Toner Base Ingredients
Most DIY toners start with one of these:
- Distilled water
- Rose water
- Green tea (cooled)
- Witch hazel (alcohol-free only)
- Aloe vera juice
DIY Face Toner Recipes (By Skin Type)
1. Face Toner DIY for Normal or Sensitive Skin
This is the most beginner-friendly option.
Ingredients
- ¼ cup distilled water or rose water
- 1 tablespoon aloe vera juice
Mix and store in a clean glass bottle. Apply with a cotton pad or gently pat onto skin.
2. Best Toner for Oily Skin (DIY Version)
Light and refreshing without being harsh.
Ingredients
- ¼ cup cooled green tea
- 1 tablespoon alcohol-free witch hazel
Use once daily after cleansing.
3. Toner for Dry Skin (DIY Hydrating Toner)
Designed to soothe and soften.
Ingredients
- ¼ cup rose water
- 1 tablespoon vegetable glycerin or aloe vera juice
Shake before each use.
4. Best Toner for Combination Skin (DIY Balance Toner)
Helps balance oily and dry areas gently.
Ingredients
- ⅛ cup rose water
- ⅛ cup green tea
- 1 tablespoon aloe vera juice
Apply lightly, focusing on comfort rather than oil control.
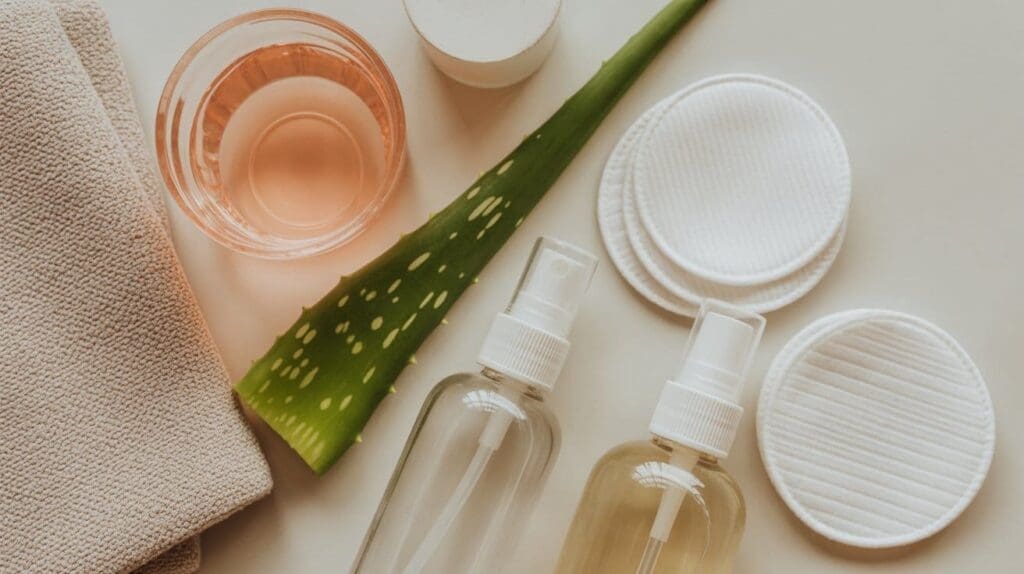
How to Use DIY Face Toner
- Cleanse your face first
- Apply toner with a cotton pad or clean hands
- Follow with moisturizer
- Use once daily (twice if skin tolerates it well)
How Long DIY Face Toner Lasts
Because these don’t contain preservatives:
- Store in the refrigerator
- Use within 5–7 days
- Discard if smell or appearance changes
Common DIY Toner Mistakes to Avoid
- Using lemon juice or vinegar
- Overusing witch hazel
- Applying too often
- Skipping moisturizer afterward
Frequently Asked Questions About DIY Face Toner
Do I really need toner?
No — it’s optional. Many people enjoy it as a refreshing step.
Can DIY toner replace moisturizer?
No. Toner preps skin; moisturizer seals hydration.
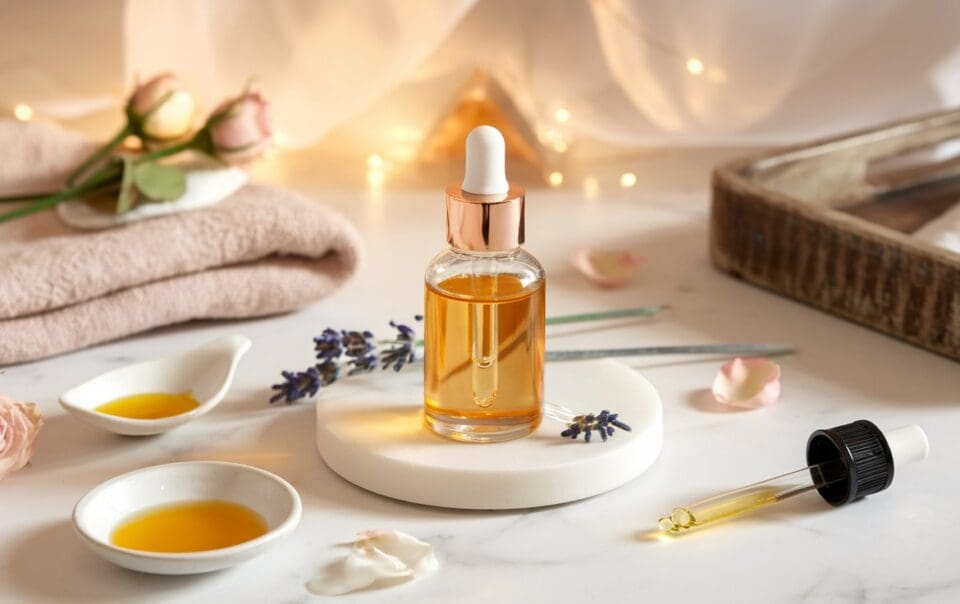
Can I use essential oils in toner?
It’s best to skip them, especially for facial skincare.
Conclusion
DIY face toner doesn’t need to be complicated to be effective. With gentle ingredients and simple recipes, it can become a calming, supportive part of your skincare routine — especially if your skin prefers less, not more.
If it feels good and works for your skin, keep it. If not, skip it. Skincare should always feel flexible and kind.
Please note: This website contains affiliate links. As an Amazon Associate, we earn from qualifying purchases at no additional cost to you.
.