

Please note: This website contains affiliate links. As an Amazon Associate, we earn from qualifying purchases at no additional cost to you.
.
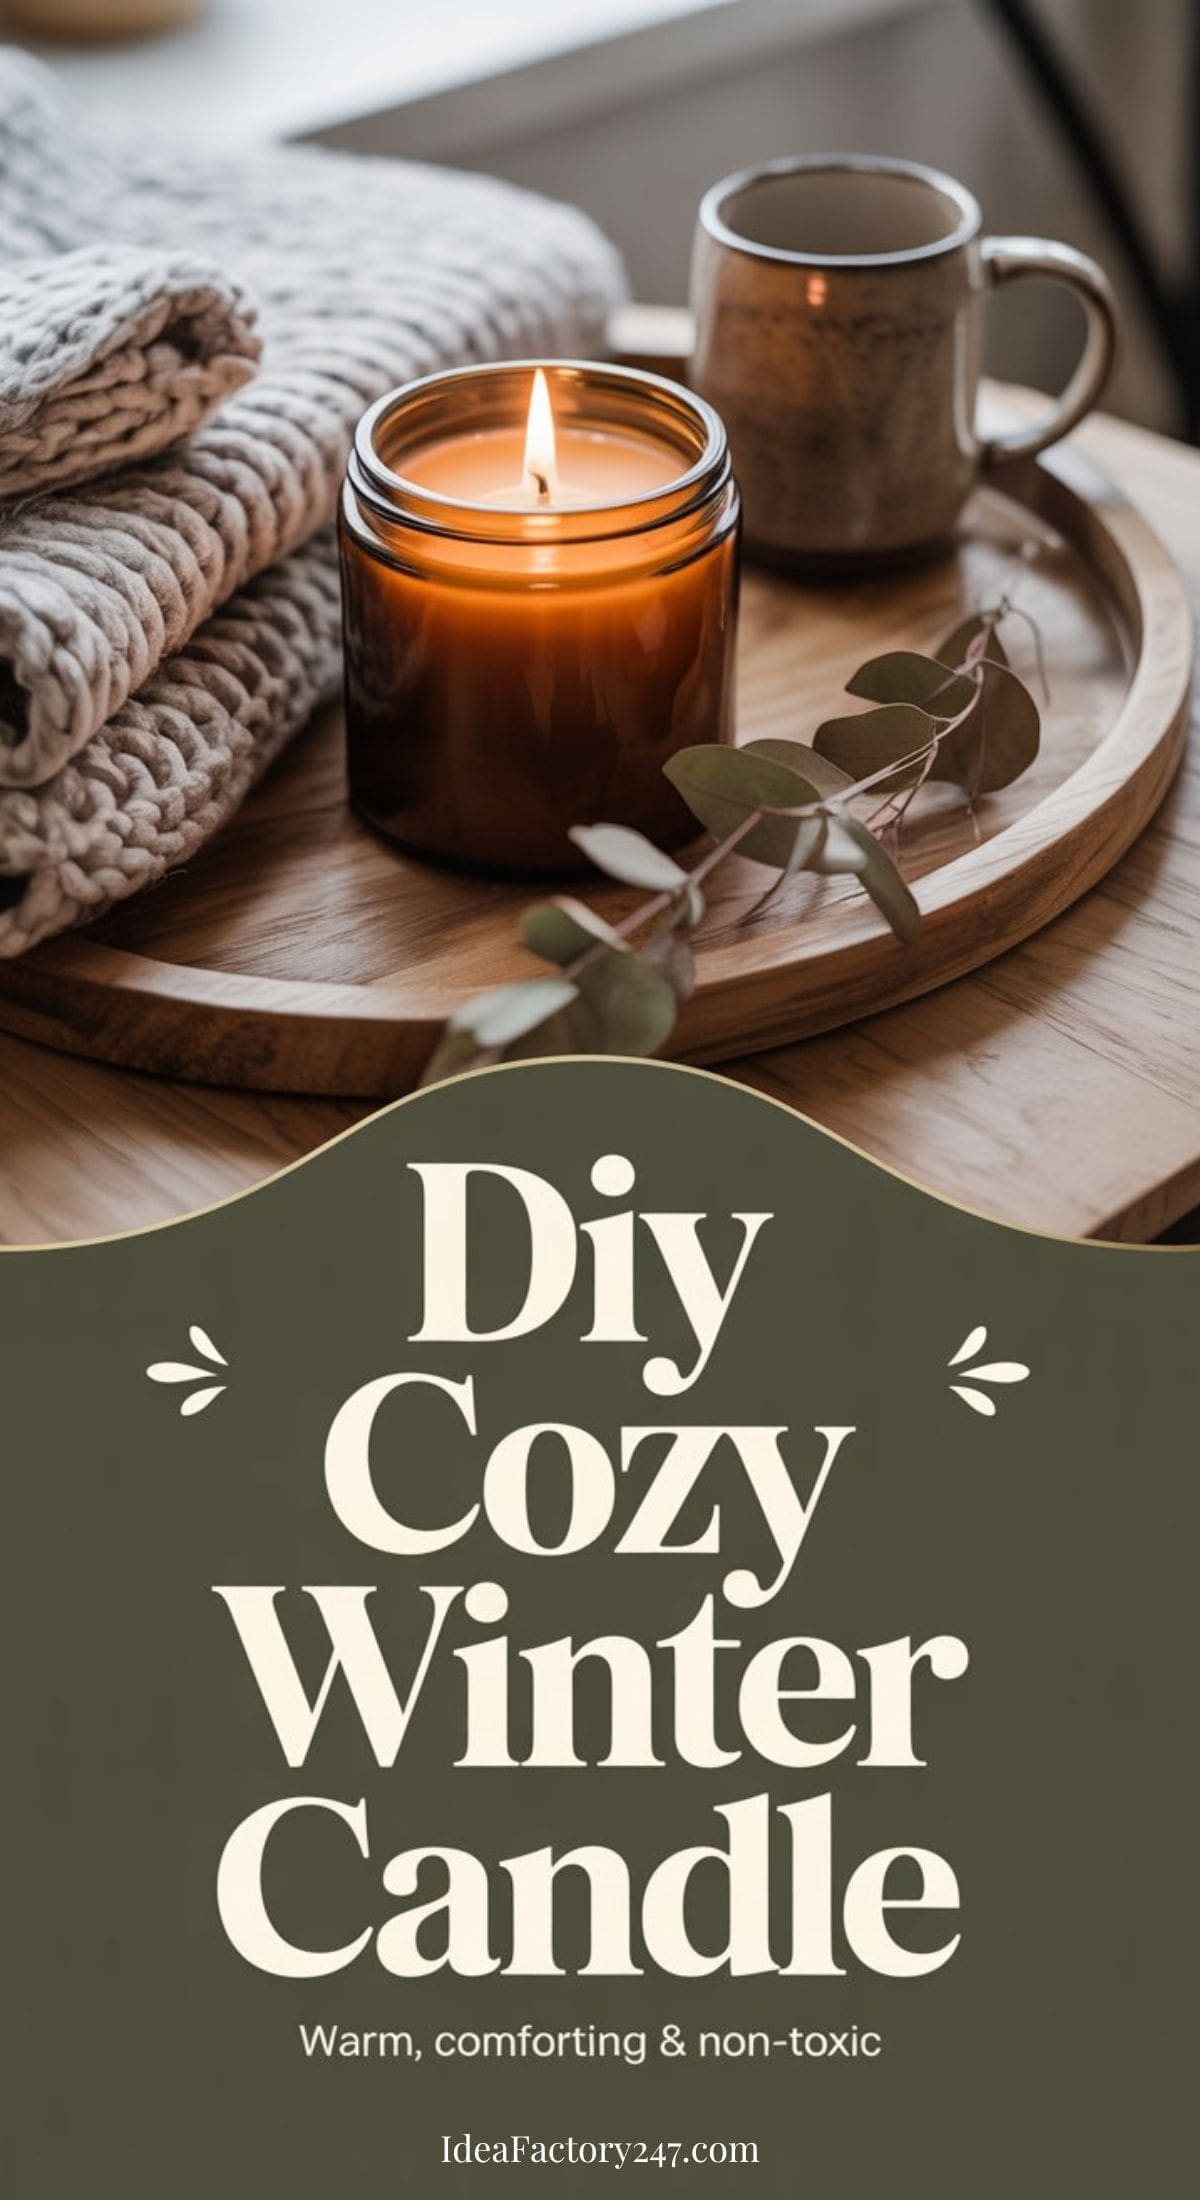
There’s something about winter that makes me crave soft light, warm scents, and slower evenings. Not holiday-loud. Not overly sweet. Just cozy. The kind of cozy that makes you want to put on a sweater, pour a warm drink, and stay in for the night.
This DIY cozy winter candle is one of my favorite cold-weather projects because it’s simple, non-toxic, and endlessly comforting. It’s perfect for everyday winter nights, self-care routines, and gifting — without feeling tied to one specific holiday.
Why You’ll Love This Cozy Winter Candle
- Warm, comforting scent (not overpowering)
- Non-toxic and customizable
- Beginner-friendly DIY
- Beautiful enough to gift
- Works all winter long (not just December)
Cozy Winter Candle Scent Options
Choose one blend or mix and match lightly — subtlety is key here.
Best cozy winter blends:
- Vanilla + Sandalwood
- Amber + Vanilla
- Cedarwood + Vanilla
- Cinnamon + Clove (very light — cozy, not holiday-spicy)
💡 Tip: Stick to 1–2 scent notes max for a softer, more elevated feel.
Supplies You’ll Need
- Soy wax flakes (or beeswax for a firmer candle)
- Cotton or wooden wick
- Candle jar or heat-safe container
- Essential oils or fragrance oils (skin-safe)
- Double boiler or heat-safe pouring pitcher
- Wick stickers or hot glue
- Wooden skewer or pencil (to center wick)

Dark Amber Candle Jars
Shop on Amazon
$19.99
12 Pack, 8 OZ Dark Amber Candle Jars for Making Candle - Thick Glass Jars with 12 Metal & 12 Plastic Lids
We earn a commission if you make a purchase, at no additional cost to you.
02/28/2026 11:06 pm GMT
How to Make a DIY Cozy Winter Candle
Step 1: Prep Your Jar
Secure the wick to the bottom of your jar using a wick sticker or a dab of hot glue. Center it and wrap the top around a skewer or pencil to keep it upright.
Step 2: Melt the Wax
Using a double boiler, slowly melt your wax over medium-low heat until fully liquid.
Step 3: Add Scent
Remove from heat and let the wax cool slightly (about 2 minutes).
Add 20–30 drops of your chosen scent blend and gently stir.
Step 4: Pour & Set
Carefully pour the wax into your prepared jar. Let it cool completely (about 2–3 hours).
Step 5: Trim & Cure
Trim the wick to ¼ inch. For best scent throw, let the candle cure for 24–48 hours before burning.
If you are new to making candles at home, be sure to check out our troubleshooting checklist below for more tips on how to avoid issue with the wicks, tunneling, or scent issues.
How to Make It Extra Cozy
- Use neutral or amber glass jars
- Add a minimalist label or handwritten tag
- Pair with matches tied in twine
- Wrap with a linen ribbon for gifting
This candle looks beautiful styled on your nightstand, coffee table, bathroom shelf and entryway console. Once you start making these, you’re going to want to put them EVERYWHERE!
Safety Notes
- Always use skin-safe oils
- Never leave a burning candle unattended
- Trim wick before each burn
- Burn no longer than 3–4 hours at a time
How to Gift This Candle
This candle is perfect for:
- Winter hostess gifts
- Valentine’s self-care baskets
- Teacher or neighbor gifts
- Cozy care packages
Pair it with:
- DIY bath salts
- A handmade sugar scrub
- A cozy mug or tea sachet
Frequently Asked Questions About Homemade Winter Candles
Can I use fragrance oils instead of essential oils?
Yes. You can use either essential oils or candle-safe fragrance oils. Fragrance oils tend to have a stronger scent throw, while essential oils offer a more natural aroma. Just be sure whatever you use is safe for candle making and follow recommended usage rates.
What type of wax works best for a cozy winter candle?
Soy wax is the most beginner-friendly option and works beautifully for cozy, slow-burning candles. Beeswax is also a great choice if you want a firmer candle and a more subtle, natural scent throw.
How strong should the scent be?
For a cozy winter candle, less is more. You want warm and comforting — not overpowering. Sticking to 20–30 drops total (or the recommended fragrance load for your wax) keeps the scent soft and inviting.
Can I mix multiple scents together?
Yes, but keep it simple. Two scent notes max works best for a cozy candle. Popular combinations include vanilla + sandalwood or amber + vanilla. Mixing too many scents can overpower the candle or make the fragrance muddy.
How long should I let the candle cure before burning it?
For best results, let your candle cure for at least 24–48 hours. This allows the scent to fully bind with the wax and improves how evenly it burns.
Why is my candle cracking or frosting on top?
This is common with soy wax and doesn’t affect how the candle burns. It usually happens due to temperature changes while cooling. Letting the candle cool slowly at room temperature helps reduce this.
Can I give this candle as a gift?
Absolutely. This DIY cozy winter candle is perfect for gifting. Let it fully cure, trim the wick, and add a simple label or tag. It works beautifully for winter hostess gifts, Valentine’s self-care baskets, or cozy care packages.
How long will this candle burn?
Burn time depends on jar size and wax type, but most small to medium soy candles burn for 25–40 hours when properly cared for (wick trimmed and not burned too long at once).
Is this candle safe to burn indoors?
Yes, when made with candle-safe ingredients and burned responsibly. Always trim the wick, avoid drafts, and never leave a burning candle unattended.
DIY Winter Candle Troubleshooting
Even simple DIY candles can act a little fussy sometimes — totally normal. Here’s how to fix the most common issues so your cozy winter candle burns beautifully.
My candle has very little scent. What went wrong?
This usually happens for one of three reasons:
- The wax was too hot when you added the scent
- Not enough fragrance was used
- The candle wasn’t given time to cure
THE FIX:: Let the wax cool slightly before adding scent, use the recommended fragrance amount for your wax, and allow the candle to cure for at least 24–48 hours before burning.
My candle tunneled (burned straight down the middle).
Tunneling happens when the candle isn’t burned long enough during the first burn.
THE FIX:: On the first burn, let the candle burn until the melted wax reaches the edges of the jar (usually 2–3 hours). This helps prevent tunneling later.
The top of my candle looks cracked or frosted.
This is very common with soy wax and doesn’t affect performance.
THE FIX: Let candles cool slowly at room temperature. Avoid placing them near windows, fans, or cold surfaces while they set.
My wick keeps going out or looks too small.
This usually means the wick is too thin for the jar size or wax type.
THE FIX: Use a slightly thicker wick or switch to a wooden wick for wider jars. Always trim wicks to ¼ inch before lighting.
The flame is too large or flickering a lot.
A flame that’s too big usually means the wick is too long or too thick.
THE FIX: Trim the wick before each burn and avoid drafts. If the issue continues, use a thinner wick next time.
My candle has air bubbles or an uneven top.
This can happen if the wax cools too quickly or the jar was cold.
THE FIX: Pre-warm your jar slightly (room temperature is fine) and pour wax slowly. If needed, use a heat gun or hair dryer to gently smooth the top once the candle has set.
The scent smells different once the candle is lit.
Heat can change how fragrance notes smell, especially if too many scents are mixed.
THE FIX: Stick to 1–2 scent notes for a cleaner, cozier fragrance. Vanilla-based blends are especially forgiving.
My candle won’t stay lit for long.
This can happen if the wick is drowning in melted wax or trimmed too short.
THE FIX: Let the wax harden, gently pour off excess wax if needed, and make sure the wick is trimmed but still long enough to catch a flame.
Final Tip for Best Results
Candles almost always perform better on the second burn once they’ve fully cured. Don’t judge your candle too harshly after the first light — it often improves with time.
Cozy Winter Candle Troubleshooting Checklist
You can include this as a callout box in the article and turn it into a graphic.
✅ Before You Burn
- ☐ Wick trimmed to ¼ inch
- ☐ Candle cured at least 24–48 hours
- ☐ Jar placed away from drafts
🔥 During the First Burn
- ☐ Burned long enough for wax to reach edges (2–3 hours)
- ☐ Flame steady (not flickering wildly)
- ☐ Scent is noticeable but not overpowering
🕯 If Something Looks Off
- ☐ Weak scent → Candle may need more cure time
- ☐ Tunneling → Burn longer on first burn
- ☐ Cracked or frosted top → Normal for soy wax
- ☐ Flame too big → Wick needs trimming
- ☐ Wick going out → Wick may be too small
💡 Easy Fixes
- ☐ Trim wick before every burn
- ☐ Avoid burning longer than 3–4 hours
- ☐ Keep scent blends simple (1–2 notes max)
- ☐ Let candle cool slowly at room temperature
Please note: This website contains affiliate links. As an Amazon Associate, we earn from qualifying purchases at no additional cost to you.
.