
Please note: This website contains affiliate links. As an Amazon Associate, we earn from qualifying purchases at no additional cost to you.
.
Yes, aging is a privilege, but if we can keep our skin glowing, hydrated, and looking like we actually get eight hours of sleep (ha!), then why not?
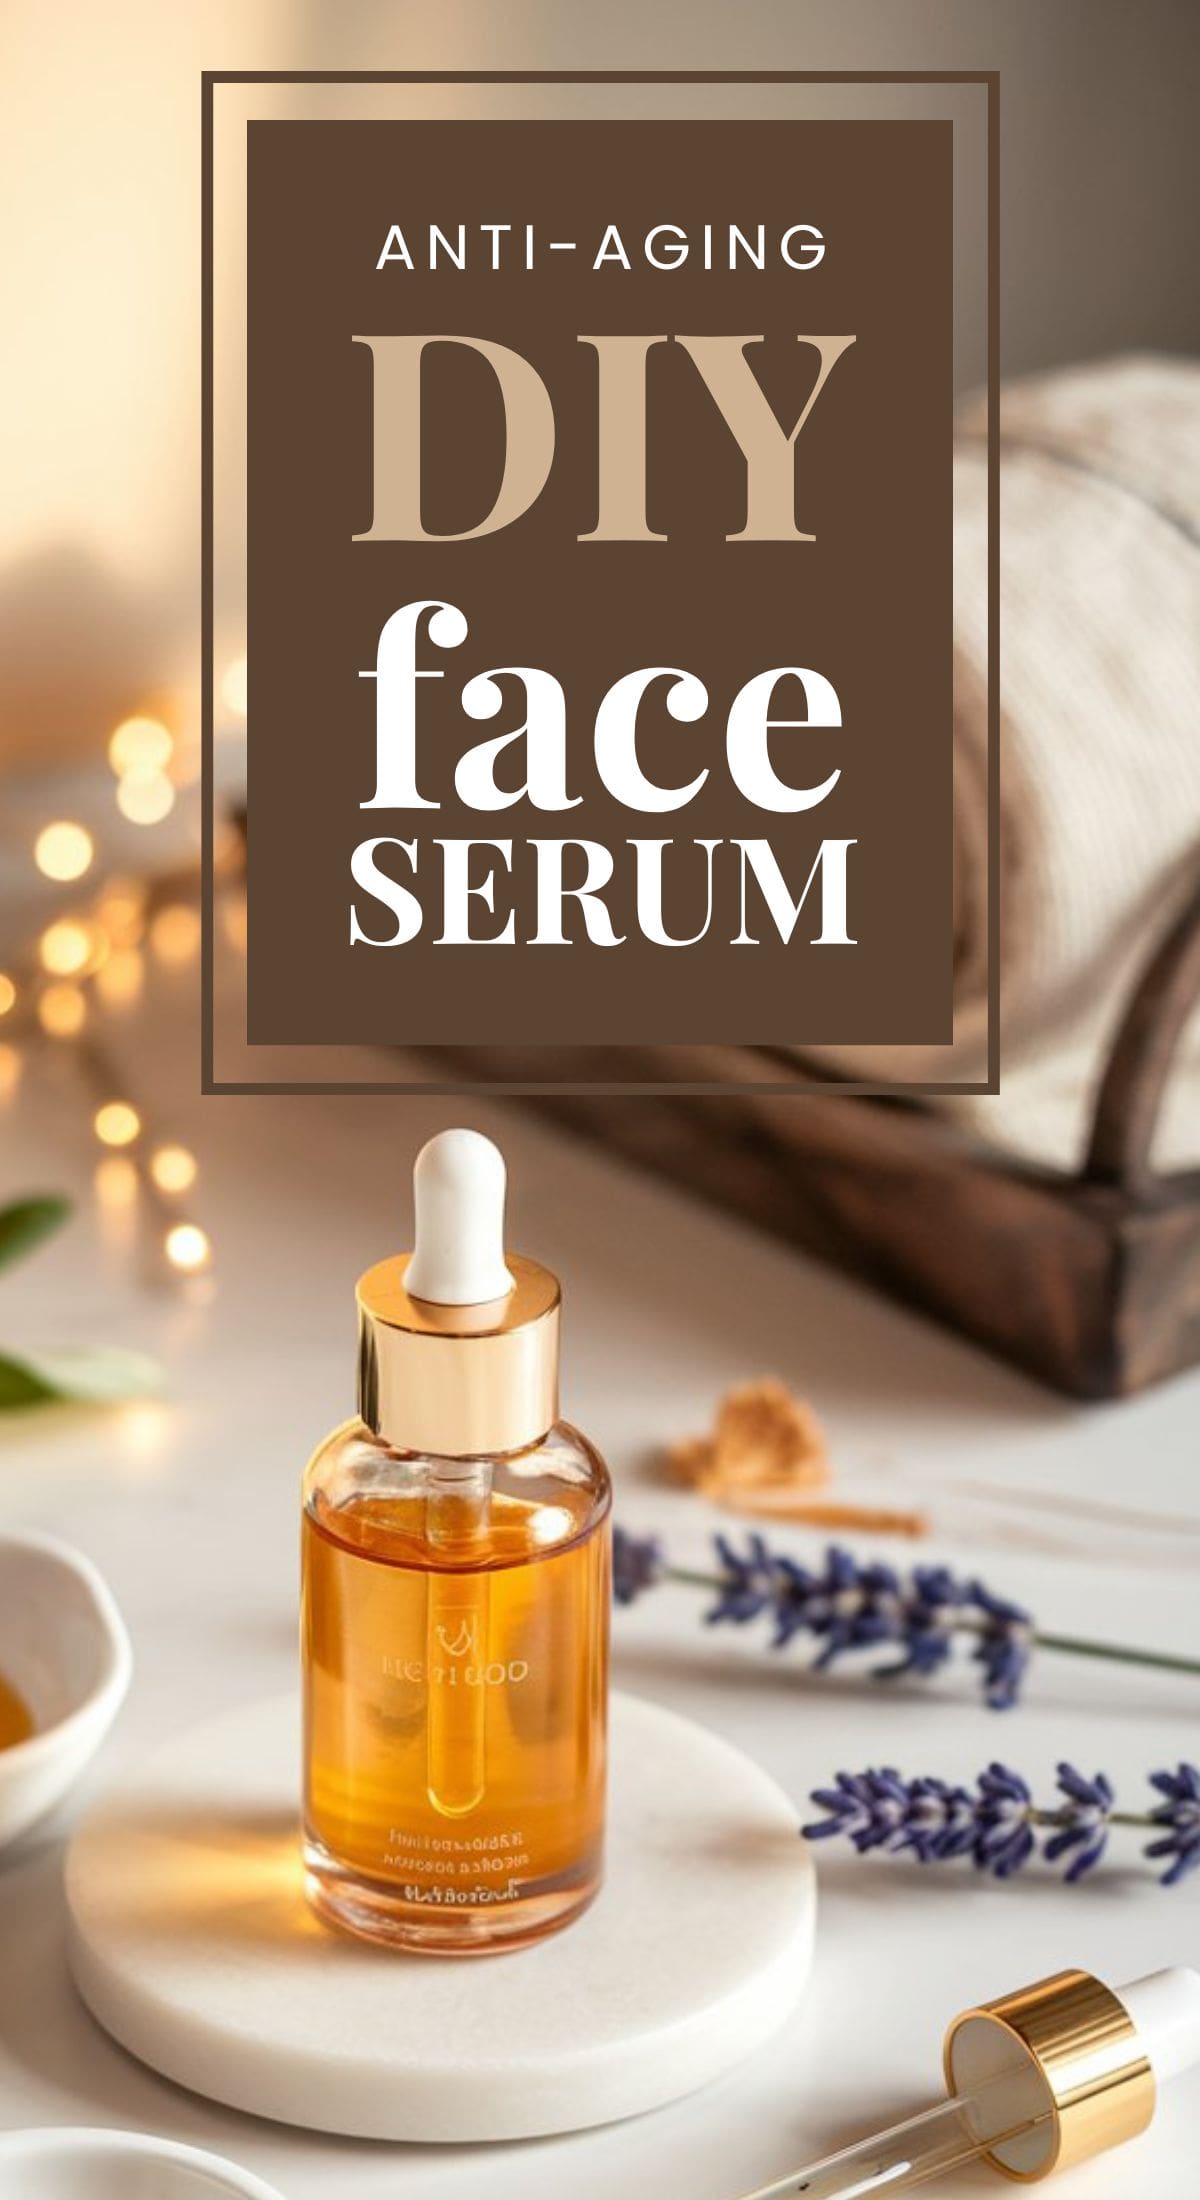
Enter: DIY anti-aging face serum.
This homemade serum is packed with skin-loving ingredients that nourish, hydrate, and help fight fine lines—without the hefty price tag of store-bought versions. It’s easy to make, fully customizable, and free of sketchy chemicals that no one can pronounce.
Plus, creating your own skincare is ridiculously satisfying—like being a scientist in a beauty lab but without the white coat.
So, if you’re ready to whip up your own magic potion, let’s dive in!
Why Make Your Own Anti-Aging Face Serum?
I used to drop way too much money on fancy serums, convinced that the more expensive they were, the better my skin would look. Spoiler alert: That’s a marketing lie. You don’t need to spend a fortune to get ingredients that work.
By making your own serum, you:
✔ Save money – One DIY batch costs less than one high-end bottle.
✔ Control what’s in it – No unnecessary fillers, preservatives, or synthetic fragrances.
✔ Customize it – Tailor it to your skin’s needs (more hydration, extra brightening, or max wrinkle-fighting).
What You’ll Need
Before we get to the step-by-step, let’s talk ingredients. The goal here is hydration, collagen support, and fine-line prevention—so every ingredient earns its place.
Base Oils (Choose One or a Combo!)
These are the foundation of your serum, packed with antioxidants and fatty acids:
- Jojoba Oil – Closest to your skin’s natural sebum, great for all skin types.
- Rosehip Seed Oil – Rich in vitamin C and essential fatty acids, known for brightening and reducing fine lines. We like the Cliganic brand and also Burt’s Bees Gua Sha Face Oil.
- Argan Oil – Deeply nourishing and packed with vitamin E for skin repair.
- Sweet Almond Oil – Hydrates and soothes sensitive skin.

Anti-Aging Powerhouses
- Vitamin E Oil – Helps neutralize free radicals and prevent premature aging.
- Hyaluronic Acid (HA) Serum – The hydration MVP, plumps skin and smooths out fine lines.
- Rosehip Seed Oil (Again, because it’s that good!) – High in natural retinoids for gentle anti-aging benefits.
Essential Oils (Pick One or a Combo for Extra Benefits!)
- Frankincense – A natural anti-aging warrior, helps with wrinkles and skin elasticity.
- Lavender – Soothes irritation and calms inflammation.
- Rose Geranium – Balances oil production and enhances skin glow.
- Carrot Seed Oil – High in antioxidants, known for improving skin tone.
Bonus Boosters (Optional but Fun!)
- Collagen Peptides (liquid form) – Adds a skin-firming boost.
- Aloe Vera Gel – Extra hydration and soothing benefits.
- Green Tea Extract – An antioxidant powerhouse to fight skin stressors.
Step-by-Step: How to Make Your Own Anti-Aging Face Serum
This is ridiculously easy—like, easier than figuring out what to watch on Netflix.
What You’ll Need:
- A small glass dropper bottle (preferably amber or blue to protect the oils).
- A small funnel (unless you enjoy making a mess).
- A clean mixing bowl and spoon.
Instructions:
- Start with Your Base Oils
- In a small mixing bowl, add 2 tablespoons of your chosen base oil (jojoba, rosehip, or a mix).
- Add the Anti-Aging Goodness
- Stir in ½ teaspoon of vitamin E oil for its skin-repairing properties.
- Add 1 teaspoon of hyaluronic acid serum (if using) for a hydration boost.
- Essential Oil Magic
- Choose 1-2 essential oils and add 3-5 drops of each.
- Frankincense + Rose Geranium is a killer combo for anti-aging.
- Mix & Bottle
- Stir everything together gently.
- Using your funnel, pour the serum into your dropper bottle.
- Store & Use
- Store your serum in a cool, dark place.
- Apply 2-3 drops to clean skin, morning and night, before moisturizer.
How to Use Your DIY Face Serum Like a Pro
- Apply after cleansing but before your moisturizer. Oils lock in hydration, so always layer them before thicker creams.
- Gently press into your skin instead of rubbing – helps with absorption and feels way fancier.
- Use it on your neck and décolletage – because we don’t want our face looking 30 while our neck tells another story.
- Give it time to work. Natural skincare isn’t an overnight miracle, but you’ll notice softer, more hydrated skin in just a few days.
FAQs: Everything You Want to Know About DIY Face Serums
1. How long does this serum last?
About 3-6 months if stored properly in a cool, dark place. Avoid heat and sunlight, which can break down the ingredients faster.
2. Can I use this if I have oily skin?
Yes! Jojoba oil is a great base for oily skin because it mimics natural sebum without clogging pores. If you’re extra oily, use a lighter oil like grapeseed.
3. Can I add retinol to this?
Technically, yes, but retinol is potent and should be used with caution in DIY blends. If you want anti-aging benefits similar to retinol, stick with rosehip oil.
4. What if I have sensitive skin?
Keep it simple! Avoid essential oils with strong fragrances and stick to jojoba oil + vitamin E + hyaluronic acid for a gentle, hydrating mix.
5. Can I use this under makeup?
Absolutely! Just let it sink in for a few minutes before applying foundation. It actually gives a dewy finish when layered properly.
Final Thoughts: Your Skin Will Thank You
So there you have it—your very own DIY anti-aging face serum that’s easy, affordable, and made with ingredients you can actually pronounce. No more overpriced bottles promising miracles!
Whether you’re looking to hydrate, firm, or just add some glow to your routine, this serum is a simple but powerful addition. And trust me—once you start making your own skincare, you’ll never want to go back to store-bought.
Now go forth, mix up some magic, and enjoy skin that looks as fresh as your morning coffee! ☕✨
Please note: This website contains affiliate links. As an Amazon Associate, we earn from qualifying purchases at no additional cost to you.
.