
Please note: This website contains affiliate links. As an Amazon Associate, we earn from qualifying purchases at no additional cost to you.
.
Making your own lip balm sounds incredibly simple… right up until you’re standing in your kitchen wondering why your balm suddenly looks grainy, refuses to harden, or somehow ended up absolutely everywhere except inside the tubes.
And honestly? That’s normal.
Most DIY lip balm recipes make the process look ridiculously easy, but there are actually a lot of little things that can affect how your lip balm turns out — from ingredient ratios to temperature to how quickly you pour the mixture.
The good news is that almost every common lip balm problem has a pretty easy fix once you know what’s causing it.
So instead of wasting ingredients (or rage-cleaning hardened beeswax off your counter), this guide will walk you through the most common DIY lip balm mistakes, what causes them, and how to fix them so your homemade lip balm actually turns out smooth, soft, and usable.
And honestly? Once you understand the basics, making lip balm gets SO much easier.
What You’ll Learn in This Guide
If there is a particular homemade lip balm question or issue you’re having, just click below and we’ll take you to that section!
- Why your lip balm is too hard
- Why your lip balm is too soft or melts easily
- How to fix grainy lip balm
- Why your lip balm feels greasy
- How to pour lip balm into tubes without making a mess
- Why your lip balm separated or became uneven
- How to prevent air bubbles in lip balm tubes
- The best containers for homemade lip balm
- How long homemade lip balm lasts
- Common beginner mistakes to avoid
- How to customize lip balm texture properly
- Tips for making lip balm in hot weather
My Favorite DIY Lip Balm-Making Supplies
After making homemade lip balm multiple times, there are definitely a few supplies that make the process dramatically easier — especially if you’re tired of messy pouring, uneven texture, or tubes tipping over halfway through filling them.
These are the tools and ingredients I keep coming back to because they make the whole process smoother, faster, and honestly way less frustrating.
Lip Balm Tubes
If you’re making traditional lip balm sticks, empty tubes are one of the first things you’ll need. I personally like simple clear or white tubes because they look clean, professional, and work well for gifts.
BPA-Free Lip Balm Tubes on Amazon
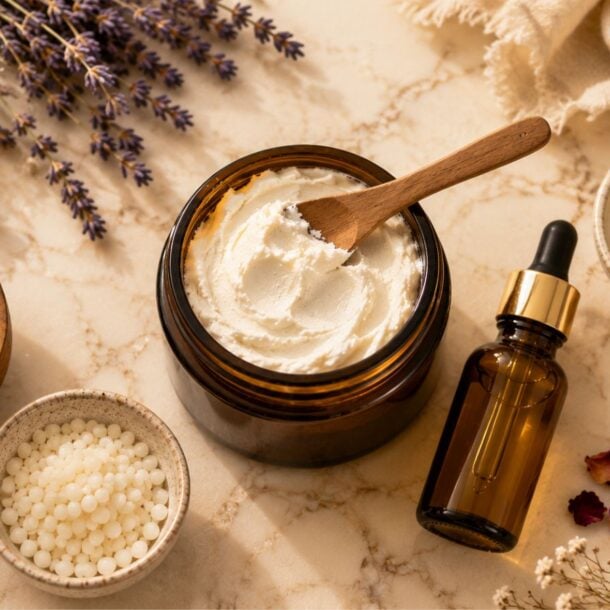
Beeswax Pellets
Beeswax pellets are much easier to measure and melt than large wax blocks, especially for beginners. They also melt more evenly and make adjusting recipes a lot simpler.

Shea Butter
Shea butter helps create that smooth, moisturizing texture people love in homemade lip balm. It’s one of the easiest ways to soften a recipe that feels too firm or waxy. Explore Shea Butter on Amazon
Glass Measuring Cup with Pour Spout
Honestly, this is one of the most underrated tools for lip balm making. A glass measuring cup with a pour spout makes filling tubes SO much easier and helps reduce spills and wasted product.
Glass Measuring Cup with Pour Spout on Amazon
Lip Balm Filling Tray
If you plan to make more than a few tubes at once, a filling tray is absolutely worth it. It keeps tubes upright and helps prevent tipping, spills, and uneven filling. If you are just starting out and need to also by the tubes, I highly recommend this combo set, otherwise the following is a perfect option!
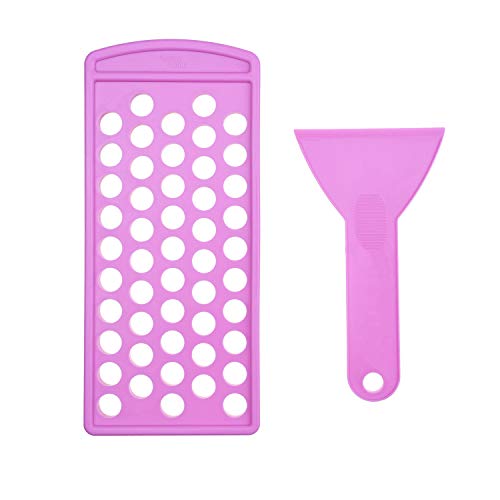
Lip Balm Filling Tray & Spatula Set
Shop on Amazon
$7.99
We earn a commission if you make a purchase, at no additional cost to you.
06/12/2026 07:02 pm GMT
Sweet Almond Oil
Sweet almond oil is one of my favorite oils for homemade lip balm because it feels lightweight and smooth without being overly greasy. It blends beautifully with beeswax and butters.
Shop Sweet Almond Oil on Amazon
Essential Oils & Flavor Oils
Adding scent or flavor is one of the most fun parts of DIY lip balm. Simple flavors like vanilla, peppermint, or strawberry instantly make homemade balms feel more special and giftable.
Quick note: If I’m making lip balm for my 8 and 10 year old nieces, we definitely have to get really fruity! Here are the lip balm flavors I keep on hand for their gifts – everything from kiwi to green tea and watermelon flavors.
Small Cosmetic Jars & Tins
If you prefer softer balms or overnight lip treatments, small tins or cosmetic jars are often easier than tubes and look incredibly cute in gift sets. This brand has been my favorite (so far) and comes in multiple colors and includes cute labels.
Best Selling Small Cosmetic Jars & Lip Balm Tins on Amazon
The Homemade Lip Balm Trouble Shooting Guide
Your DIY lip balm problems and burning questions … answered!
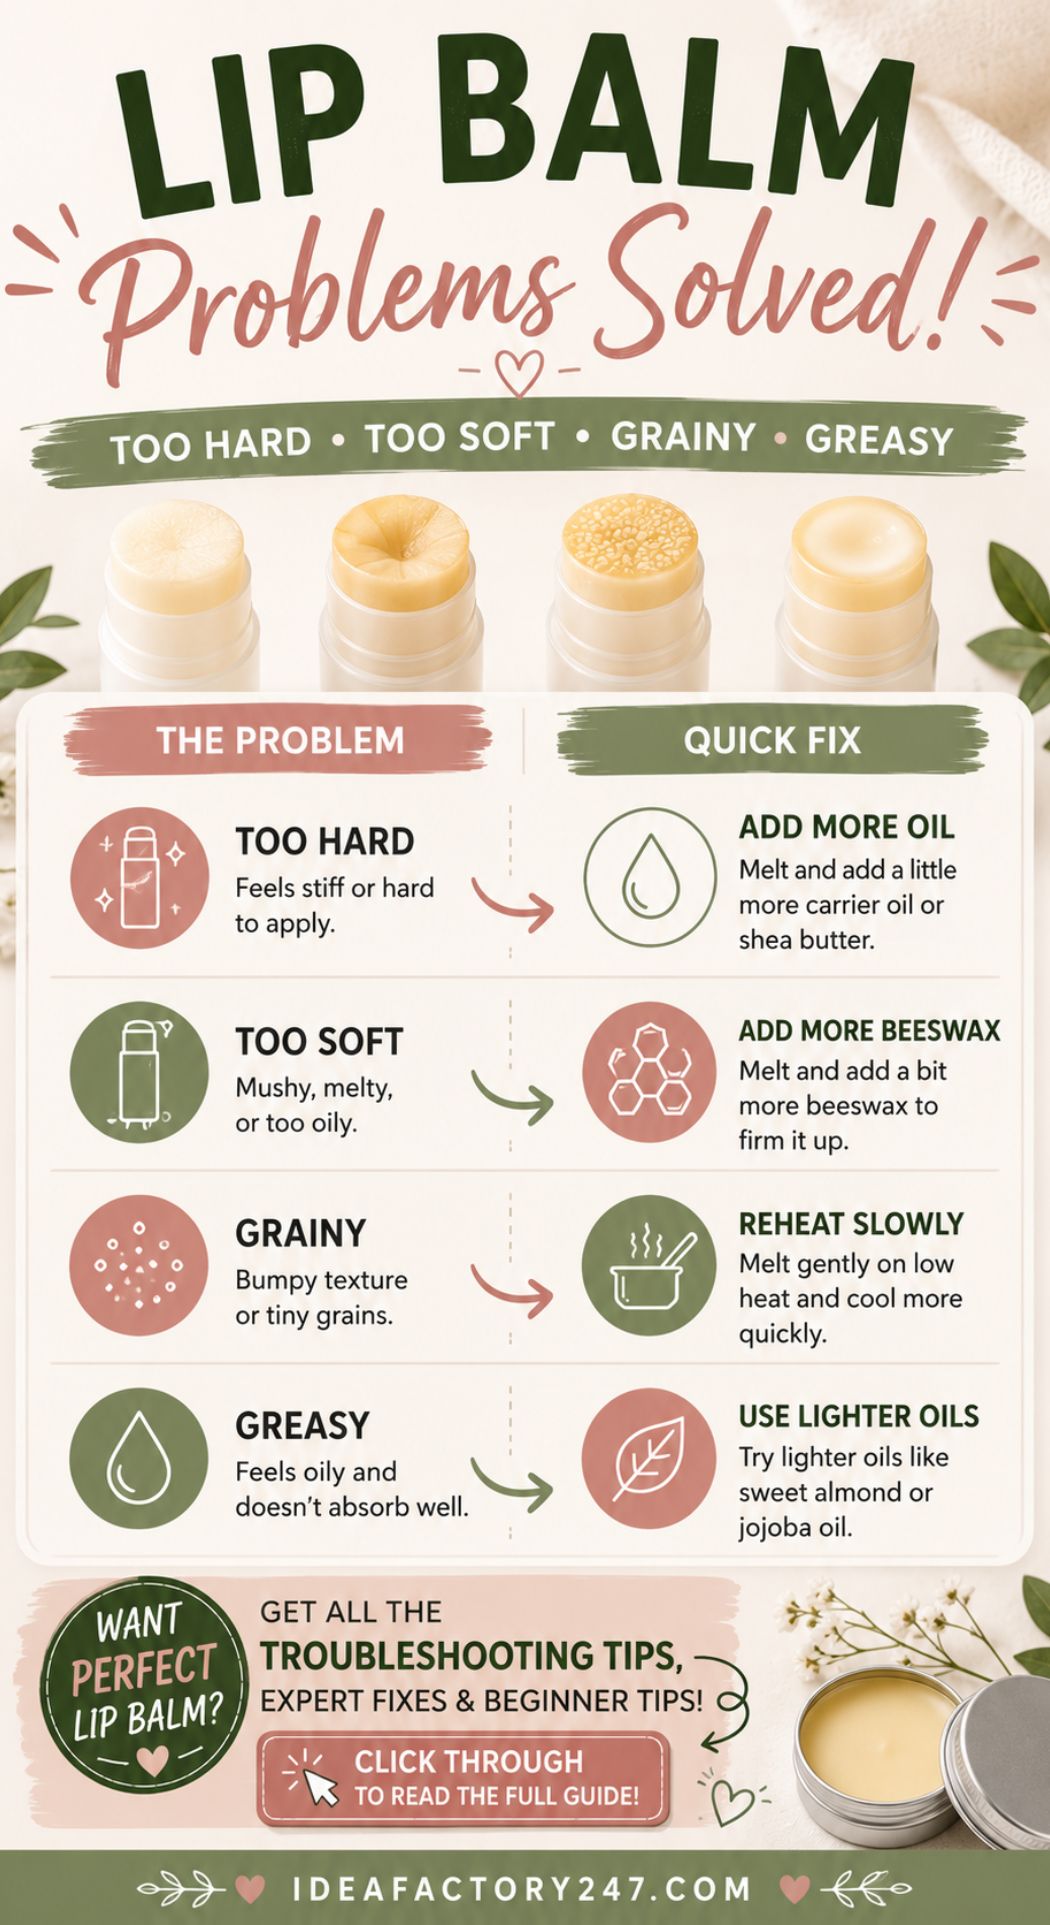
Why Is My Lip Balm Too Hard?
This is probably the most common DIY lip balm problem.
If your balm feels stiff, drags across your lips, or requires approximately the same pressure as opening a pickle jar, the issue is usually too much beeswax.
Beeswax controls firmness. Even a small extra amount can make a huge difference in texture.
How to Fix It
Melt the lip balm back down and add a little more carrier oil, a small amount of shea butter OR or a tiny bit of coconut oil.
Start small. A teaspoon can completely change the texture.
Real-Life Tip: A lip balm that feels perfect indoors may become rock solid during winter or in air-conditioned spaces. Testing one tube before pouring a full batch can save a lot of frustration later (trust me!)
Why Is My Lip Balm Too Soft?
On the opposite end of the spectrum, sometimes homemade lip balm turns into something closer to lip gloss. If it:
- melts quickly
- smears easily
- sinks into the tube
- or feels overly oily
…it usually means there isn’t enough wax in the recipe.
How to Fix It
Re-melt the mixture and add a little more beeswax OR slightly less liquid oil next time
The ideal texture should glide smoothly without feeling runny.
FYI: Summer Heat Matters More Than People Think
A lip balm that works perfectly in winter may completely melt in a hot car during summer. If you live somewhere warm, slightly firmer recipes tend to hold up better.
Why Does My Lip Balm Feel Grainy?
This one surprises a lot of beginners because the recipe may have looked perfectly smooth when you poured it. Graininess is often caused by:
- butters cooling unevenly
- overheating ingredients
- or temperature fluctuations during storage
Shea butter is usually the culprit.
How to Fix It
Re-melt the balm slowly using low heat, then cool it more quickly afterward. A lot of DIYers place freshly poured lip balm in the fridge for a short time to help create a smoother texture.
Important Tip
High heat is not your friend here. Gentle melting works much better than blasting everything on high heat.
Why Does My Lip Balm Feel Greasy?
Some oils absorb better than others.
If your balm feels oily instead of moisturizing, the recipe may contain:
- too much liquid oil
- very heavy oils
- or not enough wax or butter balance
Oils That Can Feel Heavier
- olive oil
- avocado oil
- too much coconut oil
Oils That Often Feel Lighter
- sweet almond oil
- jojoba oil
- grapeseed oil
A balanced recipe usually feels smoother and less slick.
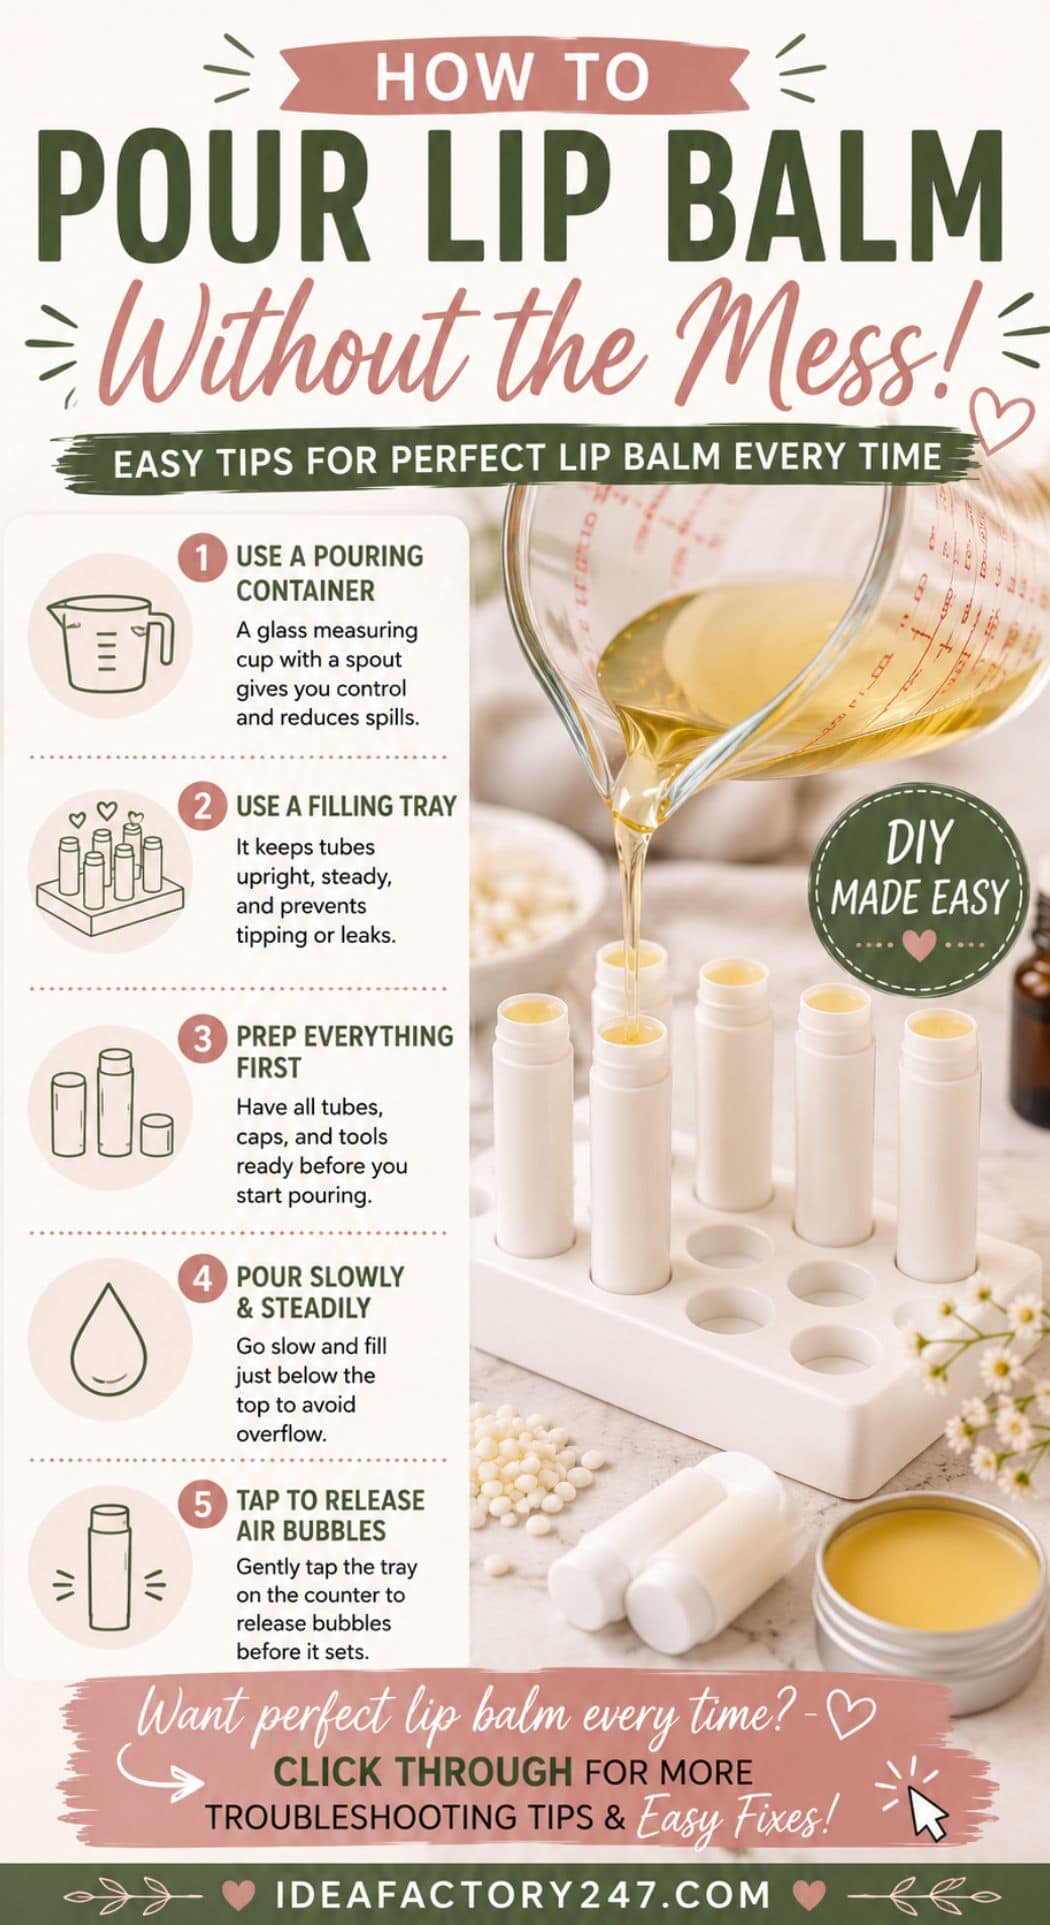
How to Pour Lip Balm Into Tubes Without Making a Huge Mess
Honestly, this is where most people lose their patience.
Tiny tubes + hot liquid + awkward pouring angles = chaos.
What is going to help the most? Using one (or all) of these will make a massive difference:
- a pouring pitcher
- a lip balm filling tray
- or a glass measuring cup with a spout
My Real Life Trick: Lay all your tubes out BEFORE you melt the mixture. Because once the wax starts cooling, things move fast.
Many beginners also underestimate how quickly lip balm hardens while pouring. Working in smaller batches is often much easier than trying to pour 20 tubes at once.
Why Did My Lip Balm Separate?
If you notice uneven texture, oil pooling, layers forming or tiny pockets inside the balm, the ingredients likely cooled unevenly or weren’t fully mixed.
How to Prevent Separation
- Stir thoroughly before pouring
- Avoid overheating oils
- Pour while the mixture is still evenly blended
Sometimes simply reheating and remixing solves the issue completely.
How to Prevent Air Bubbles in Lip Balm Tubes
Tiny air pockets happen more often than people realize. Usually this happens because:
- the balm cooled too quickly
- the mixture wasn’t poured evenly
- or the tubes shifted while hardening
Easy Fix: After pouring, gently tap the tray or tubes against the counter a few times. It helps release trapped air before the balm sets.
The Best Containers for Homemade Lip Balm
Different containers create very different experiences.
| Container Type | Best For |
|---|---|
| Lip Balm Tubes | Everyday use, portability, cleaner application |
| Small Tins | Softer balms, tinted balms, overnight treatments |
| Glass Pots | Gifts, luxury balms, aesthetic packaging |
Honestly, tins are often easier for beginners because pouring into tiny tubes can be surprisingly tricky at first. I bought these last month and am in love with the bamboo lids…
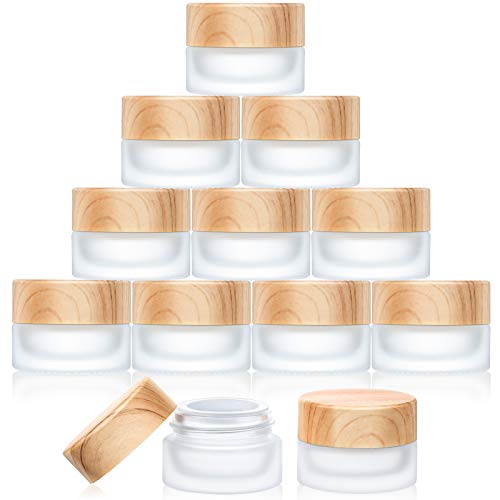
Glass Cosmetic Containers
Shop on Amazon
$9.99
Geiserailie Sample Jars with Leak Proof Lids. Perfect for DIY lotions, creams and lip balm.
We earn a commission if you make a purchase, at no additional cost to you.
06/12/2026 09:00 pm GMT
How Long Does Homemade Lip Balm Last?
Most homemade lip balms last around 6–12 months, but it can vary dramatically based on:
- ingredients used
- storage conditions
- whether water accidentally gets introduced
Signs It’s Time to Toss the Balm:
- strange smell
- texture changes
- visible mold
- unusual separation
Keeping balms away from heat and direct sunlight helps extend shelf life significantly.
Common Beginner Mistakes to Avoid
#1 | Too Many Recipe Edits
One of the biggest mistakes beginners make is changing too many things in your recipe at once.
If you change oils, change wax amounts, add flavors, add color and/or try a new container all in the same batch, it becomes hard to figure out what caused the problem. Small adjustments work much better.
#2 | Overheating
Another common mistake is overheating ingredients. Low, gentle heat almost always gives better results than rushing the process.
#3 | Labeling
This may not seem like a big deal, but label your recipes! You will absolutely forget what ratio you used otherwise.
How to Customize Lip Balm Texture Properly
Once you understand the basics, customizing lip balm becomes really fun.
| If You Want… | Try Adding More… | Result |
|---|---|---|
| A firmer lip balm | Beeswax | Creates a sturdier balm that holds up better in warm weather |
| A softer lip balm | Liquid oils or shea butter | Gives the balm a smoother, creamier glide |
| A glossier finish | Lightweight oils like jojoba or sweet almond oil | Adds shine and a silkier feel on the lips |
| A more matte finish | Beeswax or cocoa butter | Creates a less shiny, more protective finish |
| A creamier texture | Shea butter or mango butter | Makes the balm feel richer and more moisturizing |
| A lighter, less greasy feel | Jojoba oil or grapeseed oil | Helps the balm absorb more comfortably |
| Better summer stability | Slightly more beeswax | Helps prevent melting in warmer temperatures |
| A richer overnight lip treatment | More butter and slightly less wax | Creates a softer, deeply moisturizing balm |
Tips for Making Lip Balm During Summer
Hot weather changes everything. Lip balm that feels perfect in cool weather may become extremely soft in summer temperatures.
Helpful Summer Tips
- Slightly increase beeswax
- Avoid leaving balm in cars
- Store extras in cooler spaces
- Use tubes instead of tins if possible
If you sell or gift lip balm, this becomes even more important because shipping heat can soften formulas quickly.
Final Thoughts
Making homemade lip balm gets dramatically easier once you understand what actually affects the texture and consistency.
Most problems aren’t failures — they’re just tiny formulation issues that can usually be fixed with a small adjustment.
And honestly, every DIYer has made at least one weird batch along the way. Probably several.
The good news is that once you learn how waxes, oils, and butters work together, you’ll be able to create lip balms that feel exactly the way you want them to — whether that’s soft and glossy, firm and protective, or somewhere perfectly in between.
Please note: This website contains affiliate links. As an Amazon Associate, we earn from qualifying purchases at no additional cost to you.
.