
Please note: This website contains affiliate links. As an Amazon Associate, we earn from qualifying purchases at no additional cost to you.
.
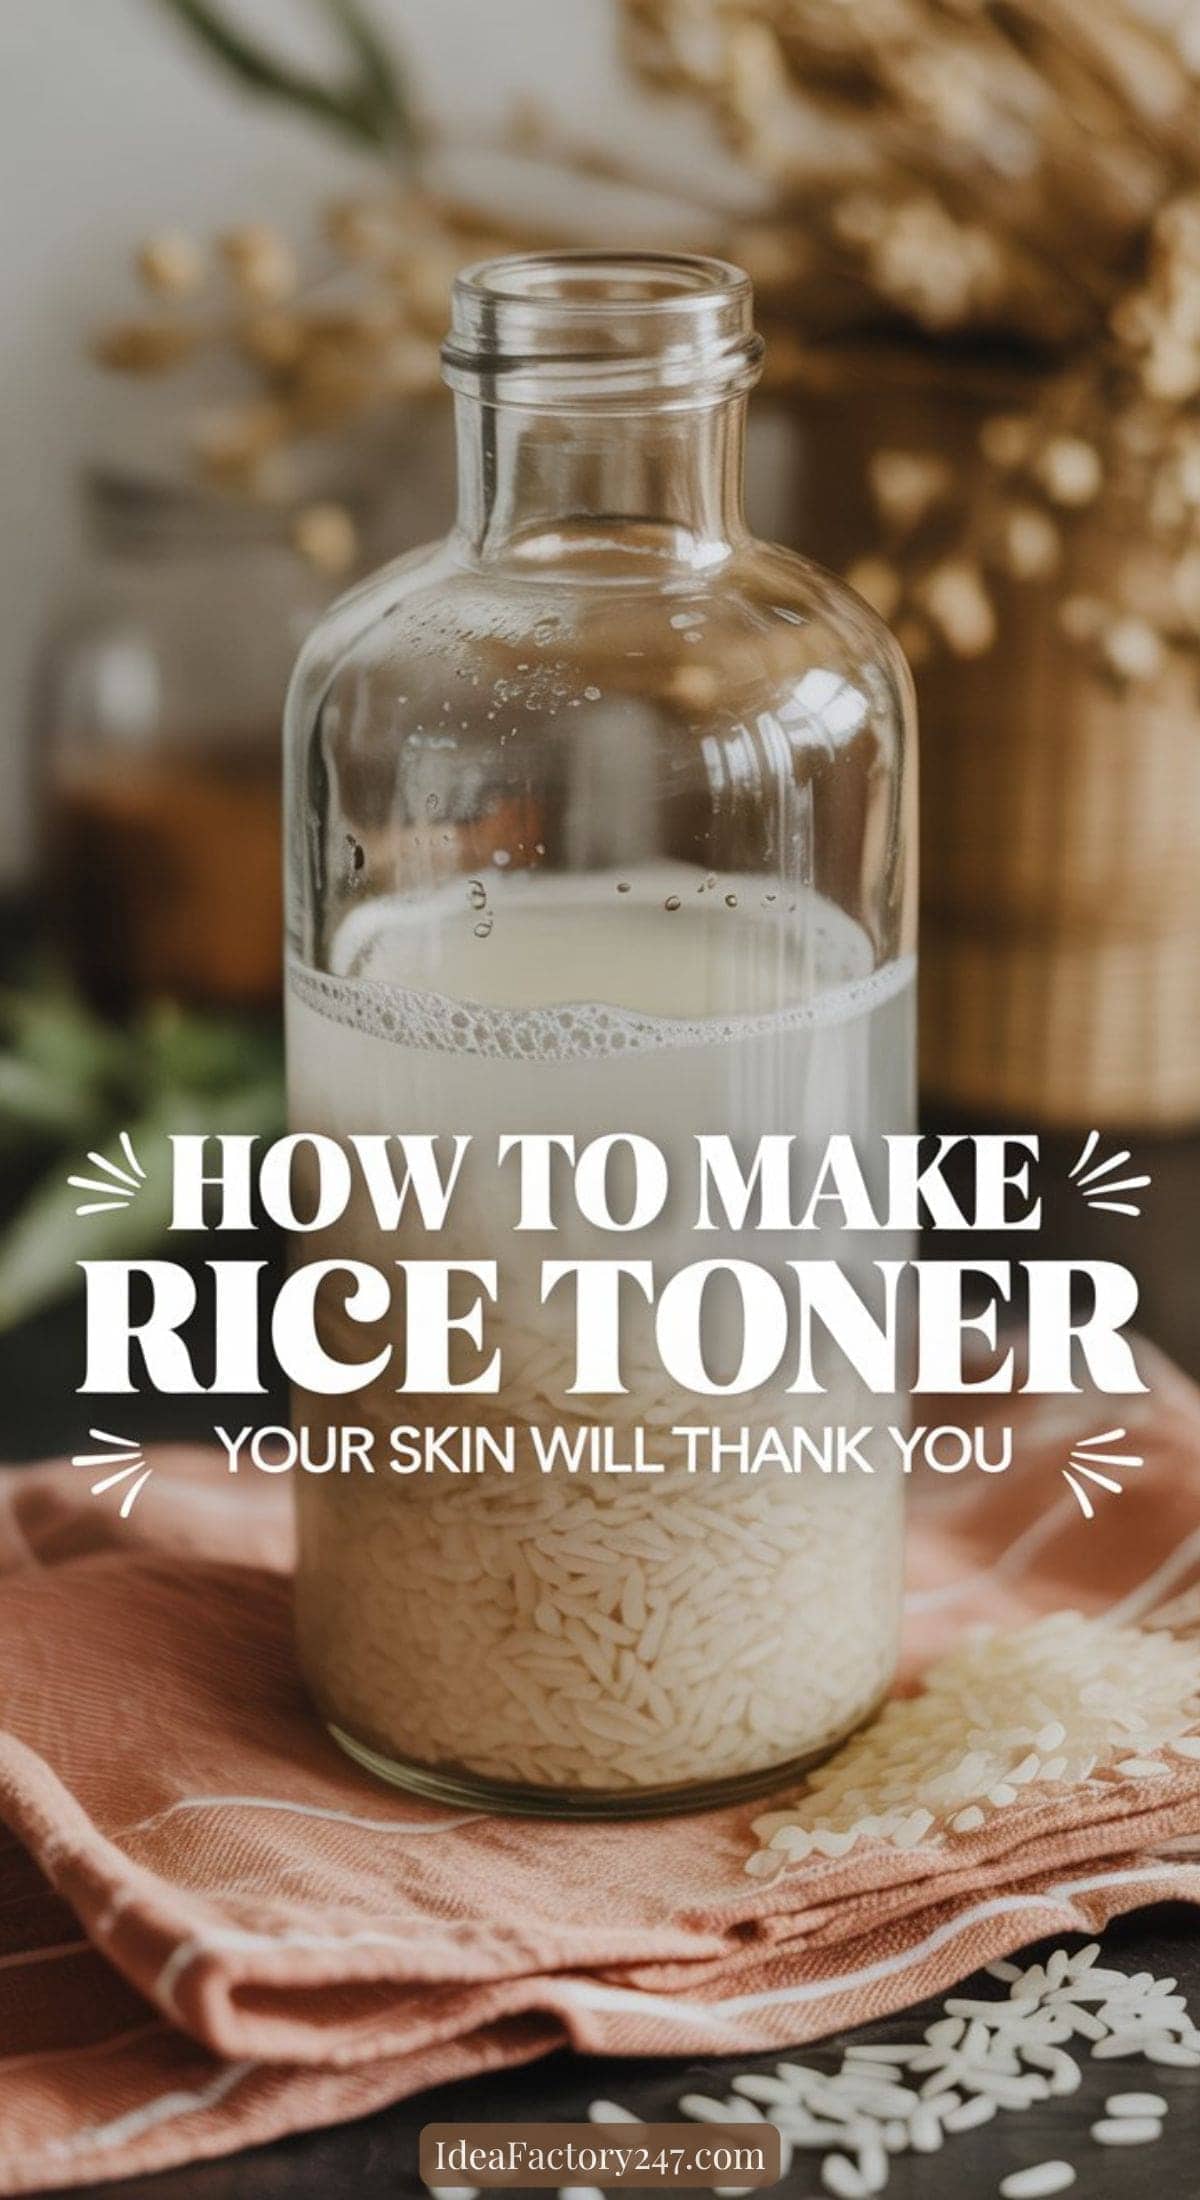
Rice toner has been quietly trending for a reason.
It’s simple, gentle, affordable, and rooted in traditional skincare routines that focus on calming and softening the skin — not overwhelming it.
This DIY rice toner recipe uses rice water, which is made by soaking or rinsing rice in water. When used as a facial toner, it can help skin feel refreshed, balanced, and comfortable after cleansing.
If you’re looking for a DIY face toner that’s easy to make and easy to stick with, rice toner is a great place to start.
First… what exactly is rice toner?
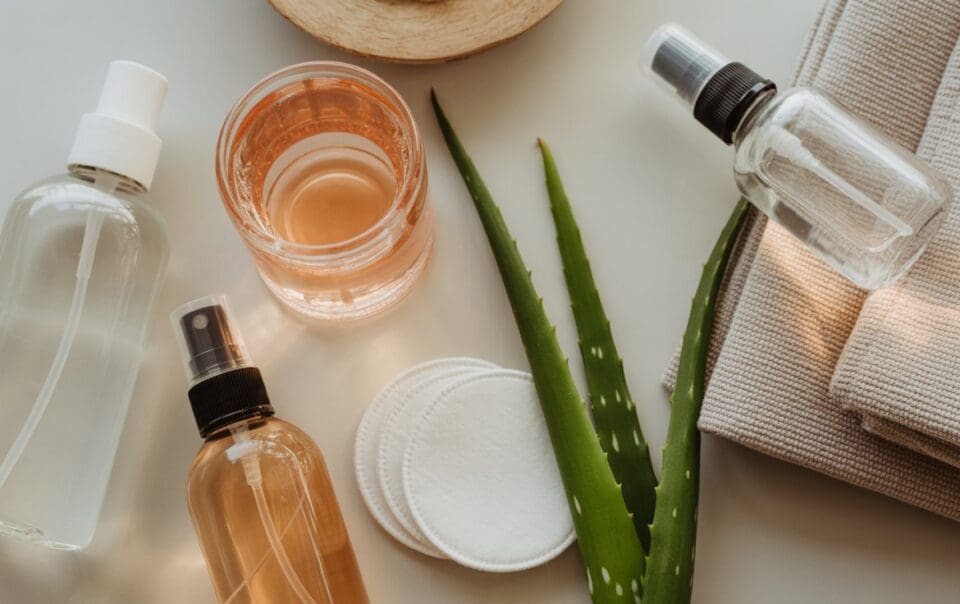
Rice toner is a lightweight facial toner made from rice water — the milky liquid left behind after soaking or rinsing rice. It’s often used as a gentle skincare step to refresh the skin and prep it for moisturizer.
People love rice toner because it:
- Feels light and non-irritating
- Uses minimal ingredients
- Fits well into simple skincare routines
- Is affordable and easy to make at home
This version keeps things intentionally basic and beginner-friendly.
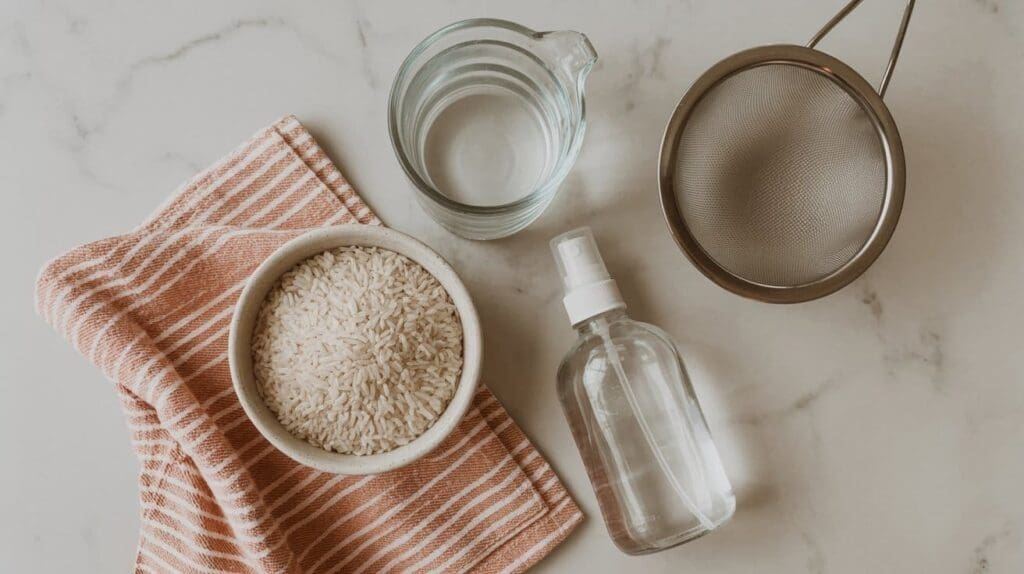
Ingredients You’ll Need
You only need two things.
- ½ cup uncooked white rice (any variety works)
- 1 cup filtered or distilled water
Optional add-ins (use sparingly):
- Aloe vera juice (1 tablespoon)
- Rose water (replace ¼ cup of the water)
How to Make Rice Toner (Step-by-Step Recipe)
Step 1: Rinse the Rice
Place the uncooked rice in a bowl and rinse once with water to remove dust or debris. Drain.
Step 2: Soak the Rice
Add 1 cup filtered water to the rinsed rice. Let it soak for 20–30 minutes, stirring occasionally. The water will turn cloudy — that’s what you want.
Step 3: Strain the Rice Water
Strain the liquid into a clean glass jar or bottle. Discard or cook the rice separately.
Step 4: Optional Add-Ins
If desired, stir in:
- 1 tablespoon aloe vera juice for soothing hydration
OR - Replace ¼ cup of the water with rose water for added softness
Step 5: Store Properly
Store rice toner in the refrigerator and use within 5–7 days.
How to Customize Your Rice Toner (Optional Add-Ins)
One of the best things about a DIY rice toner is how flexible it is. Once you’ve tried the basic version and know your skin tolerates it well, you can customize your toner slightly based on what your skin needs right now.
The key word here is slightly. A good toner should still feel light, calming, and simple — not like a complicated potion.
Below are a few gentle add-ins people commonly use, along with exact amounts so you don’t overdo it.
Rose Water (For Dry or Sensitive Skin)
Rose water is often used to add softness and a comforting feel to toner.
How to use it:
- Replace ¼ cup of the water in your rice toner with rose water
OR - Add 1–2 tablespoons rose water to finished rice toner
This option keeps the toner gentle and lightly hydrating and is best for dry, sensitive, or easily irritated skin.
Green Tea (For Oily or Combination Skin)
Green tea adds a refreshing feel without heaviness.
How to use it:
- Brew green tea and let it cool completely
- Replace ¼ cup of the water with green tea
Make sure the tea is fully cooled before mixing with rice water.
Best for: Oily, combination, or balanced skin types
Aloe Vera Juice (For Soothing & Comfort)
Aloe is great for skin that feels tight or stressed.
How to use it:
- Add 1 tablespoon aloe vera juice to the finished toner
- Shake gently before each use
Avoid thick aloe gels — liquid aloe works best.
Best for: Dry, sensitive, or post-cleansing skin
Tea Tree Oil (Use With Caution)
Tea tree oil is strong and not necessary for most people. If you choose to use it, less is essential.
How to use it safely:
- Add 1 drop total to the entire bottle of toner
- Shake well before each use
- Patch test first
Do not use more than one drop, and skip entirely if you have sensitive skin.
Best for:
Occasional blemish-prone skin only
Customizing Tips to Keep in Mind
- Only add one customization at a time
- Patch test any new version
- If your skin stings, burns, or feels tight — rinse and go back to the basic recipe
- Store customized toner in the fridge and use within 5–7 days
Simple formulas tend to work best.
A Gentle Reminder: You don’t need to customize your rice toner for it to be effective. The basic rice + water version works beautifully for many people. Think of add-ins as optional enhancements — not requirements.
How to Use Rice Toner on Your Face
- Cleanse your face first
- Apply toner using a cotton pad or clean hands
- Gently pat into skin
- Follow with moisturizer
Use once daily to start. If skin feels comfortable, you can increase to twice daily.
How Much to Use?
- Cotton pad method: enough to lightly dampen the pad
- Hands method: 5–7 drops total
More is not better — rice toner should feel light, not wet.
How Long Rice Toner Lasts
Because this DIY toner contains no preservatives:
- Store in the refrigerator
- Use within 5–7 days
- Discard if smell or appearance changes
You can freeze small portions if you want to extend shelf life.
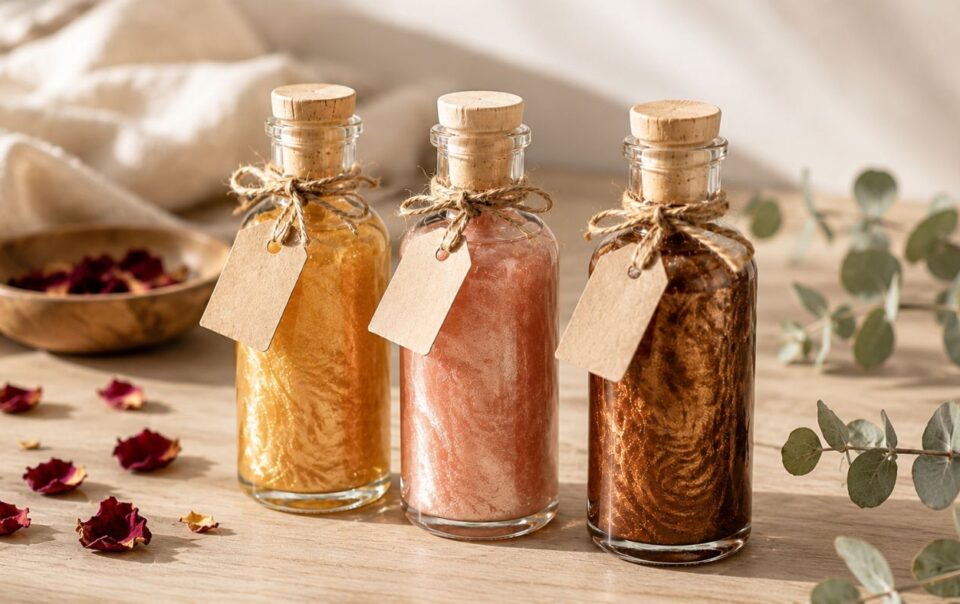
Which Type of Rice Is Best for Your DIY Rice Toner?
If you’re new to rice toner, white rice or organic white rice is usually the safest and simplest place to start. Once you know how your skin responds, you can experiment with other rice types based on how your skin feels — not how it’s “supposed” to act.
| Type of Rice | Why People Use It in Rice Toner | Best For Skin That Is… |
|---|---|---|
| White Rice (Jasmine, Basmati, Long-Grain) | Creates a very gentle rice water that feels light and soothing. Easy to rinse clean and less likely to irritate. | Sensitive, reactive, acne-prone, or beginner skincare routines |
| Brown Rice | Contains more natural nutrients due to the outer bran layer. Produces a slightly richer rice water. | Dry, dull, or mature-looking skin that prefers a bit more nourishment |
| Black / Forbidden Rice | Naturally higher in antioxidants, resulting in a darker, more concentrated rice water. | Skin seeking antioxidant support or a brighter, more refreshed appearance |
| Organic Rice (Any Variety) | Grown without synthetic pesticides, making it a cleaner option for DIY skincare. | All skin types, especially those prioritizing clean or low-tox skincare |
| Short-Grain Rice | Releases starch easily, creating a silkier, more moisturizing rice water. | Dry or tight-feeling skin that needs softness |
| Long-Grain Rice | Produces a lighter rice water with less starch. | Oily or combination skin that prefers a weightless toner |
There’s no single “best” rice — just the one that works best for your skin right now.
Common Rice Toner Mistakes to Avoid
- Using fermented rice water if you’re a beginner
- Leaving rice soaking for hours
- Skipping patch testing
- Applying too frequently
- Forgetting moisturizer afterward
Gentle and simple works best.
Who Should Be Careful with Rice Toner
Use caution or skip if you:
- Have very reactive or compromised skin
- Are experiencing active breakouts or irritation
- Notice stinging or redness after application
Always patch test before first use.
Frequently Asked Questions About Rice Toner
Is rice toner good for all skin types?
Many people with dry, oily, and combination skin enjoy it, but results vary.
Can I ferment rice water for toner?
Fermentation is more advanced and can irritate sensitive skin. This recipe avoids fermentation on purpose.
Can rice toner replace moisturizer?
No — toner preps the skin, moisturizer seals hydration.
Conclusion
Rice toner is one of those DIY skincare recipes that proves simple really can be effective. With just rice and water, you can create a gentle toner that fits easily into a calm, realistic skincare routine.
If it feels good on your skin, keep it. If not, skip it. Skincare should always feel flexible and supportive — never forced.
Please note: This website contains affiliate links. As an Amazon Associate, we earn from qualifying purchases at no additional cost to you.
.