Please note: This website contains affiliate links. As an Amazon Associate, we earn from qualifying purchases at no additional cost to you.
.
Looking for an easy, budget-friendly way to treat yourself or make thoughtful homemade gifts? Enter the whipped sugar scrub—a luxurious blend of exfoliating sugar and nourishing oils that will leave your skin feeling silky smooth. Even better? You only need a few ingredients and a little creativity to whip some up in no time.
Let’s dive into the materials, step-by-step instructions, and a few tips to make your sugar scrub perfect every time!
Materials You’ll Need
- 1 cup granulated sugar (white or brown, depending on your preference for texture and exfoliation)
- 1/2 cup coconut oil (solid at room temperature)
- 1/4 cup almond oil (or another liquid carrier oil like jojoba or grapeseed)
- 1 teaspoon vitamin E oil (optional, for added skin nourishment)
- 10–20 drops of essential oil (your choice—lavender, citrus, or peppermint oils work beautifully)
- A few drops of food coloring (optional, for a fun pop of color)
- Mixing bowl
- Hand or stand mixer
- Spatula
- Storage jars or containers (glass or plastic with airtight lids)
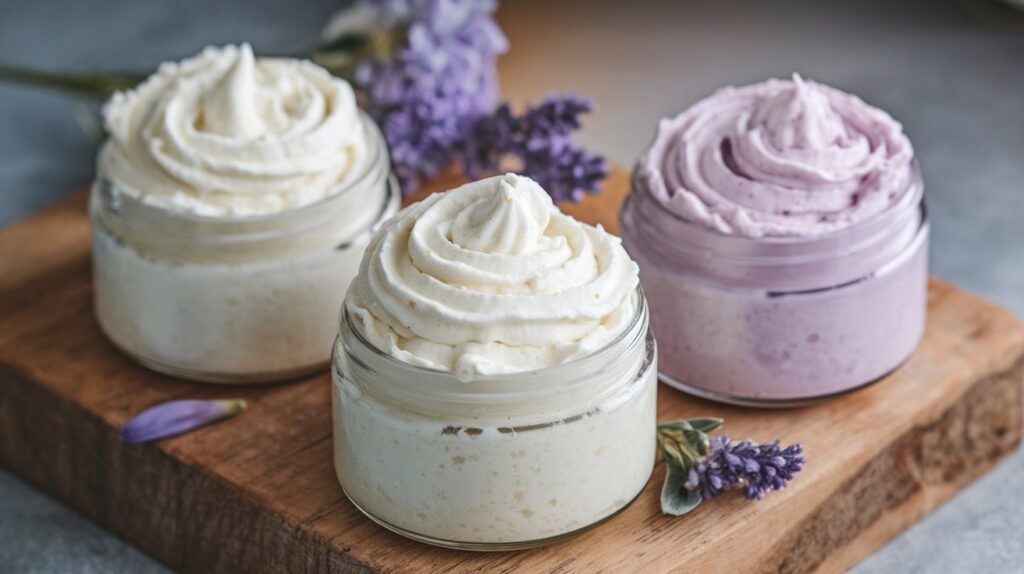
More fun options to store (and gift!) your sugar scrub.
Step-by-Step Instructions
- Prep Your Workspace
Gather all your materials, and ensure your storage jars are clean and dry. A clutter-free space makes this process more enjoyable! - Melt and Cool the Coconut Oil
If your coconut oil is too solid, gently warm it in the microwave for about 10–15 seconds until it’s soft but not liquid. Let it cool slightly to avoid melting the sugar. - Combine Oils
In a mixing bowl, add the softened coconut oil, almond oil, and optional vitamin E oil. - Whip the Oils
Use a hand or stand mixer to whip the oils on medium speed for about 3–5 minutes. The mixture should become fluffy and light, similar to frosting. - Add the Sugar
Gradually add the sugar, about 1/4 cup at a time, mixing on low speed to incorporate. Once all the sugar is mixed in, increase the speed and whip for another 2–3 minutes. - Customize with Essential Oils and Color
Add your essential oils and food coloring, if using, and mix gently until evenly distributed. Be conservative with the color—pastel shades are often more appealing for scrubs. - Transfer to Jars
Use a spatula to scoop the whipped sugar scrub into your jars or containers. Seal tightly and label if you’re giving them as gifts.
Tips for the Perfect Whipped Sugar Scrub
- Experiment with Sugar Types: Fine granulated sugar is gentler on sensitive skin, while brown sugar adds a richer, softer texture.
- Adjust Consistency: For a thicker scrub, add more sugar; for a creamier texture, add more coconut oil.
- Storage: Store the scrub in a cool, dry place for up to 3 months. Avoid letting water into the container to extend its shelf life.
- Gift-Worthy Packaging: Tie a ribbon around the jar and add a handwritten tag with the ingredients and instructions for use—it’s a thoughtful, handmade touch!
How to Use Your Whipped Sugar Scrub
Scoop out a small amount and gently massage it onto damp skin in circular motions. Rinse off with warm water to reveal soft, glowing skin. This scrub is perfect for hands, feet, and body, but avoid using it on your face, as the sugar can be too abrasive for delicate facial skin.
Making your own whipped sugar scrub is a fun and rewarding project that brings a little luxury into your everyday routine. Whether you’re treating yourself or someone you love, this simple recipe is bound to impress. Happy scrubbing!
Please note: This website contains affiliate links. As an Amazon Associate, we earn from qualifying purchases at no additional cost to you.
.