This website uses cookies to ensure you get the best experience on our website. View our Privacy Policy here.

Share this article via:
Please note: This website contains affiliate links. As an Amazon Associate, we earn from qualifying purchases at no additional cost to you.
.
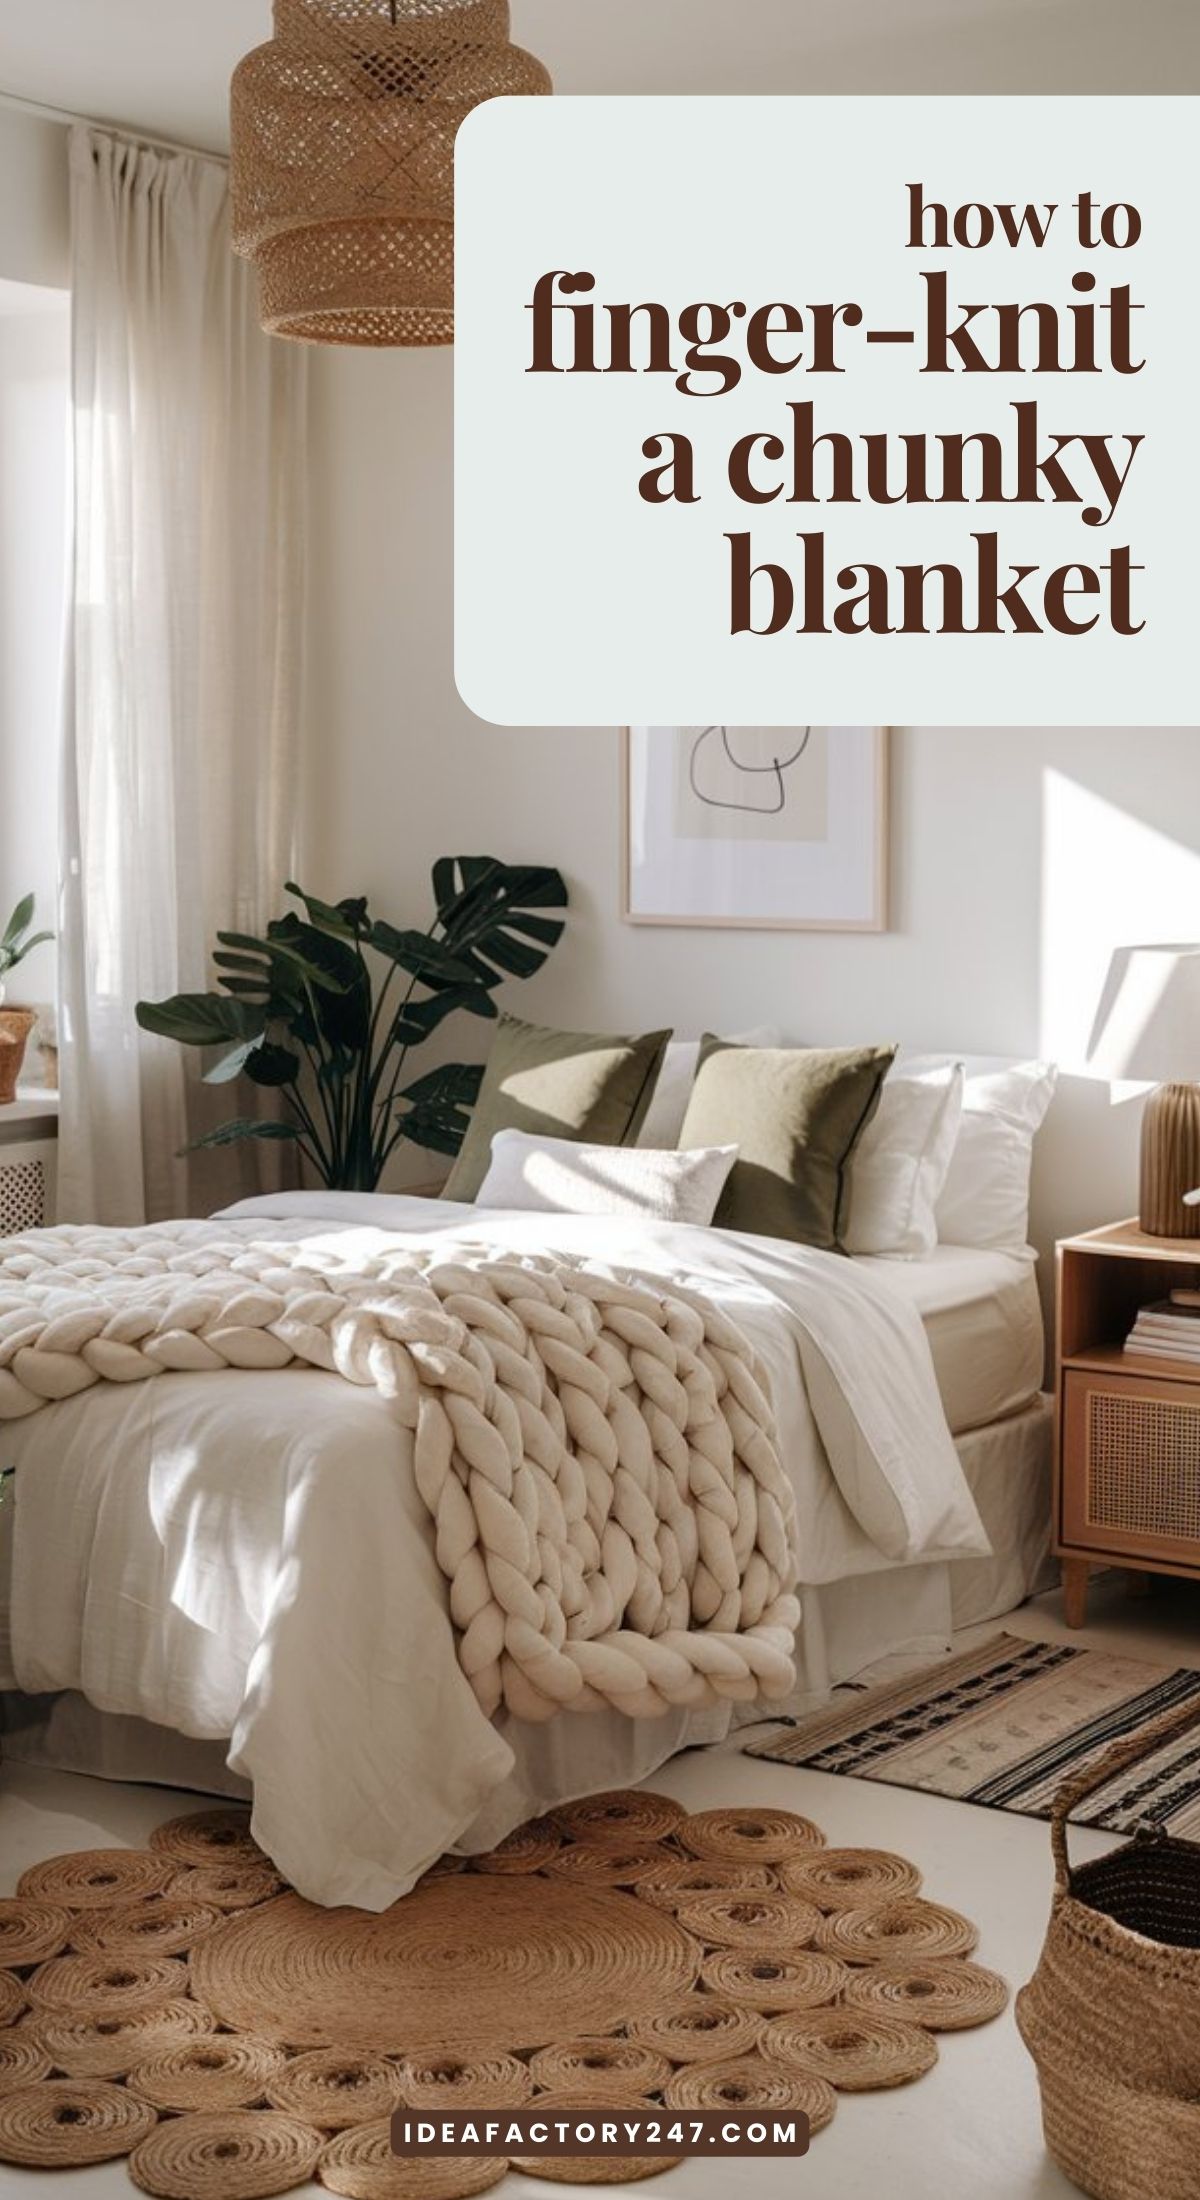
Ever wanted to create a cozy blanket without the hassle of needles or hooks? Finger knitting is where it’s at! This super simple technique uses just your fingers and some chunky yarn to make a soft, luxurious blanket that’s perfect for any space.
Whether you’re a total beginner or a crafting pro, finger knitting is relaxing, fun, and surprisingly addictive. Plus, it’s the perfect way to show off your creativity and style while making something warm and beautiful.
Follow this guide, and you’ll have a handmade blanket you’ll love curling up with in no time!

Before starting finger knitting, it’s key to know the basics. You’ll learn about hand positions, movements, and yarn tension. This knowledge will help you make a beautiful finger-knitted blanket.
Let’s get to know the main terms in finger knitting. These include:
Right hand position and movement are key for finger knitting. They help you knit comfortably and make a neat blanket:
Getting the yarn tension right is crucial for a nice blanket. It helps you make a fabric that looks good and feels right:
| Tight Tension | Loose Tension |
|---|---|
| Makes the fabric dense and tight | Makes it airy and open |
| Needs more effort and can hurt your hands | Is faster but might not be as sturdy |
| Gives a smooth look | Can look uneven |
Learning the basics of finger knitting will help you make a lovely blanket. It shows off your creativity and skill.
Starting a finger knitting project for a cozy blanket? You’ll need the right materials and supplies. This guide will help you get everything you need for your blanket materials.
The key item is the chunky yarn. Choose a soft, bulky yarn for a quick and plush blanket. Acrylic, wool, or blends work well. Look for a yarn weight of 6 or “super bulky”.
You might also want some extra finger knitting supplies:
With the right materials and tools, you’ll make a cozy, handmade blanket. It will show off your style and skill.
| Item | Description | Quantity Needed |
|---|---|---|
| Chunky Yarn | Soft, bulky yarn in your chosen color(s) | Depends on blanket size |
| Stitch Markers | Clips or rings to keep track of rows | 10-20 markers |
| Tapestry Needle | For weaving in yarn ends | 1 needle |
| Scissors | Sharp scissors for cutting yarn | 1 pair |
| Measuring Tape | To measure blanket dimensions | 1 tape measure |
Choosing the right yarn is key for a finger knitting project, like a cozy blanket. The yarn you pick affects the texture, drape, and look of your blanket. As a beginner, knowing the different yarns and their properties is important. This helps you have a fun and successful finger knitting experience.
For beginners, chunky yarn, wool blend, and acrylic yarn are great choices. They are thicker and easier to handle. Chunky yarn is especially good for finger knitting because it’s heavy and works up fast.
This chunky yarn is our absolute favorite for blankets.
To have enough yarn, you need to calculate the right amount. The size of your blanket, yarn thickness, and your knitting tension all matter. A good rule of thumb is 100-150 yards of chunky yarn per square foot. Adjust this based on your knitting style and yarn choice.
By picking the right yarn and considering important factors, you can make a beautiful and cozy blanket. It will be something you’ll be proud to show and use for a long time.
| Yarn Type | Recommended for Finger Knitting | Advantages | Considerations |
|---|---|---|---|
| Chunky Yarn | ✓ |
| May require more yardage for larger projects |
| Wool Blend | ✓ |
| May be more expensive than acrylic |
| Acrylic Yarn | ✓ |
| May not have the same warmth and softness as natural fibers |
Learning to finger knit opens up a world of creativity. It’s especially true when making a cozy, personalized blanket. This guide will show you how to finger knit a blanket, from start to finish. You’ll learn to make a beautiful, functional piece of handmade textile art.
First, let’s look at the key steps for your finger knitting tutorial and blanket making steps:
As you finger knit, keep your hands in the right position and control your yarn tension. This ensures your blanket is even and looks great. With practice and patience, you’ll soon be finger knitting like a pro. You’ll make a cozy, unique blanket that shows off your style.
| Step | Description |
|---|---|
| 1. Create a Slip Knot | Begin by forming a slip knot with your yarn, creating a loop that you can use to start your finger knitting project. |
| 2. Wrap Yarn Around Fingers | Wrap the yarn around your fingers, following the proper finger placement technique outlined in the previous section. |
| 3. Pull Loop Over Top | Use your other hand to gently pull the bottom loop up and over the top loop, forming the first stitch of your blanket. |
| 4. Repeat Stitch Pattern | Continue the process of pulling the bottom loop over the top loop, row by row, to build the length and width of your blanket. |
| 5. Maintain Tension | Be mindful of your yarn tension, adjusting as needed to ensure an even, consistent texture throughout your project. |
| 6. Bind Off Final Stitches | When you’ve reached your desired dimensions, carefully bind off the final stitches to complete your finger-knitted blanket. |
Starting your finger knitting journey is exciting. The first step is mastering the initial cast on row. This step is key to your blanket’s success. Let’s learn how to place your fingers and start your first stitch.
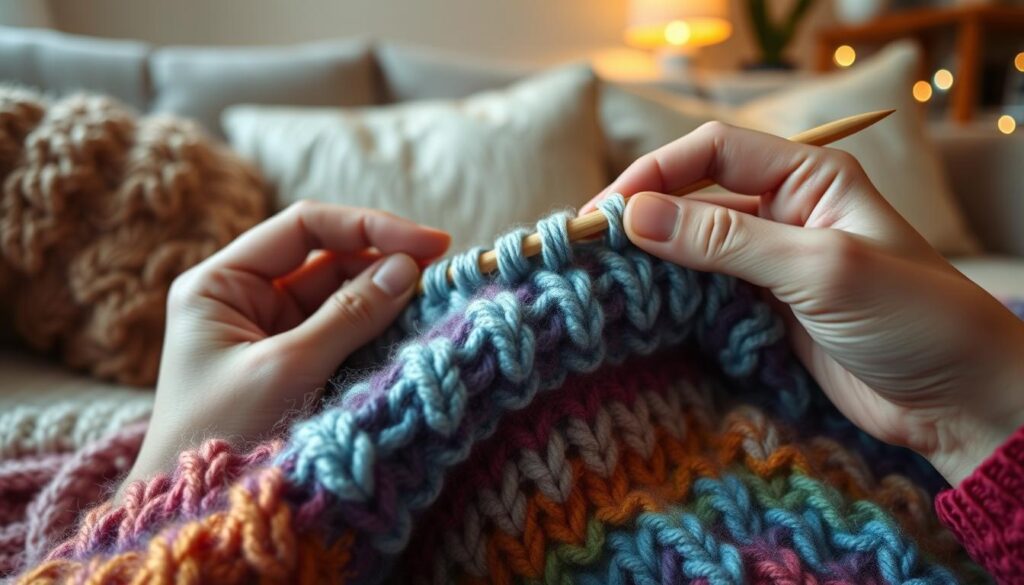
Hold the yarn with your non-dominant hand, keeping it tight. Use your thumb and index finger to make a loop. Then, put your dominant hand’s index finger through the loop.
Keep your thumb and middle finger holding the yarn. This helps keep everything in place.
Wrap the yarn around your index finger for your first stitch. Make sure the tension is even. Pull the yarn through the loop to make a new stitch.
Keep adding stitches one by one. Stop when you have the right number for your cast on row.
It’s important to keep the tension even. Don’t pull too hard or too loose. This keeps your blanket looking good.
Finger knitting is a fun craft that lets you make beautiful blankets. It has a special, handmade look. The basic stitch is key to making these blankets.
The basic stitch is easy but useful. You loop yarn around your fingers in a certain way. This makes a fabric that’s the base of your blanket. Here’s how to do it step by step.
As you get better, keep your stitches even. Uneven stitches make your blanket look bad. So, it’s important to control the yarn well.
| Finger Knitting Stitch | Description | Characteristic |
|---|---|---|
| Basic Stitch | Looping the yarn around the fingers and pulling it off to create a series of interconnected loops | Consistent, even fabric |
| Tight Stitch | Wrapping the yarn too tightly around the fingers, resulting in a dense, rigid fabric | Rigid, dense texture |
| Loose Stitch | Not wrapping the yarn tightly enough around the fingers, leading to a loose, uneven fabric | Uneven, droopy texture |
Learning the basic stitch is the first step to making a beautiful blanket. You’ll soon be able to show off your skills. Keep reading for more tips to improve your finger knitting.

As you work on your finger knitting, keeping your blanket the right size is key. It makes your blanket look good and feel cozy. Learning how to make your blanket wider and longer is very important.
To keep your blanket even, watch your stitch pattern and how tight you knit. Keep your stitches even and your knitting steady. This stops your blanket from getting lopsided or stretched out.
Also, pay attention to how you move your hands and hold the yarn. This helps each row fit smoothly with the ones before it.
When you’re knitting a big blanket, you might need to switch yarn balls. When you add a new ball, make sure it blends in well. Match the color and thickness of the new yarn to the old one.
With these tips, you can easily make your finger-knitted blanket bigger. You’ll end up with a cozy and beautiful blanket.
Finger knitting is fun and creative, but it can have its challenges. Don’t worry, we have solutions for the most common mistakes.
Dropped stitches can be upsetting, but you can fix them. Gently pull the dropped loop back onto the needle. A few simple steps can fix the stitch.
Even edges are important for a neat blanket. If your edges are uneven, adjust your finger tension and position. Relax your hands and keep them steady for even borders.
Dealing with tangled yarn is a challenge. When tangled, take your time to untangle it slowly. Keeping your yarn organized helps avoid tangles.
By fixing these common knitting errors, fixing mistakes, and solving common knitting problems, you’ll make a beautiful blanket. Stay calm, be patient, and trust the process. Your finished blanket will show your hard work.
Keeping your tension even is key when making a finger-knitted blanket. Even stitches make your blanket look polished and professional. Here are some tips to help you keep your yarn tension even.
It’s easy to get some parts of your blanket to be looser or tighter. To avoid this, keep a steady pace while you work. Don’t pull the yarn too hard, as this can mess up your tension. Instead, guide the yarn smoothly through your fingers, keeping a steady rhythm.
Controlling the edge stitches is important for even tension. Pay attention to the edge stitches and use the same tension as the rest. Try the “pinch and pull” method for the edges. Pinch the stitch with your thumb and forefinger, then pull the yarn through. This keeps the edges tight and even.
| Technique | Description |
|---|---|
| Steady Pace | Maintain a consistent, controlled rhythm when finger knitting to prevent loose or tight spots. |
| Gentle Guidance | Gently guide the yarn through your fingers, avoiding excessive tugging or pulling. |
| Pinch and Pull | Pinch the edge stitch with your thumb and forefinger before pulling the yarn through to maintain even edges. |
Follow these tips for even yarn tension and edge control. You’ll make a beautiful, professional-looking finger-knitted blanket.

Finger knitting lets you try many textured patterns. You can add interest and depth to your blanket with simple techniques. Let’s look at how to make different texture patterns for your finger-knitted blanket.
The ribbing stitch is a classic pattern. To make it, switch between knitting and purling on each row. This creates a striped look that makes your blanket stretchy and strong.
The seed stitch is another cool pattern. Start by knitting one stitch, then purl the next. Keep doing this across the row. Then, switch the knit and purl on the next rows. This makes your fabric look like it’s covered in small seeds.
Try more complex knitting textures and pattern variations with decorative stitches. Use stitches like herringbone, basket weave, or cable to make your blanket more interesting.
| Texture Pattern | Description | Difficulty Level |
|---|---|---|
| Ribbing | Alternating knit and purl stitches | Easy |
| Seed Stitch | Knit one, purl one pattern | Intermediate |
| Herringbone | Diagonal intersecting stitches | Advanced |
Trying out different decorative stitches and pattern variations can make your finger-knitted blanket special. Be creative and see what cool textures you can make.
Make your finger-knitted blanket special with decorative elements and borders. These touches can turn a simple blanket into a unique piece of art. Let’s look at some easy ways to add that special something to your blanket.
Borders can frame your blanket and give it a polished look. Try knitting a few extra rows around the edge with a different color. You can use a bold color for a simple look or try a pattern like stripes or lace.
Try color work to make your blanket borders and decorative knitting stand out. Use two or more colors by alternating them row by row or making patterns. This adds depth and interest to your blanket.
Finger knitting is all about being creative and flexible. Let your style show through. With a bit of experimentation, you can make a simple blanket into a masterpiece.
When you finish your finger-knitted blanket, you need to learn how to secure your stitches. This makes your blanket look good and last long. Binding off is key to keep your work from falling apart.
Start by going through the last row, carefully taking out each stitch. Use your thumb and index finger to keep the yarn tight. Make sure to bind each stitch well, without pulling too hard or leaving gaps.
After binding off, weave in any loose ends with a tapestry needle. This makes your blanket stronger and keeps it from falling apart. You can also add tassels or fringe to make it look even better.
Finger knitting is a simple way to make a blanket. You use your fingers to create loops and stitches. It’s easy and doesn’t need knitting needles.
You’ll need chunky yarn for a finger-knit blanket. You might also use stitch markers or tapestry needles. Choosing the right yarn is important for the blanket’s look and feel.
Keeping your stitches even is important. Try to keep your movements steady. This helps your blanket look neat and professional.
Yes! You can make your blanket look different by adding patterns. Try ribbing or seed stitch for a unique look. This lets you make your blanket special.
Binding off is the last step. It means taking the stitches off your fingers and securing the yarn. This makes your blanket look finished and keeps it in shape.
Please note: This website contains affiliate links. As an Amazon Associate, we earn from qualifying purchases at no additional cost to you.
.
Share this article via:

This website uses cookies to ensure you get the best experience on our website. View our Privacy Policy here.