Please note: This website contains affiliate links. As an Amazon Associate, we earn from qualifying purchases at no additional cost to you.
.
Dryer balls are an eco-friendly, cost-effective alternative to fabric softeners and dryer sheets. They reduce drying time, soften clothes, and eliminate static without the use of harsh chemicals. Best of all, you can make them at home with just a few materials!
Here’s a step-by-step guide to crafting your own wool dryer balls from yarn.
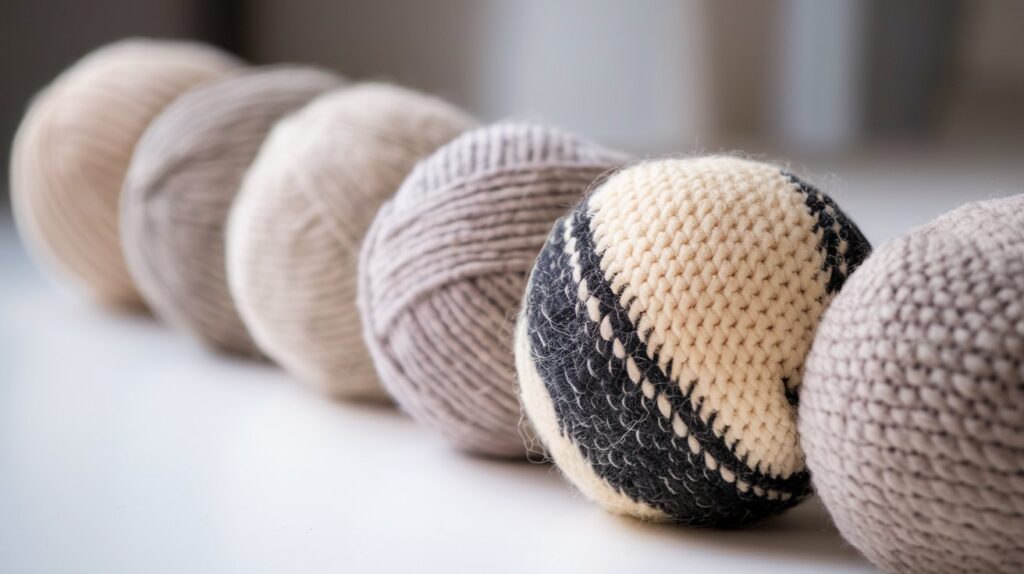
Why Use Dryer Balls?
Making your own dryer balls is a rewarding, budget-friendly project. It’s perfect for beginners and requires minimal crafting skills. Plus, it’s a practical gift idea for eco-conscious friends and family!
- Eco-Friendly: Reusable for hundreds of loads, reducing waste.
- Chemical-Free: Perfect for sensitive skin or those avoiding synthetic scents.
- Cost-Effective: Save money by ditching disposable dryer sheets.
- Time-Saving: Dryer balls help separate clothes, improving air circulation and reducing drying time.
Let’s Make Some Dryer Balls from Yummy Wool Yarn…
What You’ll Need
- 100% wool yarn (avoid blends, as synthetic fibers won’t felt properly)
- A large-eyed needle or crochet hook
- A pair of old nylons or pantyhose
- Scissors
- Optional: Essential oils for fragrance
Step-by-Step Instructions
Step 1: Create the Core of the Ball
- Take the end of the yarn and wrap it around two fingers about 10-15 times to create a small loop.
- Slide the loop off your fingers and wrap the yarn tightly around the center of the loop to form the core.
- Continue wrapping the yarn around itself, turning the ball as you go to create a round shape. Aim for a ball that’s about the size of a tennis ball.
Step 2: Secure the Yarn
- When the ball reaches your desired size, cut the yarn, leaving a 6-inch tail.
- Use a needle or crochet hook to tuck the tail securely under several layers of yarn.
Step 3: Prepare for Felting
- Place the yarn ball into one leg of the nylon or pantyhose. Push it down to the toe and tie a knot to secure it.
- Add more yarn balls into the same nylon, tying knots between each one to keep them separated.
Step 4: Felt the Balls
- Toss the nylon-wrapped yarn balls into the washing machine.
- Wash them on the hottest setting with two or three different loads of laundry (like towels) to encourage felting.
- Transfer the nylon-wrapped balls to the dryer and dry them on high heat. This helps the wool fibers bind together, forming a solid, felted surface.
Step 5: Remove and Use
- Once the balls are fully felted, cut them out of the nylon.
- They’re now ready to use in your dryer! Add 3-6 balls per load for optimal results.
Optional: Add a few drops of your favorite essential oil to each ball before drying for lightly scented laundry.
Examples of How to Make Your DIY Dryer Balls from Wool Yarn
If you are more of a visual learner, here are two great videos that walk you through the process…
Video from Everyday Farmhouse
Tips for Making the Best Dryer Balls
- Use High-Quality Wool: Look for 100% wool labeled as “feltable” or “roving wool.” Avoid yarns labeled “superwash,” as they won’t felt properly.
- Vary the Sizes: Make smaller balls for delicate loads and larger ones for bulky items like towels.
- Store Properly: Keep your dryer balls in a breathable bag or container to prevent mustiness.
Video from Simply Homeplace
Please note: This website contains affiliate links. As an Amazon Associate, we earn from qualifying purchases at no additional cost to you.
.